
How to fill your ceramic kiln
Summary
How unloading helps you know your kiln
Loading glazed pots: be careful!
final tip: use of pyrometric cones
When throwing, experienced potters know what piece they are about to create. They also know which glaze they will apply.
In the same way, knowing how to pack your kiln properly is learned over time. How many pieces will fit in? Which sizes? Where should they be placed?
With practice, the potter will gain such expertise that, from the outset, he will know where to place his pottery in the kiln to obtain the desired result.
Arranging pieces in the kiln
Knowing from the start which pieces will fit where will help to control the overall result.
-
- Throwing only large pieces will definitely fill the kiln, but will also waste a lot of space. Firing will be less profitable. In a gas kiln, the flame risks being sucked in too quickly, preventing reduction
-
- Firing lots of small pieces may seem more economical. But in fact, we can end up overloading the kiln with little pieces, using too many shelves and, in a gas kiln, leaving too little space to allow the heat to circulate evenly. There is a risk of overheating because the clay and the shelves and props retain the heat. As a result, an overloaded kiln will overheat, while an empty kiln will cool down too quickly.
-
- We may have to place smaller or flatter pieces very close to each other: this is the case with plates for example, compelling the use of lots of shelves. When there is so little space between the shelves, it is preferable to fire the last 150°C ( 302°F) slowly, 1°C ( 34°F) per minute maximum, to allow good heat distribution. In a gas kiln, this avoids overheating the glaze on the burner side, and underheating it on the opposite side..
A kiln should be loaded with pieces of different sizes, leaving a little space between the top of the piece and the shelf above it. Heat will therefore circulate more freely throughout the kiln. Do not forget that pots expand during firing, and a kiln should not be packed too tightly.
This is a matter of heat radiation, and is true for gas or electric kilns. Pots, shelves, and props store heat and release it during cooling.
How unloading helps you know your kiln
At the beginning, understandably, we can’t fully control a firing in a well loaded kiln, but each unloading will teach us how to do it better. Even if you buy the same kiln as your teacher, you will still have to learn how your particular kiln performs. It might be a more recent model, or older (if it’s second-hand) . . . there are so many factors that make one kiln different from another.
When unloading a glaze firing, it is therefore crucial to look carefully at your results while they are still in place. It will yield a great deal of valuable information on how to proceed in subsequent firings. Our advice: keep records of each firing, or take pictures of each shelf to remember exactly where all the pieces were placed.
Cold and hot areas of the kiln
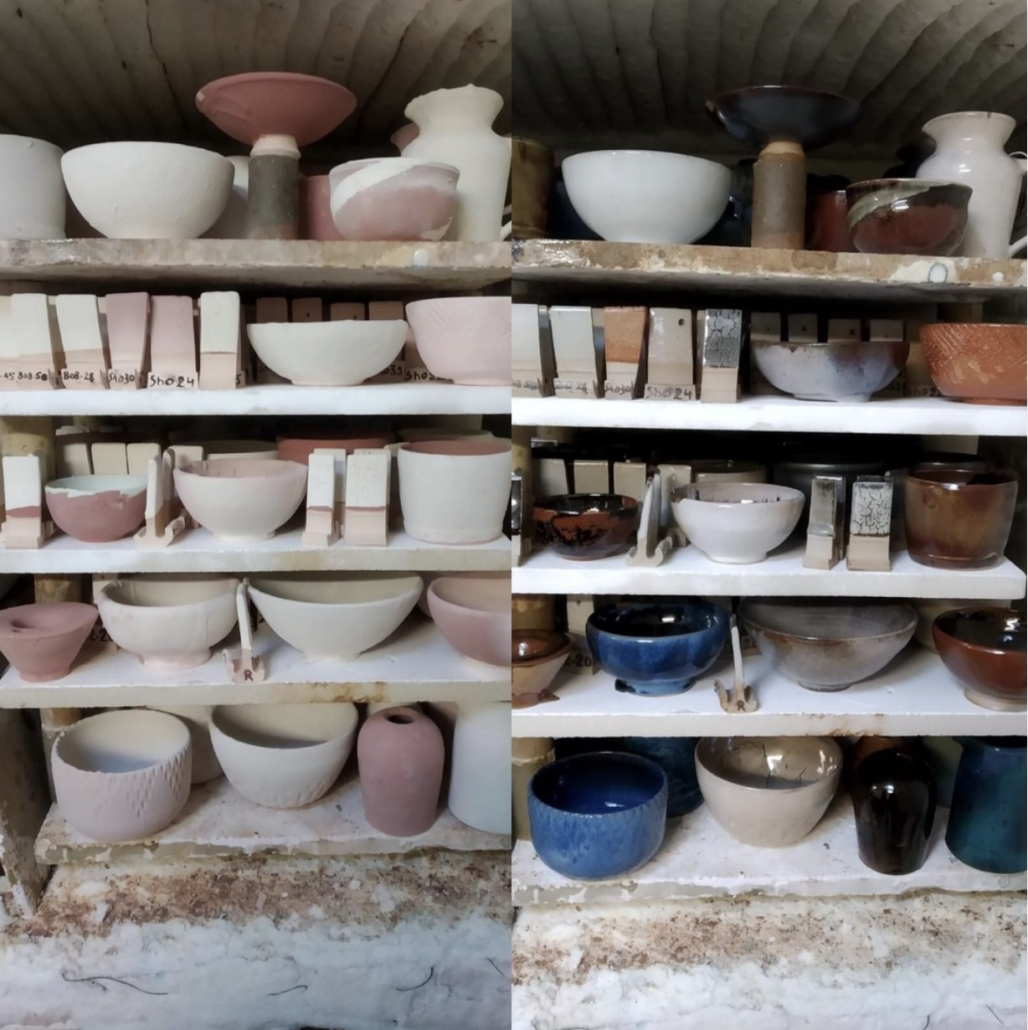
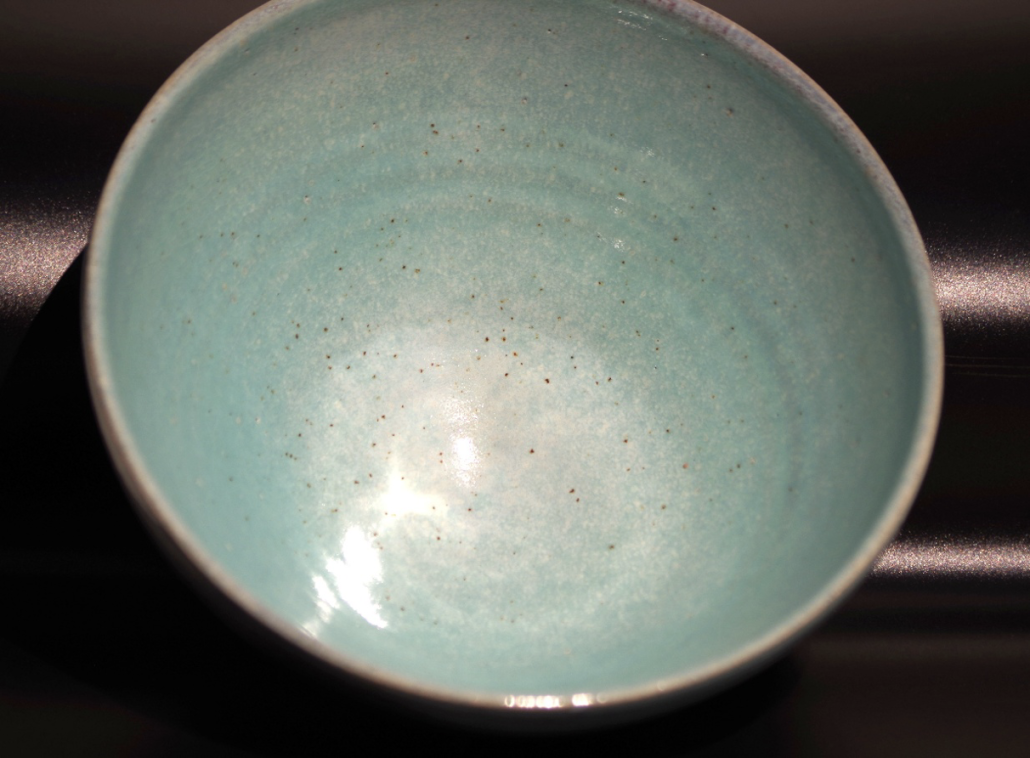
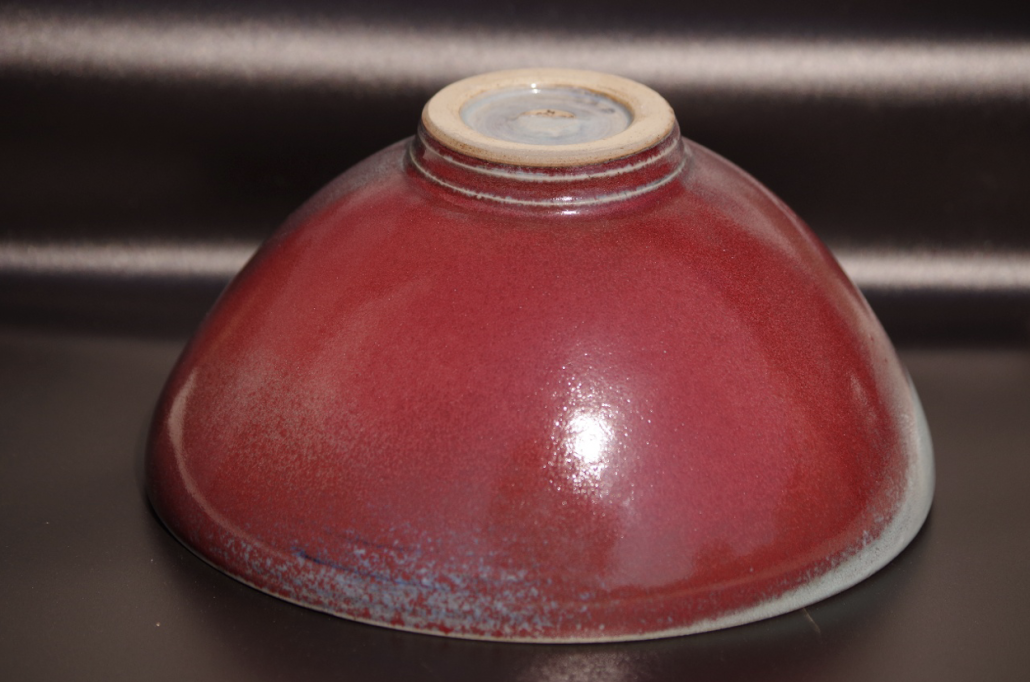
It is not uncommon to see differences in the glaze colour and texture. This will be an indication of cooler areas in an electric kiln, or areas where reduction has not occurred at all in a gas kiln. In high-temperature reduction firing, we will see where the kiln is not reaching the desired temperature: the glazes there will remain oxidized. A quick reminder: reduction is the phase during which we will reduce the flame, creating a lack of oxygen. The carbon monoxide (CO) will seek its second molecule of oxygen not in the atmosphere of the kiln (as we have reduced its oxygen), but in the clay and glazes themselves. Finding areas of your kiln that are cooleer or hotter does not mean that your kiln is of poor quality. Sometimes the differences cannot be avoided, especially with gas kilns under 300 litres. It is also common in top loading kilns. See our article on When to buy a kiln
When you become aware of cooler areas in your kiln, you should place 2 sorts of pots there: pots with a low melting point glaze and, for a reduction firing, pots with glazes which work best in oxidation (as the reduction will probably be less efficient, especially for kilns with a reversed flame system). In this way, you can use the limitations of your kiln. These cold areas are generally on the bottom of the kiln. You will also be able to take advantage of hotter areas by placing pieces that could benefit from a slightly higher temperature there. In a reduction firing, a piece placed in the middle of the kiln can give a flamboyant copper red (in reduction), and a piece placed at the bottom (where less reduction is possible) can give a copper green.
Even better: a piece that is placed between the reduction and the oxidation zone can give both colours. Customers enjoy explanations like this; it helps them understand the process that created a truly unique piece.

In an electric kiln, there is no oxidation/reduction problem since the atmosphere is “neutral”. The elements only produce heat. There may still be hotter or colder areas: some electric kilns have heating elements on the door, for a more uniform heat distribution. Experience will tell if the difference is noticeable enough to affect colours and texture. In top loader kilns, elements are sometimes needed under the floor of the kiln (i.e. at the bottom) to avoid temperature differences, because the heat always tends to rise to the top.
Loading glazed pots: be careful!
Glazed pots before firing are very fragile and handling must be reduced to a minimum. A bit of the glaze may stick to your fingers, especially if it is still wet. Glazed pieces must be very dry when placed in the kiln. Clumsy handling will make a mark and will need repair, which will be visible after firing. If you ever glaze at home and fire elsewhere, there is a significant risk of causing defects in the glaze during transportation: the pieces must not touch or bump into each other! If you transport your pieces over a long distance or by car, you must secure the pieces one by one: it’s a long and tedious job. The trick is to transport each pot slightly embedded in some soft clay to create a suspension effect and eliminate shocks. You can use a box, or a large trash can lid to make it easier to hold the clay.
Load the kiln properly
There is a very effective method for good loading: it requires a bit of space and a piece of cardboard the size of a shelf (you can also use shelves directly of course). Place your bisque fired pieces on the piece of cardboard (bisque is the first firing at 980°C (1796°F) which hardens the pottery before glazing at a higher temperature): this will help you plan how your pieces will fit into the kiln at your next loading .
How to load the pieces properly? Place your pieces on the cardboard (or shelves) as if they were in the kiln. Once you have decided where to place them, assign them a number and write it on a piece of paper. Then put the piece of paper in the pot. Do not forget to include the thickness of the shelves themselves. When you pick up the pieces again to glaze them, write their numbers on the cardboard. After glazing, place the piece of paper underneath the glazed pot.
When loading, we look at the pieces of cardboard with the numbers written on them and we place each pot on the corresponding place on the shelves. This may seem tedious at first, but this method saves a lot of time later, especially if you have different glazes or use glazes layered on top of each other. This way, you can glaze efficiently the pieces sharing the same glaze, with no risk of making a mistake (with all the work that that would imply: bringing out a glaze, washing the ladles and/or the gun, restarting the compressor, the glazing cabin . . . ) This process will prove to be particularly useful in a top loader kiln, as each new shelf hides what is below.
Another advantage is that we know which pieces will be fired and only glaze those ones. We don’t end up with excess pieces that we try to place in the kiln at all costs. It is during such unnecessary handling that the glaze is damaged. Once the pieces are glazed, loading is quick, the pieces are sited directly in the right place, with only one action. The time saved is real, and the risk of damaging the glaze is greatly reduced.
Final advise: how to use of pyrometric cones
It is helpful to use pyrometric cones for knowing better your kiln. A first set of cones should be placed in front of the kiln peepholes, and you should note when the cones bend. When the cone’s head touches the shelf, it indicates the correct temperature. Taking as an example the cones offered by Céradel (a French ceramic supplier):
-
- you can set a first control cone at 985°C ( 1805°F) to ensure that the temperature is reached in 3 hours (the pieces are already bisque fired, there is no need for this first step to last longer).
-
- On the other hand, we will go from 985°C ( 1805°F) to 1278°C ( 2332°F) in just 3.5 hours, so that the glaze has time to mature. We will have a control cone at 1278°C ( 2332°F) which will bend, and a cone at 1303°C ( 2377°F) which should not bend. If your kiln has a peephole, you can place these three cones in front of it. Even if your kiln does not have a peephole, the cones will still be useful when you unload.
To get a better understanding of how your kiln functions, at least 5 sets of pyrometric cones will be necessary. When using a new kiln, it will be necessary to put at least 2 sets of cones on the floor: 1 at the front and 1 at the back. And if the kiln is large, we will put one set on each side and one in the middle. Ditto halfway up and at the top of the kiln. Each set of pyrometric cones will show the actual temperature at each location in the kiln. They will have to be analysed together with the set that was visible through the peepholes. It is quite possible that the 1278°C ( 2332°F) cone bends halfway when placed in the middle of the kiln but is barely curved when placed on the bottom. This information should be noted, and you must think of placing your pieces accordingly.
We advise you to keep a journal with dates of firings and everything that needs to be analysed during unloading, shelf by shelf. And as we said above, think about taking pictures and sticking them in this notebook. You will progress faster from one firing to the next. When you fire often, you usually remember how your kiln functions. But if you leave it several weeks, or even a few months without firing, these notes will be very valuable!
With these tips, you will gain confidence from loading to unloading and understand your kiln each time a little bit better!
")
Resource centre
animated by Matthieu Liévois,
potter-ceramist for over 40 years and founder of the Creamik School
Find all the courses

Keywords
Don’t miss any more news from the Créamik school!
Follow us on the networks
You can also discover…
Less math, better research: Generative Artificial Intelligence in the Ceramic Industry

Garance Lanfray, journey through Southeast Asia

From beginner to professional : choosing the right ceramic courses

Matthieu Liévois, The search for crystals
Can ceramics be fired in a microwave?

Discovering the Art of Japanese Ceramic Masters
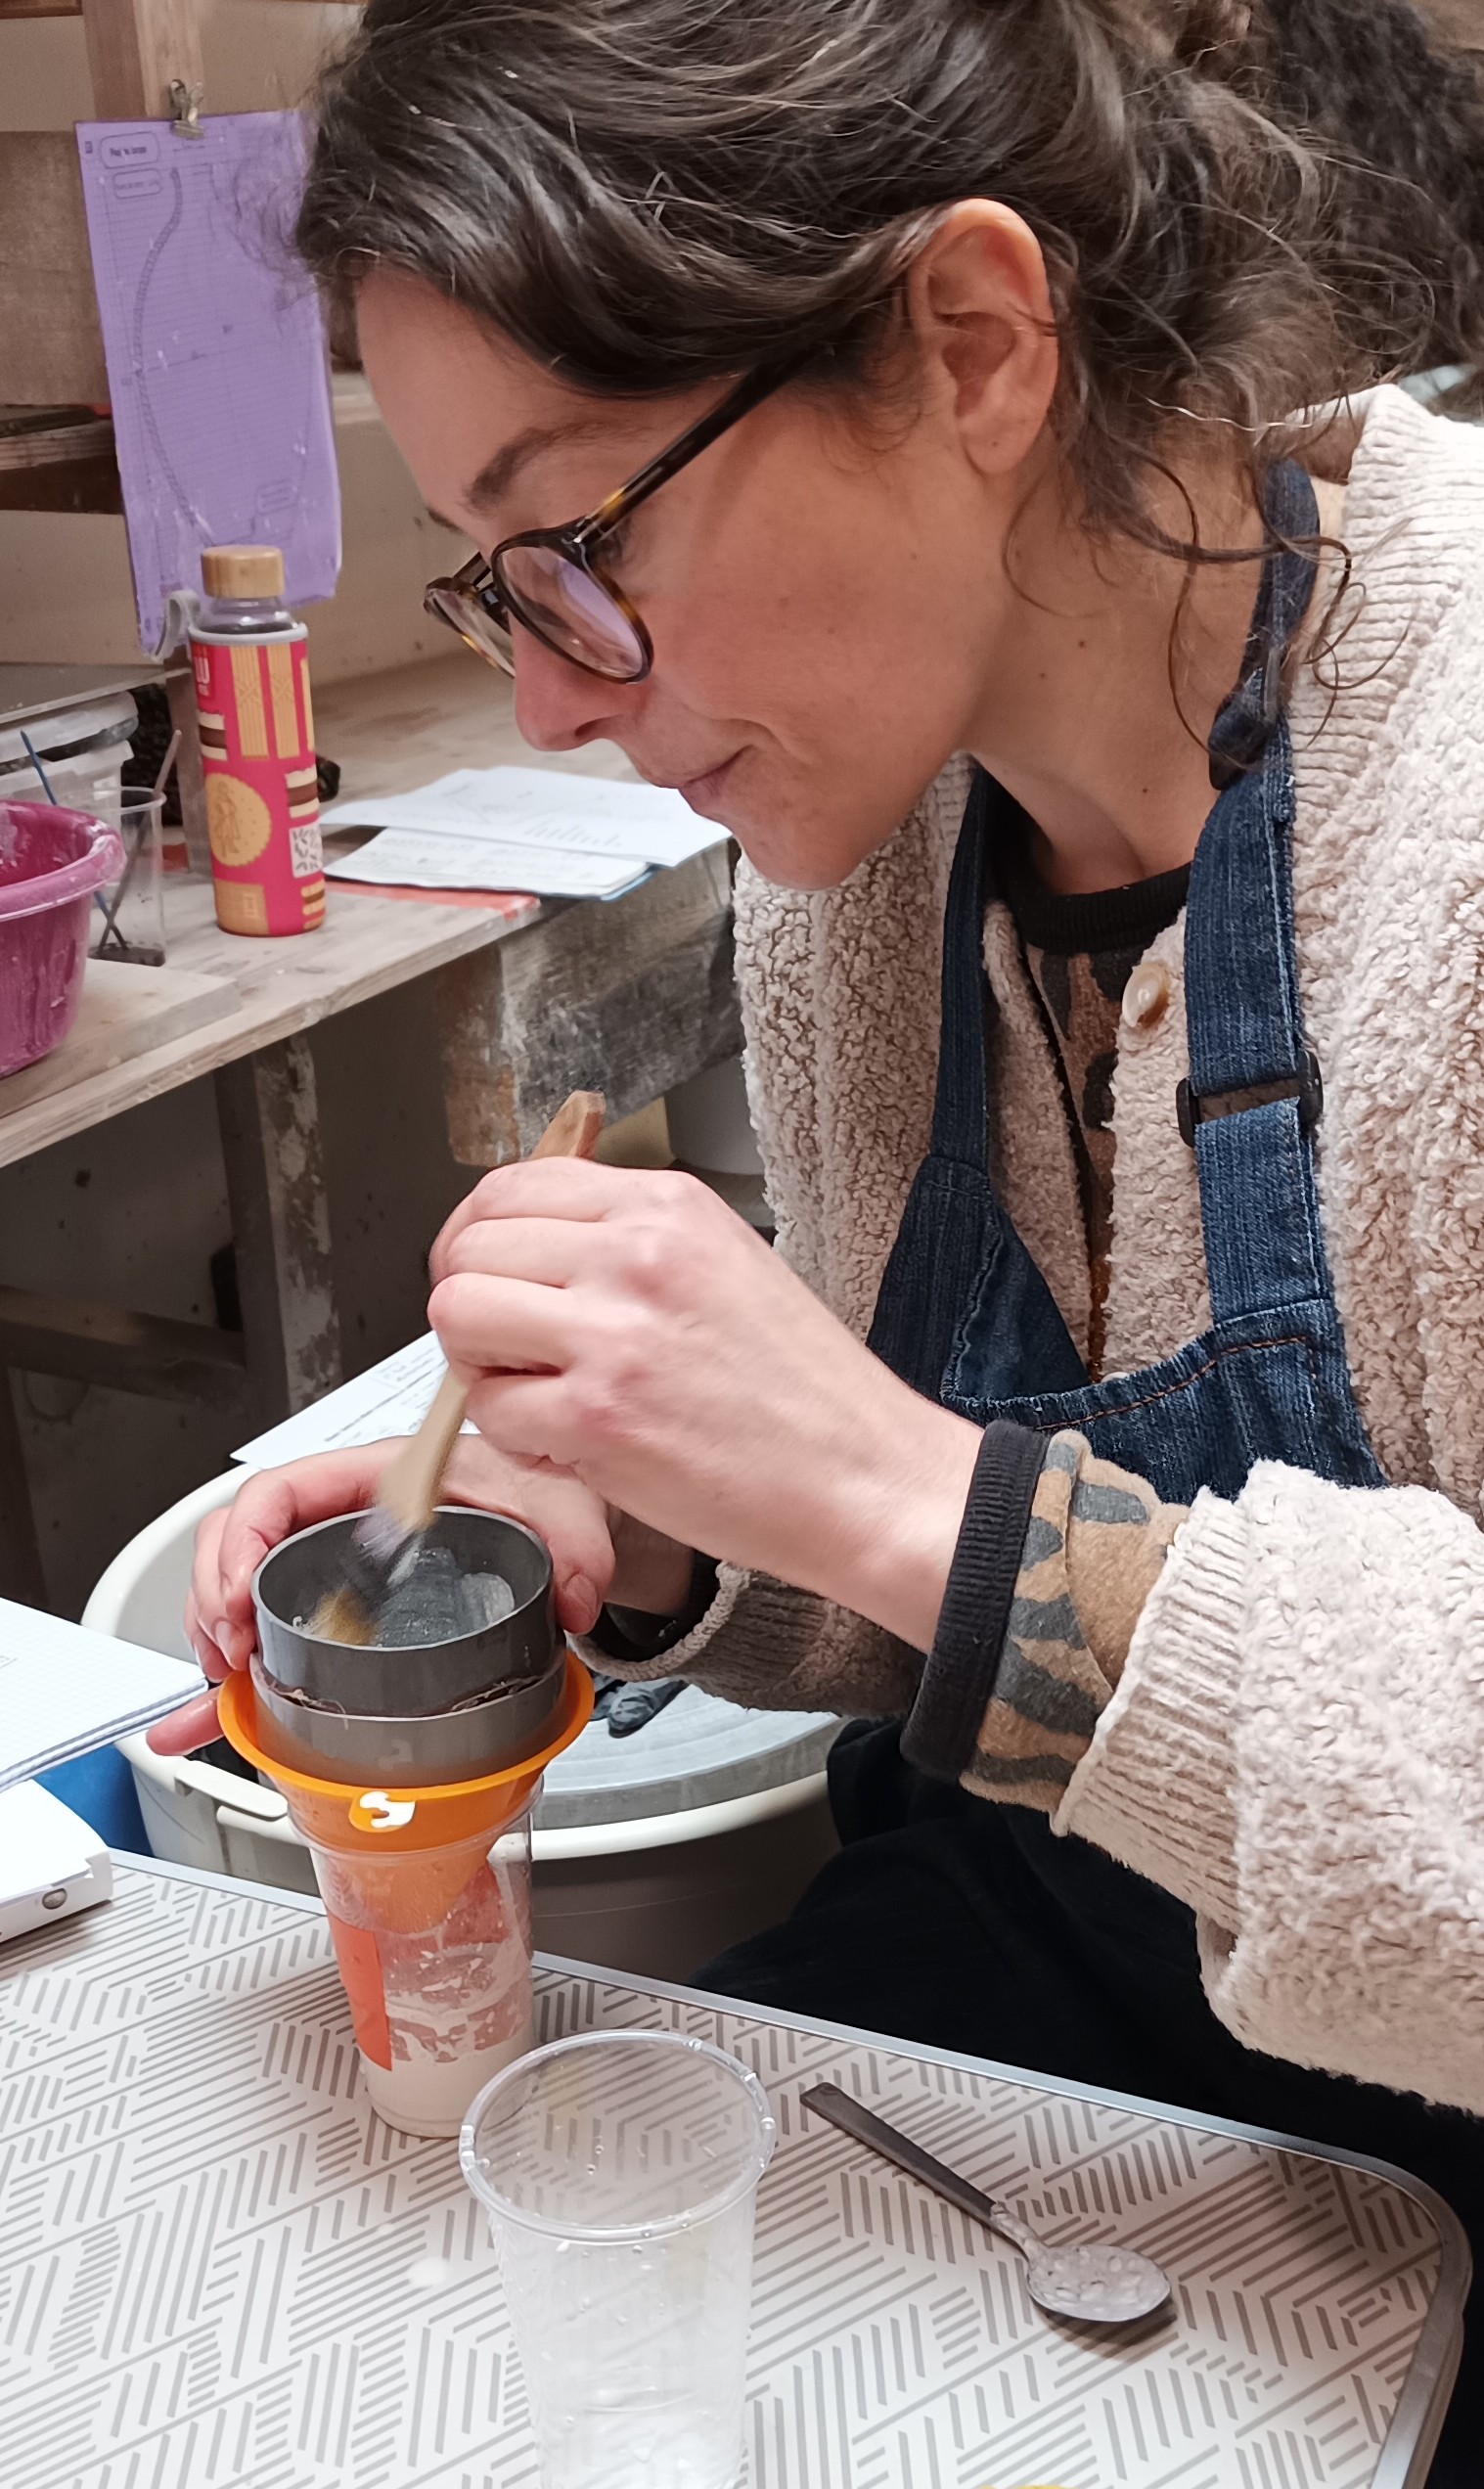
Instructions for making your own sieve