
Can ceramics be fired in a microwave?
- Step 1: bisque firing
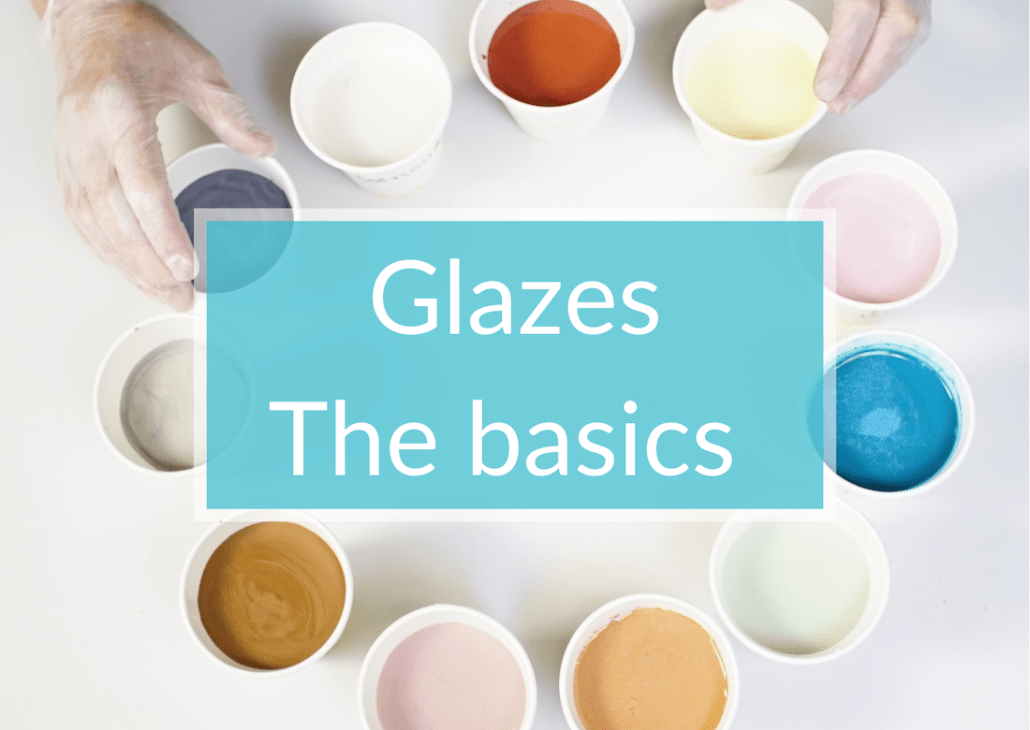
- Step 2: glaze application
- Step 3: preheating the microwave, if you haven’t had a bisque firing
- Step 4: firing in a microwave
- Step 5: if you’d like a raku firing
- Step 5 bis – low-fire earthenware glaze
- Why try firing ceramics in the microwave?
- What temperature will a microwave reach?
- How much does it cost?
- The ultimate 1200W experience
Can ceramics be fired in a microwave? This question, incongruous as it seems at first glance, was put to us by students of our online courses. Indeed, if you surf the web, you’ll find numerous demonstrations of raku firing in a microwave, mainly in English. In French, they’re much rarer.
Always curious at Créamik, we decided to give it a try and share our feedback with you in this article. We’ll tell you in detail about the processes we followed, with information on microwave power settings, temperatures reached and safety instructions.
Please note: when firing in the microwave, ceramics must be enclosed in a refractory box called a microwave kiln or fusing kiln.
- Raku or earthenware firing? ?
Since many online videos demonstrating microwave ceramics feature raku firings, we carried out additional experiments using a low-fire glaze. For both raku and low-fire glaze firings, we used an already bisqued grogged stoneware (often called Crank clay in English), which is highly resistant to thermal shock. The microwave heats up quickly, reaching temperatures in the 1000°Cs. Small ceramic pieces without grog might not stand up to the shock as well.
- What equipment is required?
– A microwave: We used a second-hand 1200W microwave found on a second hand website. Don’t use the one in your kitchen. A 900W microwave will suffice; experience has shown that higher power is not necessary. Choose a microwave with a transparent door, so that you can watch the kiln inside as it fires.
– The microwave kiln: as we said above, the fusing kiln, or microwave kiln is indispensable for microwave firing. It is in fact a small insulated box designed for fusing glass or ceramics, available online (for example, on Amazon). To start with, we bought the smallest size.

The microwave kiln, usually used for fusing glass.
Galvanized metal buckets for reduction by smoking. We put shredded paper inside the bucket. You can also use sawdust.

– A bucket of water, to soak the pots after reduction through smoking
– Protective equipment: wear loose-fitting cotton clothing covering your entire body, and closed shoes. Prepare heat-resistant welders gloves, safety goggles and metal tongs for removing pieces from the kiln while still hot.

Small tongs for gripping hot ceramics
– Refractory surface: a refractory brick, plate or kiln shelf on which to safely stand the hot kiln.
– Safety: a fire extinguisher (as a precaution)
– Glaze: we used a purple raku glaze and a yellow low-fire glaze.
– Ceramic pieces: small pieces need to be perfectly dry (any residual moisture can cause the piece to shatter or crack). Our pieces were thrown using grogged stoneware that can be fired at 1300°C, and were small enough to fit into a kiln with interior dimensions of 8 cm by 12 cm.
- Steps to firing in the microwave
– Step 1: bisque firing
-
First, you may need to do a bisque fire. At this stage, you need to proceed very slowly. We preheated the microwave with the fusing box inside, following this process:
5 min at 200W
5 min at 400W
4 min at 600W
3 min at 800W
3 min at 1000WWe then took the kiln out of the Microwave and heated up the pot by placing it inside. We opened and closed the kiln at intervals so that the pot did not heat up too quickly. This took 3 minutes.
We closed the kiln, put it in the microwave and started the firing, following this slow process:
3 min at 200W, then stop, open the microwave, lift out the kiln, open it and check the pot.
3 min at 200W, stop, check ceramic.
3 min at 400W, stop, check ceramic.
3 min at 400W
4 min at 600W
3 min at 800W
3 min at 1000W. Remove the kiln from the microwave, but do not open it, allowing the ceramic to cool naturally.If your pot doesn’t withstand the heat, slow down the process by taking longer to complete the 200W and 400W stages.
All the other pieces were bisque-fired in our studio kiln.
Is it possible to shorten this first process? Try it out to determine your pot’s heat resistance. Remember that we used grogged stoneware because of its resistance to thermal shock.
Step 2: glaze application
We dip-glazed all the pieces.
- Step 3: preheating the microwave, if you haven’t used it for step 1 (bisque firing)
Before beginning, preheat the empty kiln to warm it up and eliminate any residual moisture. Here’s how it works:
5 min at 200W
5 min at 400W
4 min at 600W
3 min at 800W
3 min at 1000W
Microwave power: If your microwave doesn’t exceed 800 or 900W, we suggest you follow this process, but add 4 min at 800W and 4 min at 900W.
We took the kiln out of the microwave and placed the glazed piece inside. Then we opened and closed the kiln several times to dry the glaze and preheat the piece.
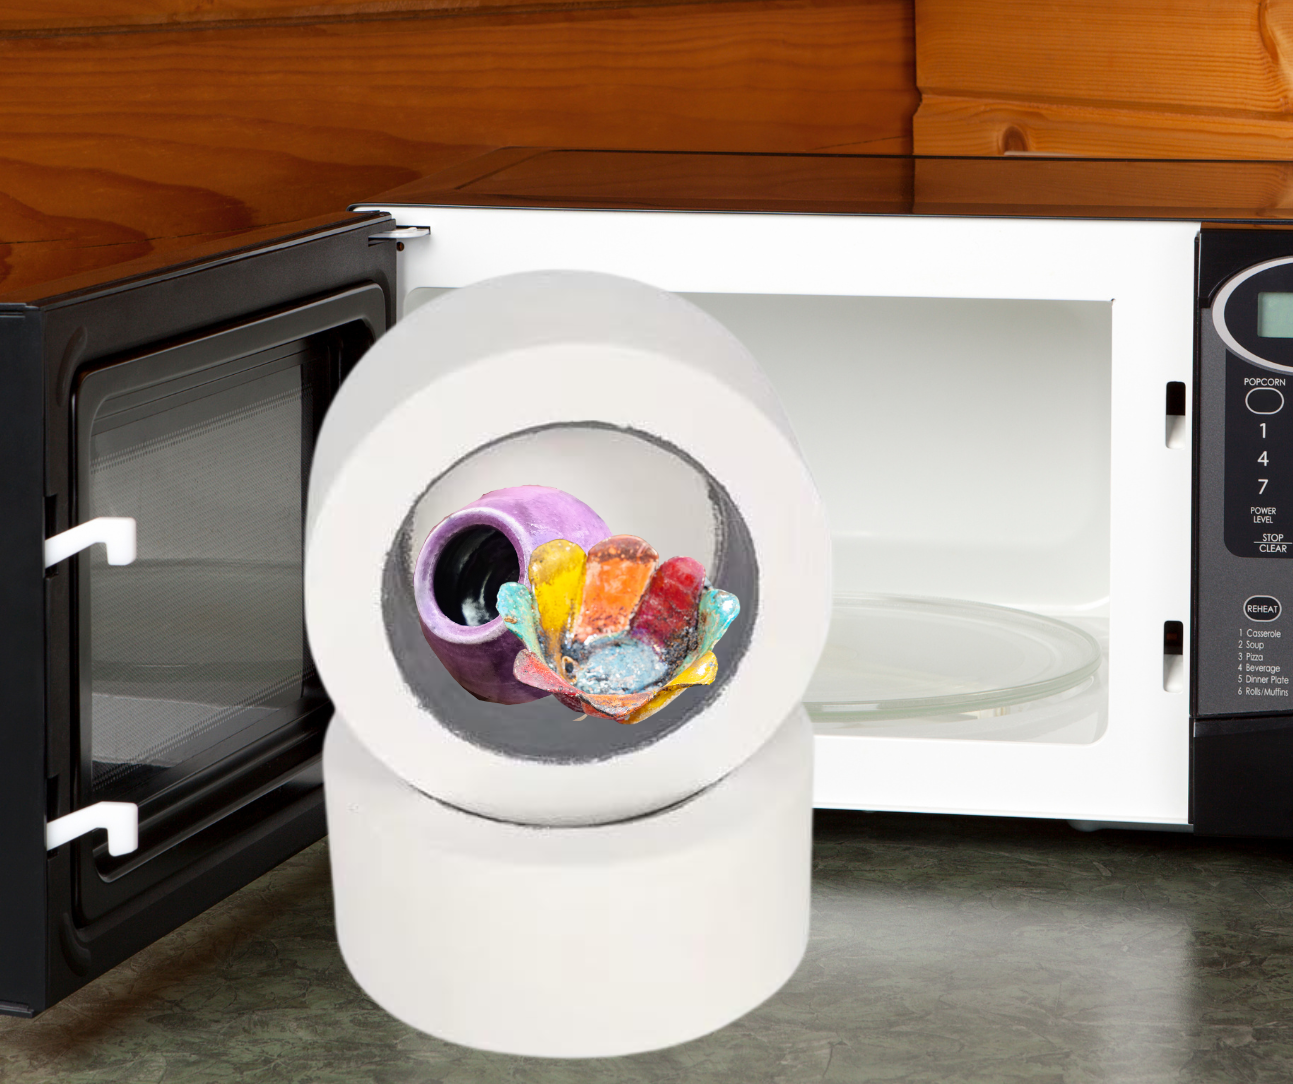
- Step 4: firing in a microwave
The kiln is placed in the microwave and the firing process is started according to this protocol:
5 min at 200W
5 min at 400W
4 min at 600W
3 min at 800W
3 min at 1000W
Look through the microwave’s window: half way through, you’ll see the hole in the kiln start to glow orange, then glow increasingly brightly. This is a good sign; the kiln is reaching a high temperature.
- Step 5 : if you’d like to do a raku firing (note: this should be done outdoors in the open air)
At the end of the process, carefully remove the kiln from the microwave, preferably with tongs (we did it directly with our gloves, as they are sufficiently protective).
Open the kiln and, using the small tongs, take out the incandescent clay pot which was inside and place it in the bucket filled with paper (or sawdust, if you choose sawdust). The paper will ignite immediately. Add more paper. Let the paper ignite for 2 – 3 minutes.
– Cover the pot (you can use another metal bucket) to trap the smoke and cut off the oxygen, creating a reducing atmosphere.
– After a few minutes, use the tongs to remove the piece from the bucket and immerse it in cold water. This will fix the colours. Rapid cooling stabilizes the chemical changes in the glaze, allowing colour changes if your glaze is designed for this.
The purple glaze came out nice, but we didn’t get any of the black crazing characteristic of raku.

– Step 5 bis – earthenware glaze
We let the glazed earthenware piece cool naturally in the kiln.
Yellow earthenware glazing

- Why try firing ceramics in the microwave?
Firing ceramics in the microwave proved to be an interesting option if you want to try your hand at raku or earthenware on small pieces without making a big investment. It’s fast, inexpensive and fun. The kiln we bought can only hold one piece at a time, so you need to allow at least half a day to fire several pieces. That said, with a larger kiln and the necessary equipment, it would be quite possible to fire several small ceramics at the same time, like small jewelry.
5- What temperature will a microwave reach?
Many ceramicists rightly ask this question. You can’t insert a thermocouple in this type of miniature kiln, but there are a number of clues that enable you to make a reliable estimate:
– Visual observation: mid-firing, the hole in the kiln turns bright orange. This glow indicates a temperature of between 950°C and 1000°C.
– glaze melting: when you know that the raku and earthenware glazes’ melting temperature is between 940°C and 1000°C, and you see that they have melted, you will know that they have reached that temperature.
– material resistance: the kiln begins to crack when fired at 1200 W. This suggests that you are approaching 1050 – 1100°C, beyond your comfort zone.
– This type of kiln reaches a temperature of 950°C to 1020°C, which is sufficient for firing earthenware pieces, low-temperature glazes and small raku pieces.
The following diagram is an estimation of the temperature based on the color of the incandescent light shining through the peep hold of the microwave kiln.

- How much does it cost?
Here’s a breakdown of the cost, which comes to less than €0.04 in total.
We start from the following principle:
Cost (€) = (Power in kW) × (Time in hours) × (Price per kWh).
The price per kWh varies from contract to contract. Under the French regulated tariff from the EDF company (May 2025), it is around €0.201 6/kWh.

The above diagram shows cost of firing for each step of firing.
7- The ultimate 1200 W experience
Because our microwave is powerful and can be pushed up to 1200W, we did fire at this temperature. The ceramics held up very well, but the kiln started to crack. On the back of this first experience, we’re now thinking about a kiln that would be able to withstand higher stoneware and porcelain temperature, up to 1300°C.

You can see cracks, which have developed in the kiln.
https://www.youtube.com/watch?v=gdP2gwKeEHo
https://www.youtube.com/watch?v=ey1MgMgmMFg&list=WL&index=14&t=18s
https://www.youtube.com/watch?v=DMz3zh90f7g
https://www.youtube.com/watch?v=iK_3Q-JBmXQ&list=PLRZ9Iz9tQgAsvQHjo_6MKO1EXM8YvqApU&index=17
An Argentinian sales site in Spanish that gives a lot of good advice:
https://www.mailin.com.ar/
The results of our first experiments with firing in a microwave have encouraged us to continue the adventure. We’ll keep you posted on our next experiments. We look forward to hearing from you soon!
")
Resource centre
animated by Matthieu Liévois,
potter-ceramist for over 40 years and founder of the Creamik School
Find all the courses

Keywords
Don’t miss any more news from the Créamik school!
Follow us on the networks
You can also discover…
Less math, better research: Generative Artificial Intelligence in the Ceramic Industry

Garance Lanfray, journey through Southeast Asia

From beginner to professional : choosing the right ceramic courses

Matthieu Liévois, The search for crystals
Discovering the Art of Japanese Ceramic Masters
Instructions for making your own sieve