
Seven key points to improve your pottery throwing technique
Contents
- Adjusting the potter’s wheel and seat
- Body position during throwing
- Choosing the right support: wheelhead or bat
- Clay consistency, determined by the shape to be thrown
- Amount of water during throwing
- Speed of the wheel
- Working quickly to avoid overworking the clay
Whether you’re a beginner or an experienced potter, we’ve identified 7 key ways to help you improve your pottery throwing technique and move forward.
Throwing pottery requires patience and precision, and it can be frustrating when you feel like you’re not making progress. By regularly returning to these fundamental principles, you’ll overcome technical obstacles and gain confidence.
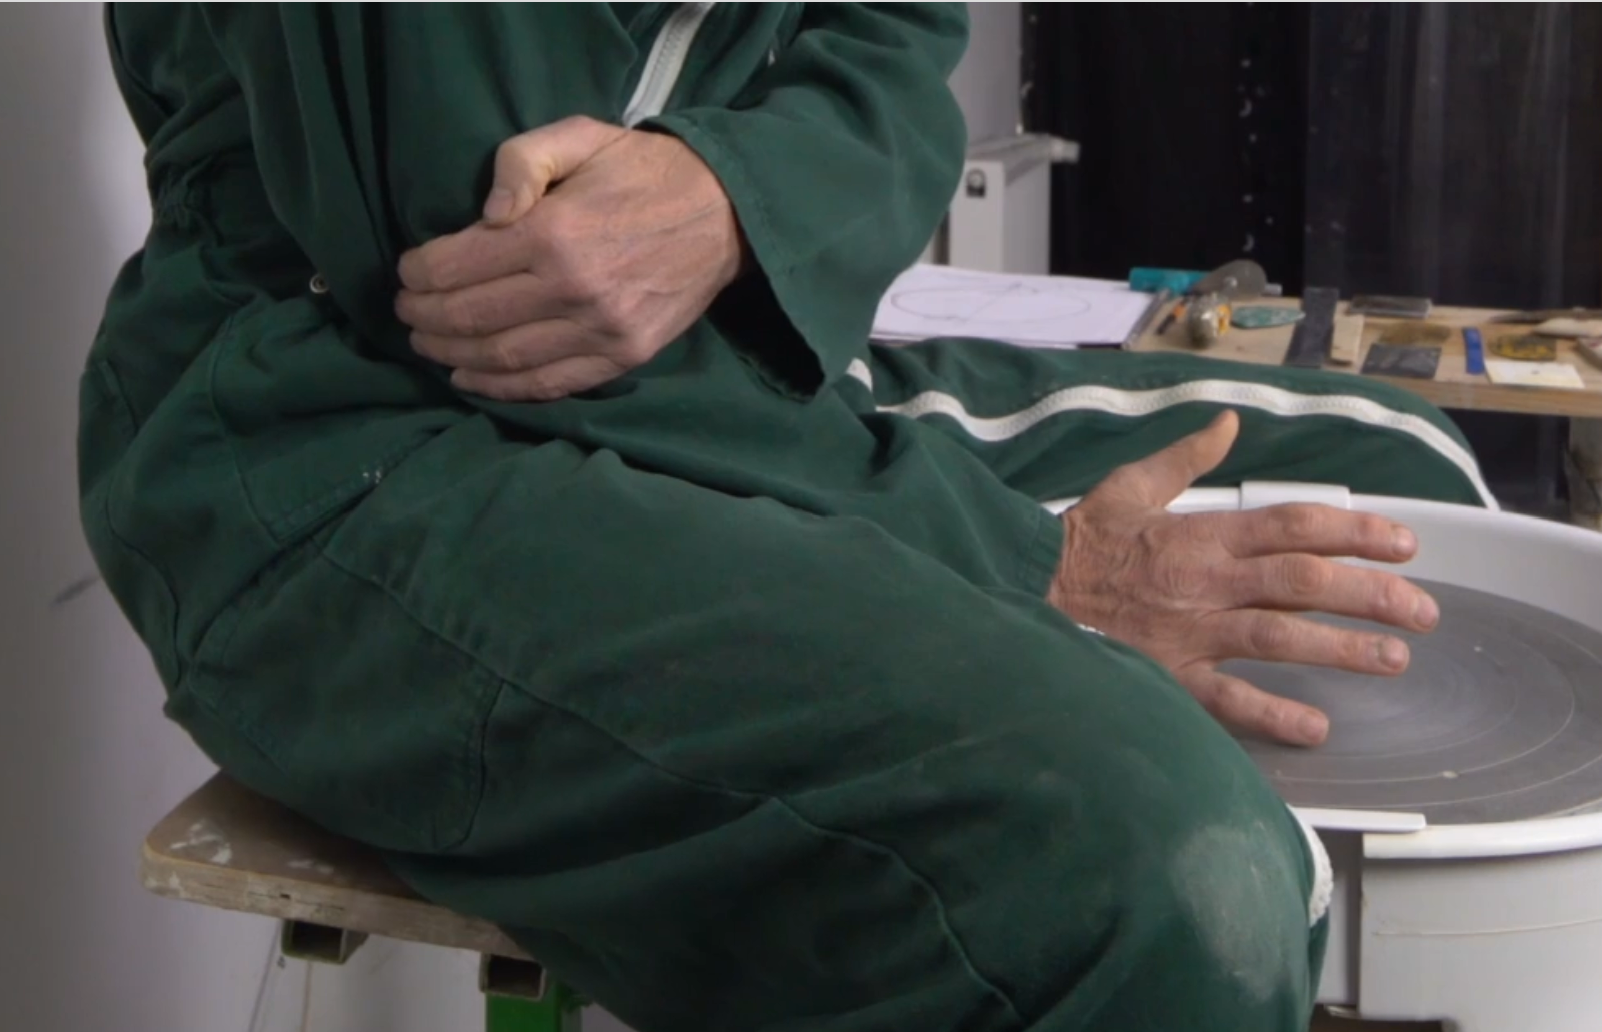
1. Adjusting the potter’s wheel and seat
Adjusting the potter’s wheel and seat are fundamental steps that many people wrongly overlook. The potter’s wheel must be adjusted to suit your height and body shape, as well as the ball of clay you are going to use.
Bad posture can lead to back pain and affect your precision. As for the seat, it should be stable and tilted slightly forward. Ideally, your thighs should be slightly above the splash pan to stabilize your hands and avoid unnecessary strain.
Tip: if you’re working with large amounts of clay, raise your seat to make use of your body’s weight. Conversely, for more precise work such as throwing small pots, a lower seat will give you greater control.

Ergonomic seat adopted by Creamik
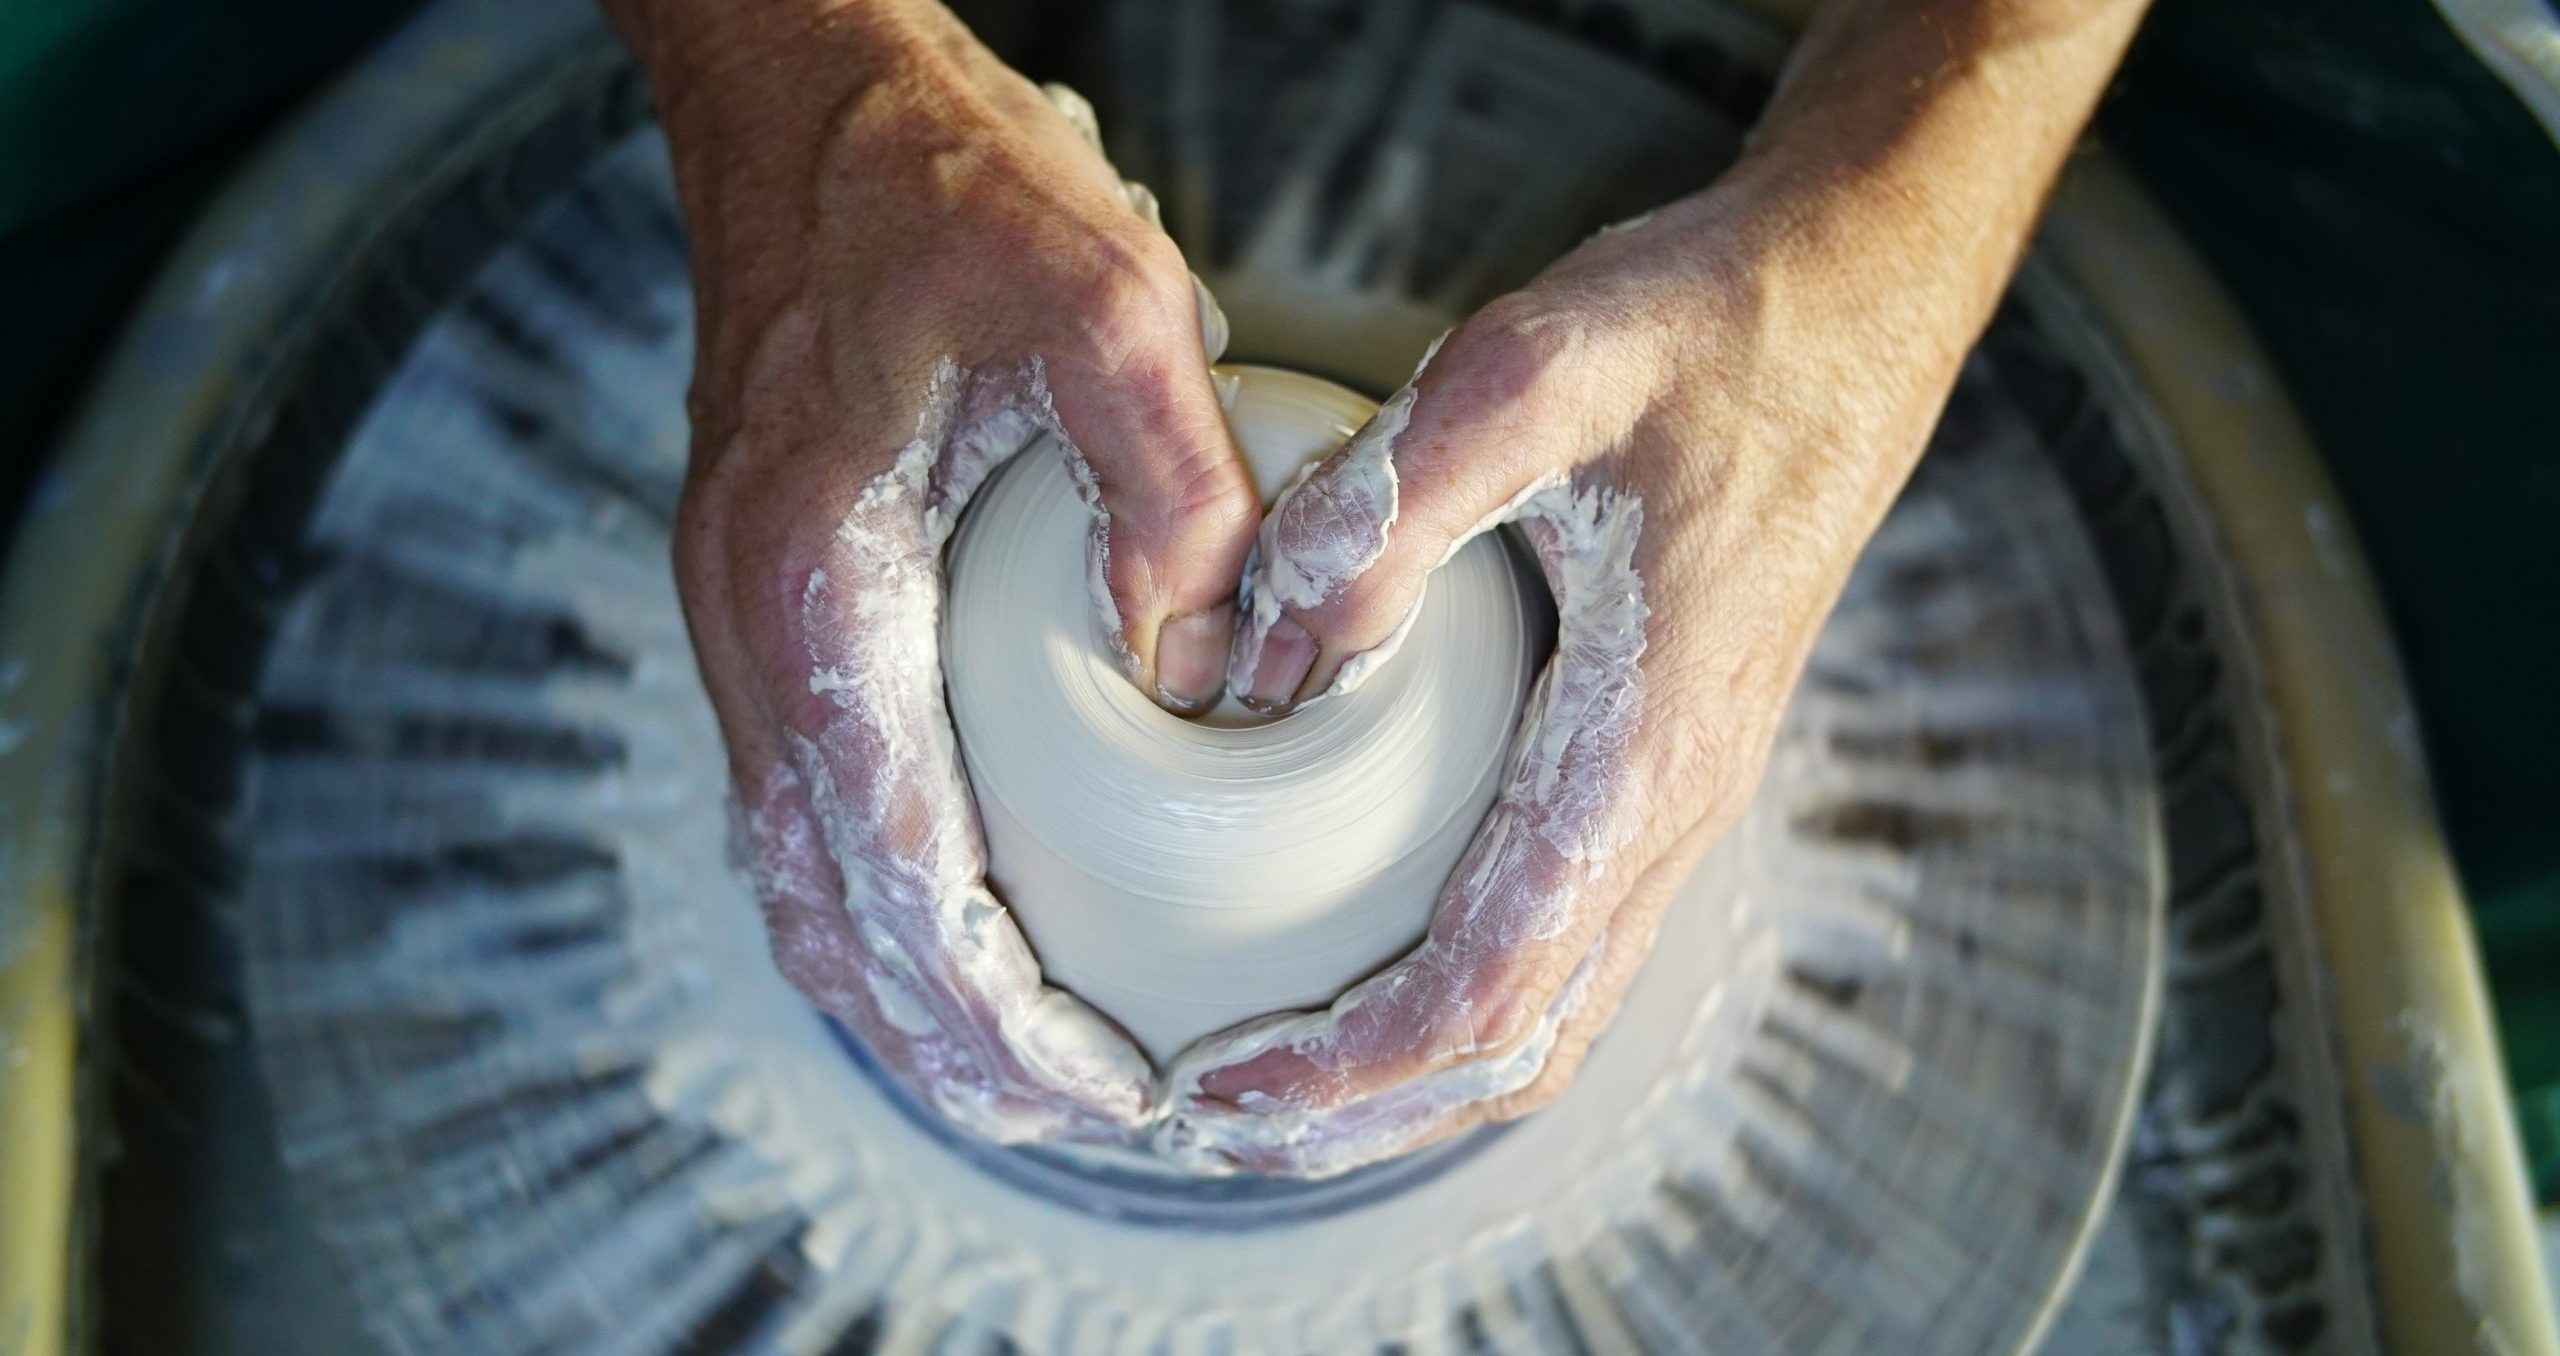
2. Body position
Good posture prevents pain and enables efficient movement. A straight back, tilted slightly forwards, gives you better control over the clay and prevents tension. Centering, in particular, relies on body stability. Place your elbow on your hip, and use this base to guide your movements, and you’ll be able to centre clay quickly and accurately.
Body position, Matthieu Liévois,
https://creamik.com/cours-en-ligne/
Throwing requires strength, but also lightness of movement and, above all, control. Being aware of your posture, your breathing and how you distribute your weight stops you from becoming quickly tired, prevents back injury and can protect your joints. Rather than using hands and wrists to exert force, learn to use your whole body weight. Short warm-ups before throwing can reduce muscle tension.
Tip: if you feel stiff after throwing, it’s likely that your posture is incorrect. Take the time to adjust it regularly. Try to concentrate on your breathing and the way your body interacts with the clay.
3. Choosing the right support: Wheelhead or bat
This choice has a direct influence on the quality of your work. For small pieces, throwing on the wheelhead is often sufficient. However, as soon as you work with more open shapes or porcelain, bats become essential. Porcelain is known as a ‘memory clay’; deformities can emerge during firing if it has been badly thrown.
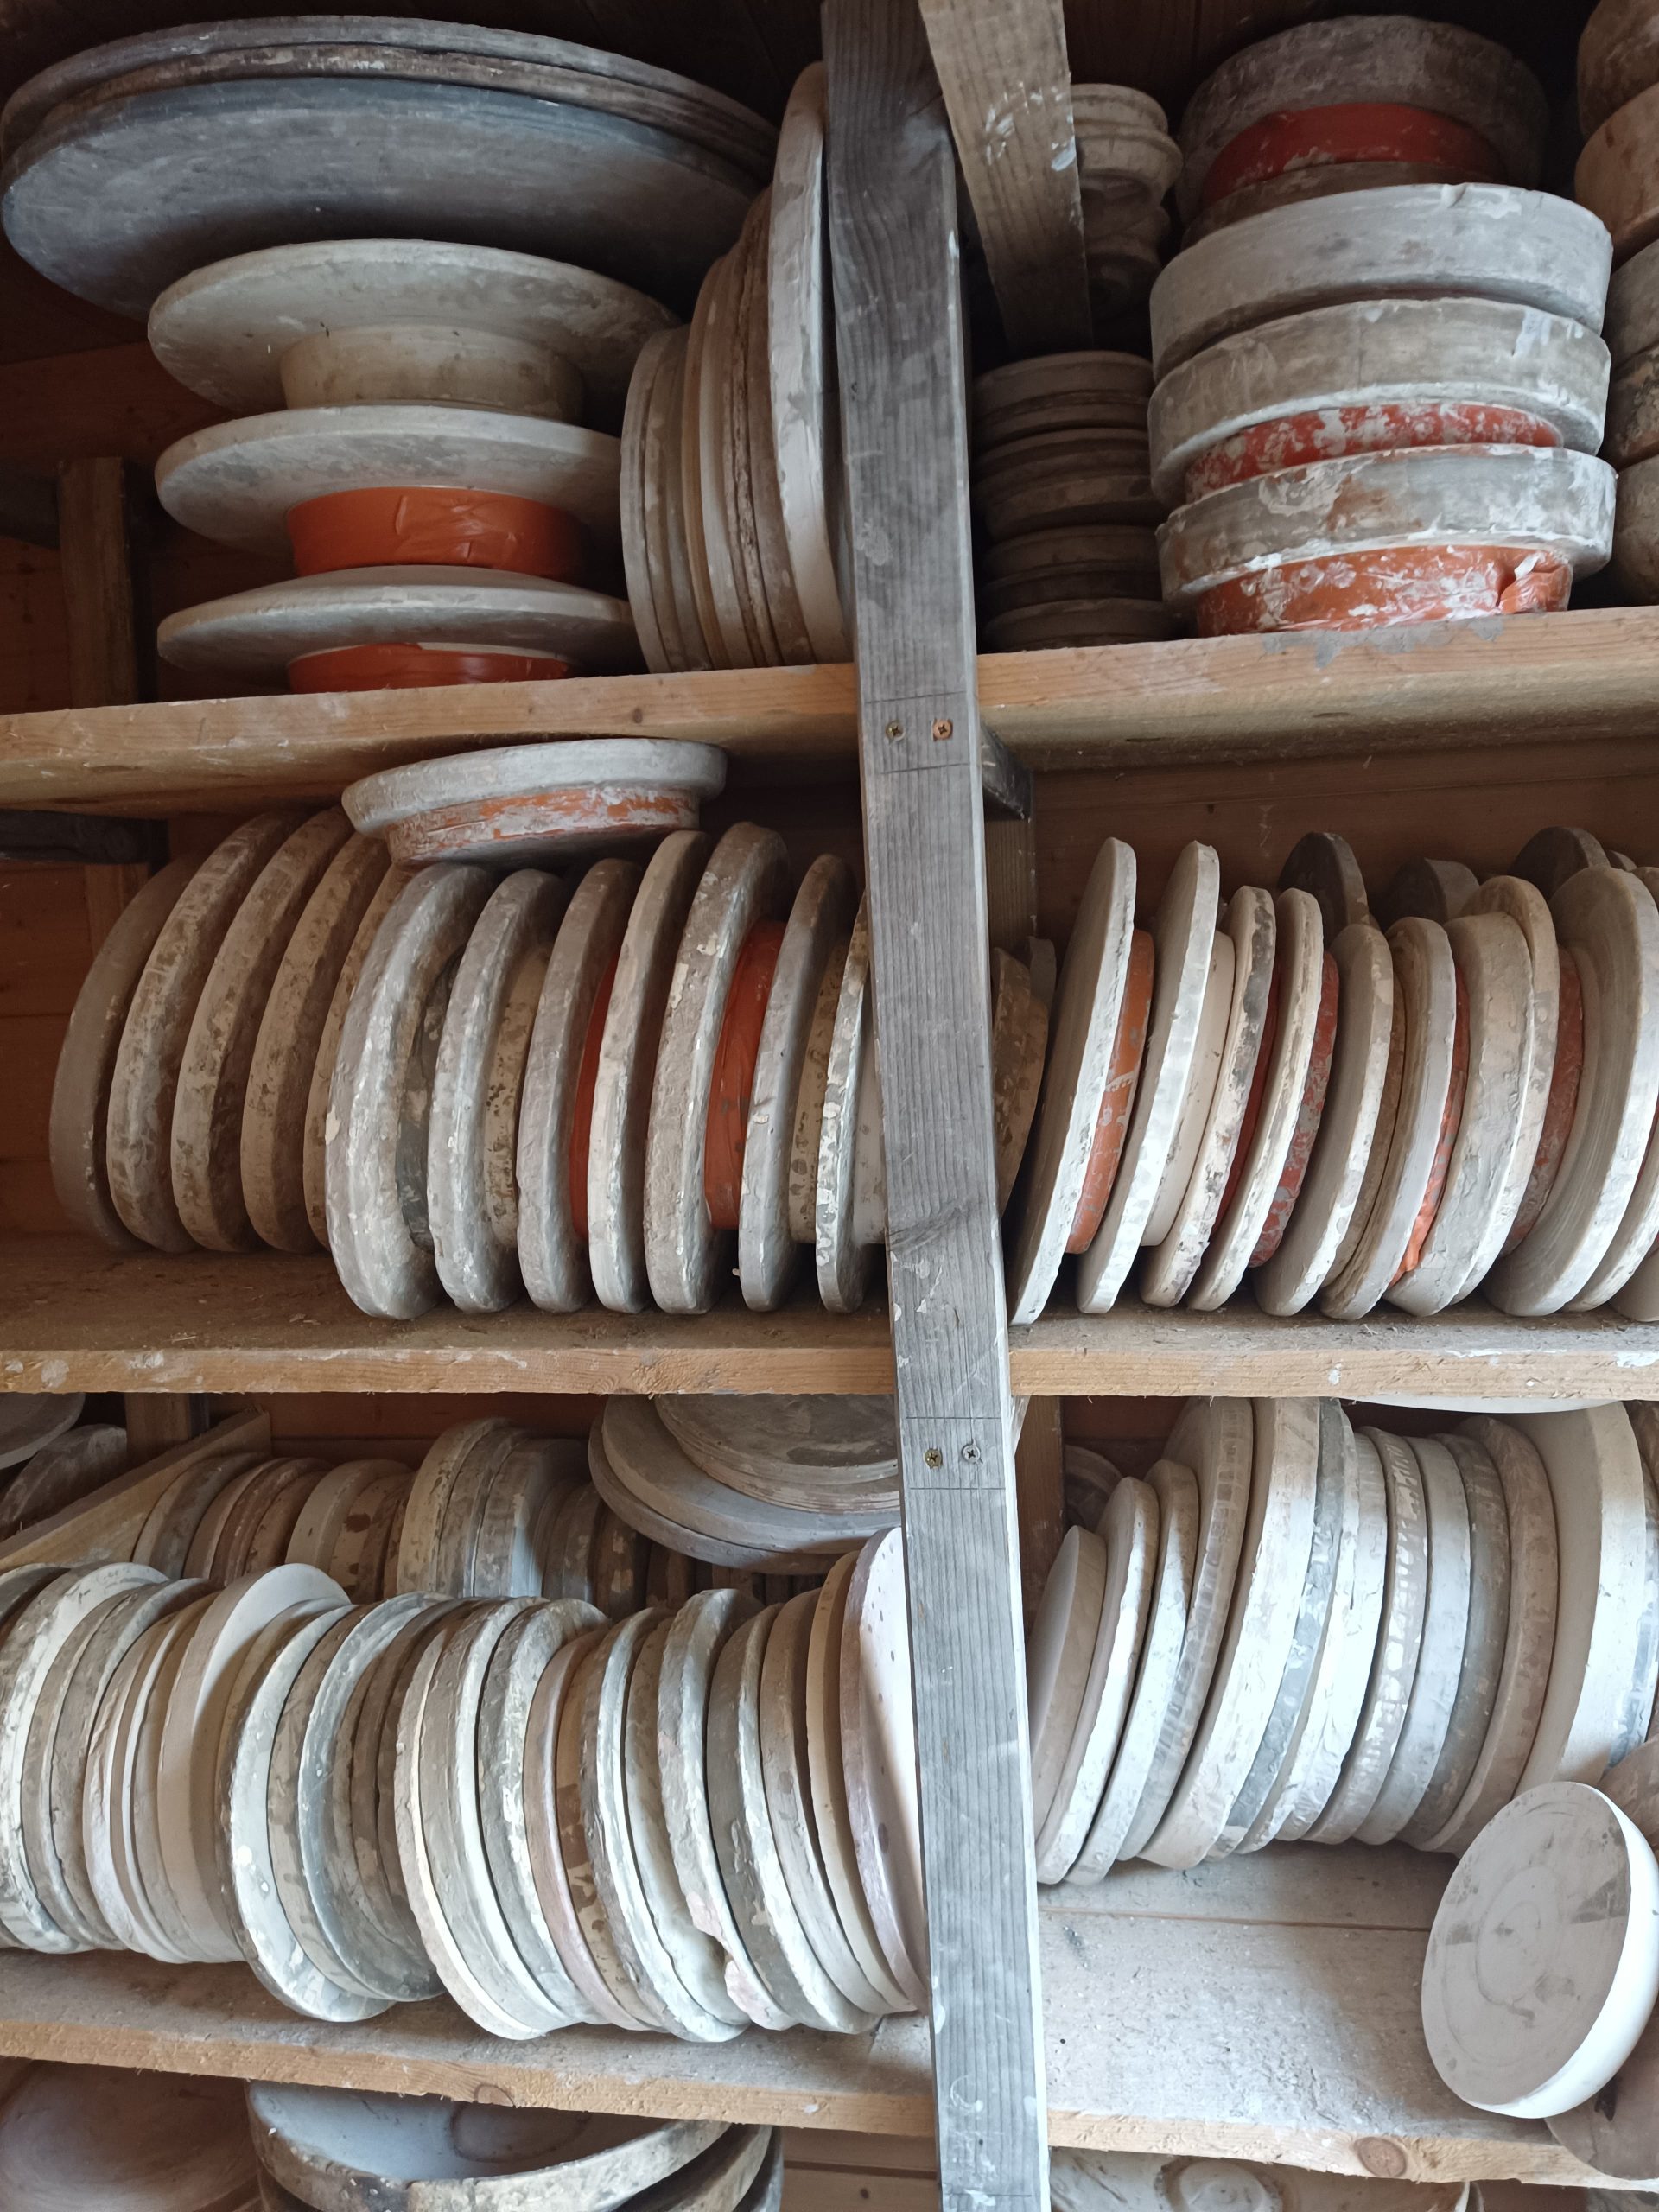
Plaster bats by Matthieu Liévois
Tip: learn to make preformed plaster bats. They improve efficiency, facilitate the creation of work not possible on a classic wheelhead, and simplify finishing. Plaster bats are particularly useful for production throwing and objects with a narrow foot.

Pre-formed 28 cm diameter bat for a wide piece with a narrow foot.
4. Clay consistency and the shape to be thrown
The consistency of the clay must be adapted to the shape you are working on. For tall shapes, use firm clay. For flatter pieces such as plates, a soft clay will be better.
If you are working with bats and need to build walls on a tall pot: centre a very soft clay, and open it out. Then set the bat aside while the clay firms up. When it is firmer, begin to build the walls. This two-stage operation prevents malformation and ‘S’ cracks on flat bottoms. This tip is even more important when working with porcelain.
Tip: if your clay is too hard, leave it for a few days in a damp cloth. This will restore its plasticity and make the work easier.
Different states of the Clay
5. Add the right amount of water during throwing
Water is essential, but must be used sparingly. Too much can soak the clay. Introduce it carefully with a sponge, and avoid even the smallest pooling at the bottom of your piece.
Tip: don’t get into the habit of wetting your piece too often as you shape it. If you are working with soft clay, a minimum amount of water is enough to maintain plasticity.
6. Speed of the wheel
The speed of the wheel is difficult to gauge when you are a beginner. While centering, the speed can be rapid, but as the piece rises, slow down, as the centrifugal force opens the piece up by itself. With experience, you can adapt the speed to each stage of the throwing process.
Tip: in the finishing phase, reduce the speed as much as possible to obtain a clean result, particularly for the necks of vases or complex shapes.
7. Work quickly to avoid overworking the clay
Quick, precise movements are key to efficiency. It’s not about going as fast as possible, but of working with a sure touch and avoiding unnecessary movements.
Repetition is essential for developing muscle memory and improving fluidity. This will also help when handling difficult clay, such as porcelain.
Don’t hesitate, during throwing sessions, to include some very simple shapes, repeating them until you achieve total mastery.
Tip: practise the same action over and over again until it becomes automatic. Try to throw a piece in less than 3 minutes to avoid overworking the clay.
Throwing is not just technical, it’s a sensory experience. Feeling the clay, understanding how it reacts under your fingers, and adapting your movements to these sensations is a valuable skill. You will learn when to release the pressure, when to add water, and to judge the exact moment when a piece is finished.
Tip: concentrate on the sensations in your fingers and palms. Don’t hesitate to close your eyes to better adjust your movements to the clay’s texture, humidity and resistance. By experiencing these sensations, you will fine-tune your movements naturally, connecting with the material. And so begins the dialogue between you, the potter, and the clay…
These 7 points are the basis of controlled and effective throwing; the more you practise, the more you will master your technique.
Going further
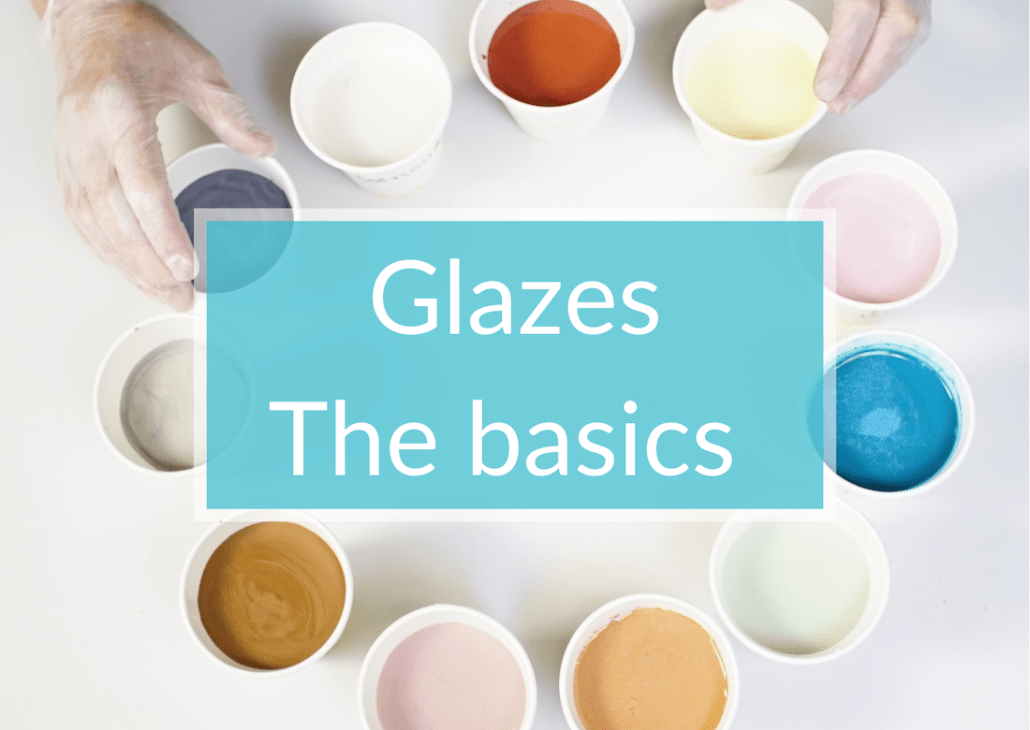
In addition to the 7 fundamental technical points for throwing, we think that glazing should be learned right from the start, and not as a second step. From the outset, it is important to consider the shape and the glaze simultaneously. In addition, we advise you to carry out your first glazing tests on pieces that are not perfect. It would be a shame to ruin a perfectly good piece with a defective or unsuitable glaze.

Working on glazes
Conclusion
By incorporating these 7 principles into your daily practice, you can improve your technique and tackle new forms and new projects confidently. Attention to these details is the foundation of good throwing.
But don’t forget, true mastery doesn’t just come from repetition and practice, it also lies in your ability to listen to the material, to feel and adapt to its responses. This balance between control and letting go is the essence of throwing.

Vase, nickel crystallisation, Matthieu Liévois
")
Resource centre
animated by Matthieu Liévois,
potter-ceramist for over 40 years and founder of the Creamik School
Find all the courses

Keywords
Don’t miss any more news from the Créamik school!
Follow us on the networks
You can also discover…
Less math, better research: Generative Artificial Intelligence in the Ceramic Industry

Garance Lanfray, journey through Southeast Asia

From beginner to professional : choosing the right ceramic courses

Matthieu Liévois, The search for crystals
Can ceramics be fired in a microwave?

Discovering the Art of Japanese Ceramic Masters
Instructions for making your own sieve