10 tips for successful plate-making
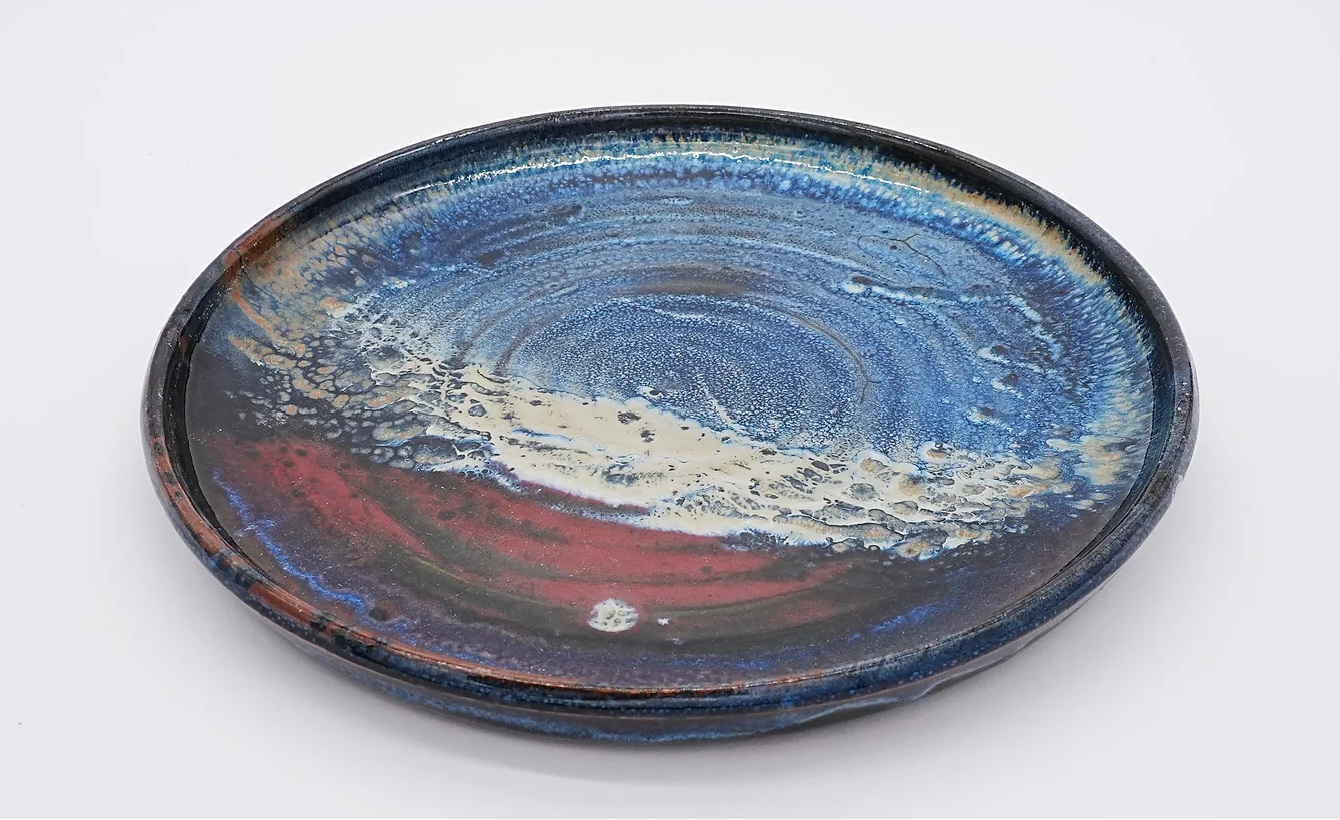
Matthieu Liévois. Glaze on stoneware
10 tips for successful plate-making
1. Choosing the clay
2. Choosing the bat
3. Clay thickness and shrinkage
4. The consistency of the clay
5. Compression and finishing
6. Bisk firing
7. Slow temperature rise
8. Applying the glaze
9. The size of the kiln
10. Selling price and profitability
Making ceramic plates is a challenge that few potters take up, despite the strong demand, whether from enthusiasts of traditional pottery or from restaurateurs. For the latter, these pieces are essential to the presentation and visual identity of their dishes.
The plate is the potter’s stumbling block.
At first glance, making a plate seems simple, but those who have tried their hand at it have quickly realized that this is not the case! From shaping and drying to firing and glazing, each stage is a risk of defects greater than you might think.
The Créamik team invites you to follow these 10 tips to avoid the pitfalls that can discourage even the most experienced potters.
1. Choosing the clay
In theory, any clay can be used to make pottery plates. In practice, it is preferable to use clays with a coarser grain. Ideally, enriched with grog known as ‘chamotte farine’, which is an impalpable grog.
Fatigued’ clays (those that have already been worked several times and have lost their plasticity) are ideal for making plates, as the aim here is not to build up the clay, but to spread it evenly. Making the plates is therefore a good opportunity to use recycled clay.
2. Choosing the bat
For making plates, it is essential to throw on a bat (made of wood or plaster) if you want to remove the plate from the wheel head. First do centre the bat on the wheel head. Ideally, you should use a GODET, which automatically centres the bat and prevents it from slipping sideways.
We strongly advise you to use plaster bats, which you can make yourself more easily than wooden bats (see the course on throwing with plaster). The plaster bats fit into the GODET, which replaces the wheel head. Plaster bats are also more porous; you can leave the plate to dry on the bat without using a wire underneath it: the moisture from the clay is quickly absorbed, and the plate will detach itself after a few hours, avoiding deformation when drying.
On a wooden bat, on the other hand, the use of a wire always bulges a little, and the centre of the plate becomes thinner than its edge. This difference in thickness can lead to :
– deformation and splitting during drying.
– sagging due to the weight of the glaze during the second firing for stoneware and porcelain pieces.
– a difference in the glaze at the center of the plate (the finer clay will quickly become waterlogged during glazing, and the layer of glaze will be thinner there).
– it is impossible to glaze under the plate, because if it sags, it will stick to the kiln shelves.
The “counter tension” from the one sided glaze plate will cause the plate to break when it cools.
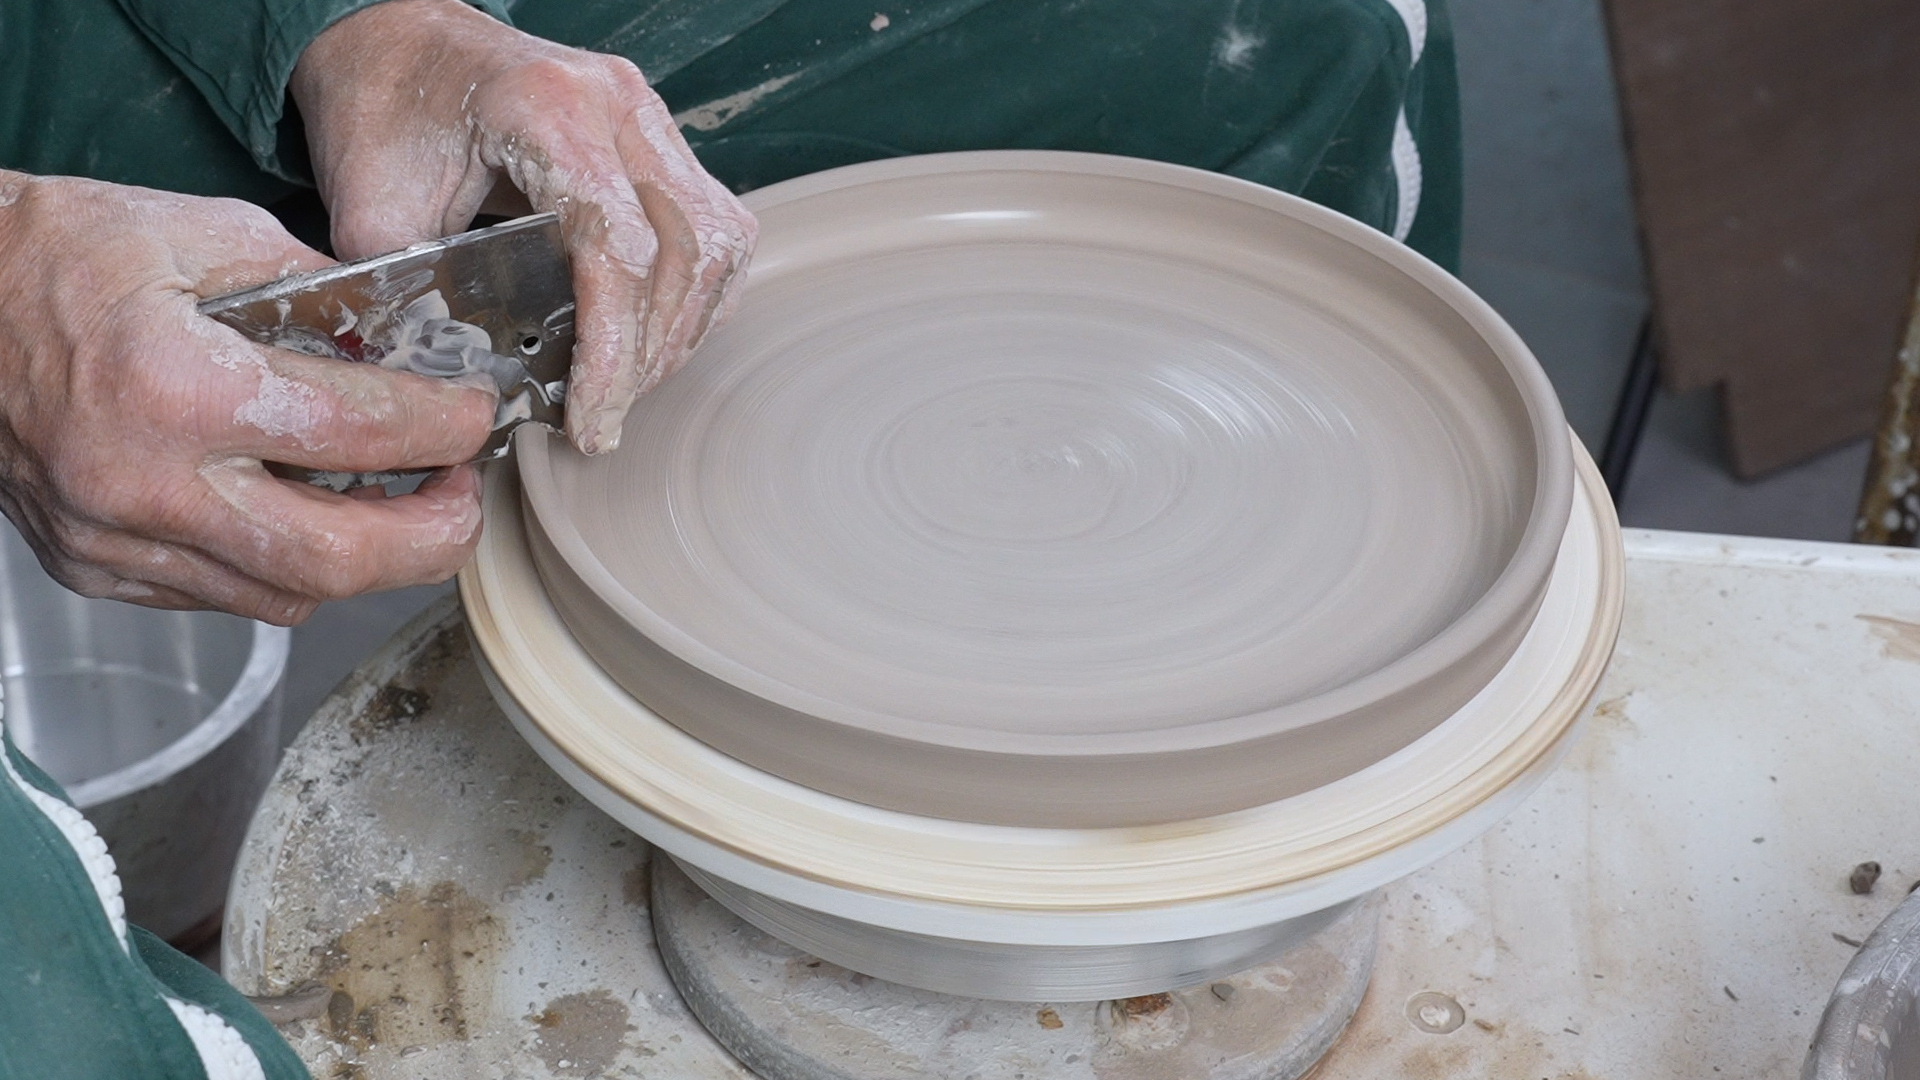 Plate thrown on a preformed bat placed on a bucket
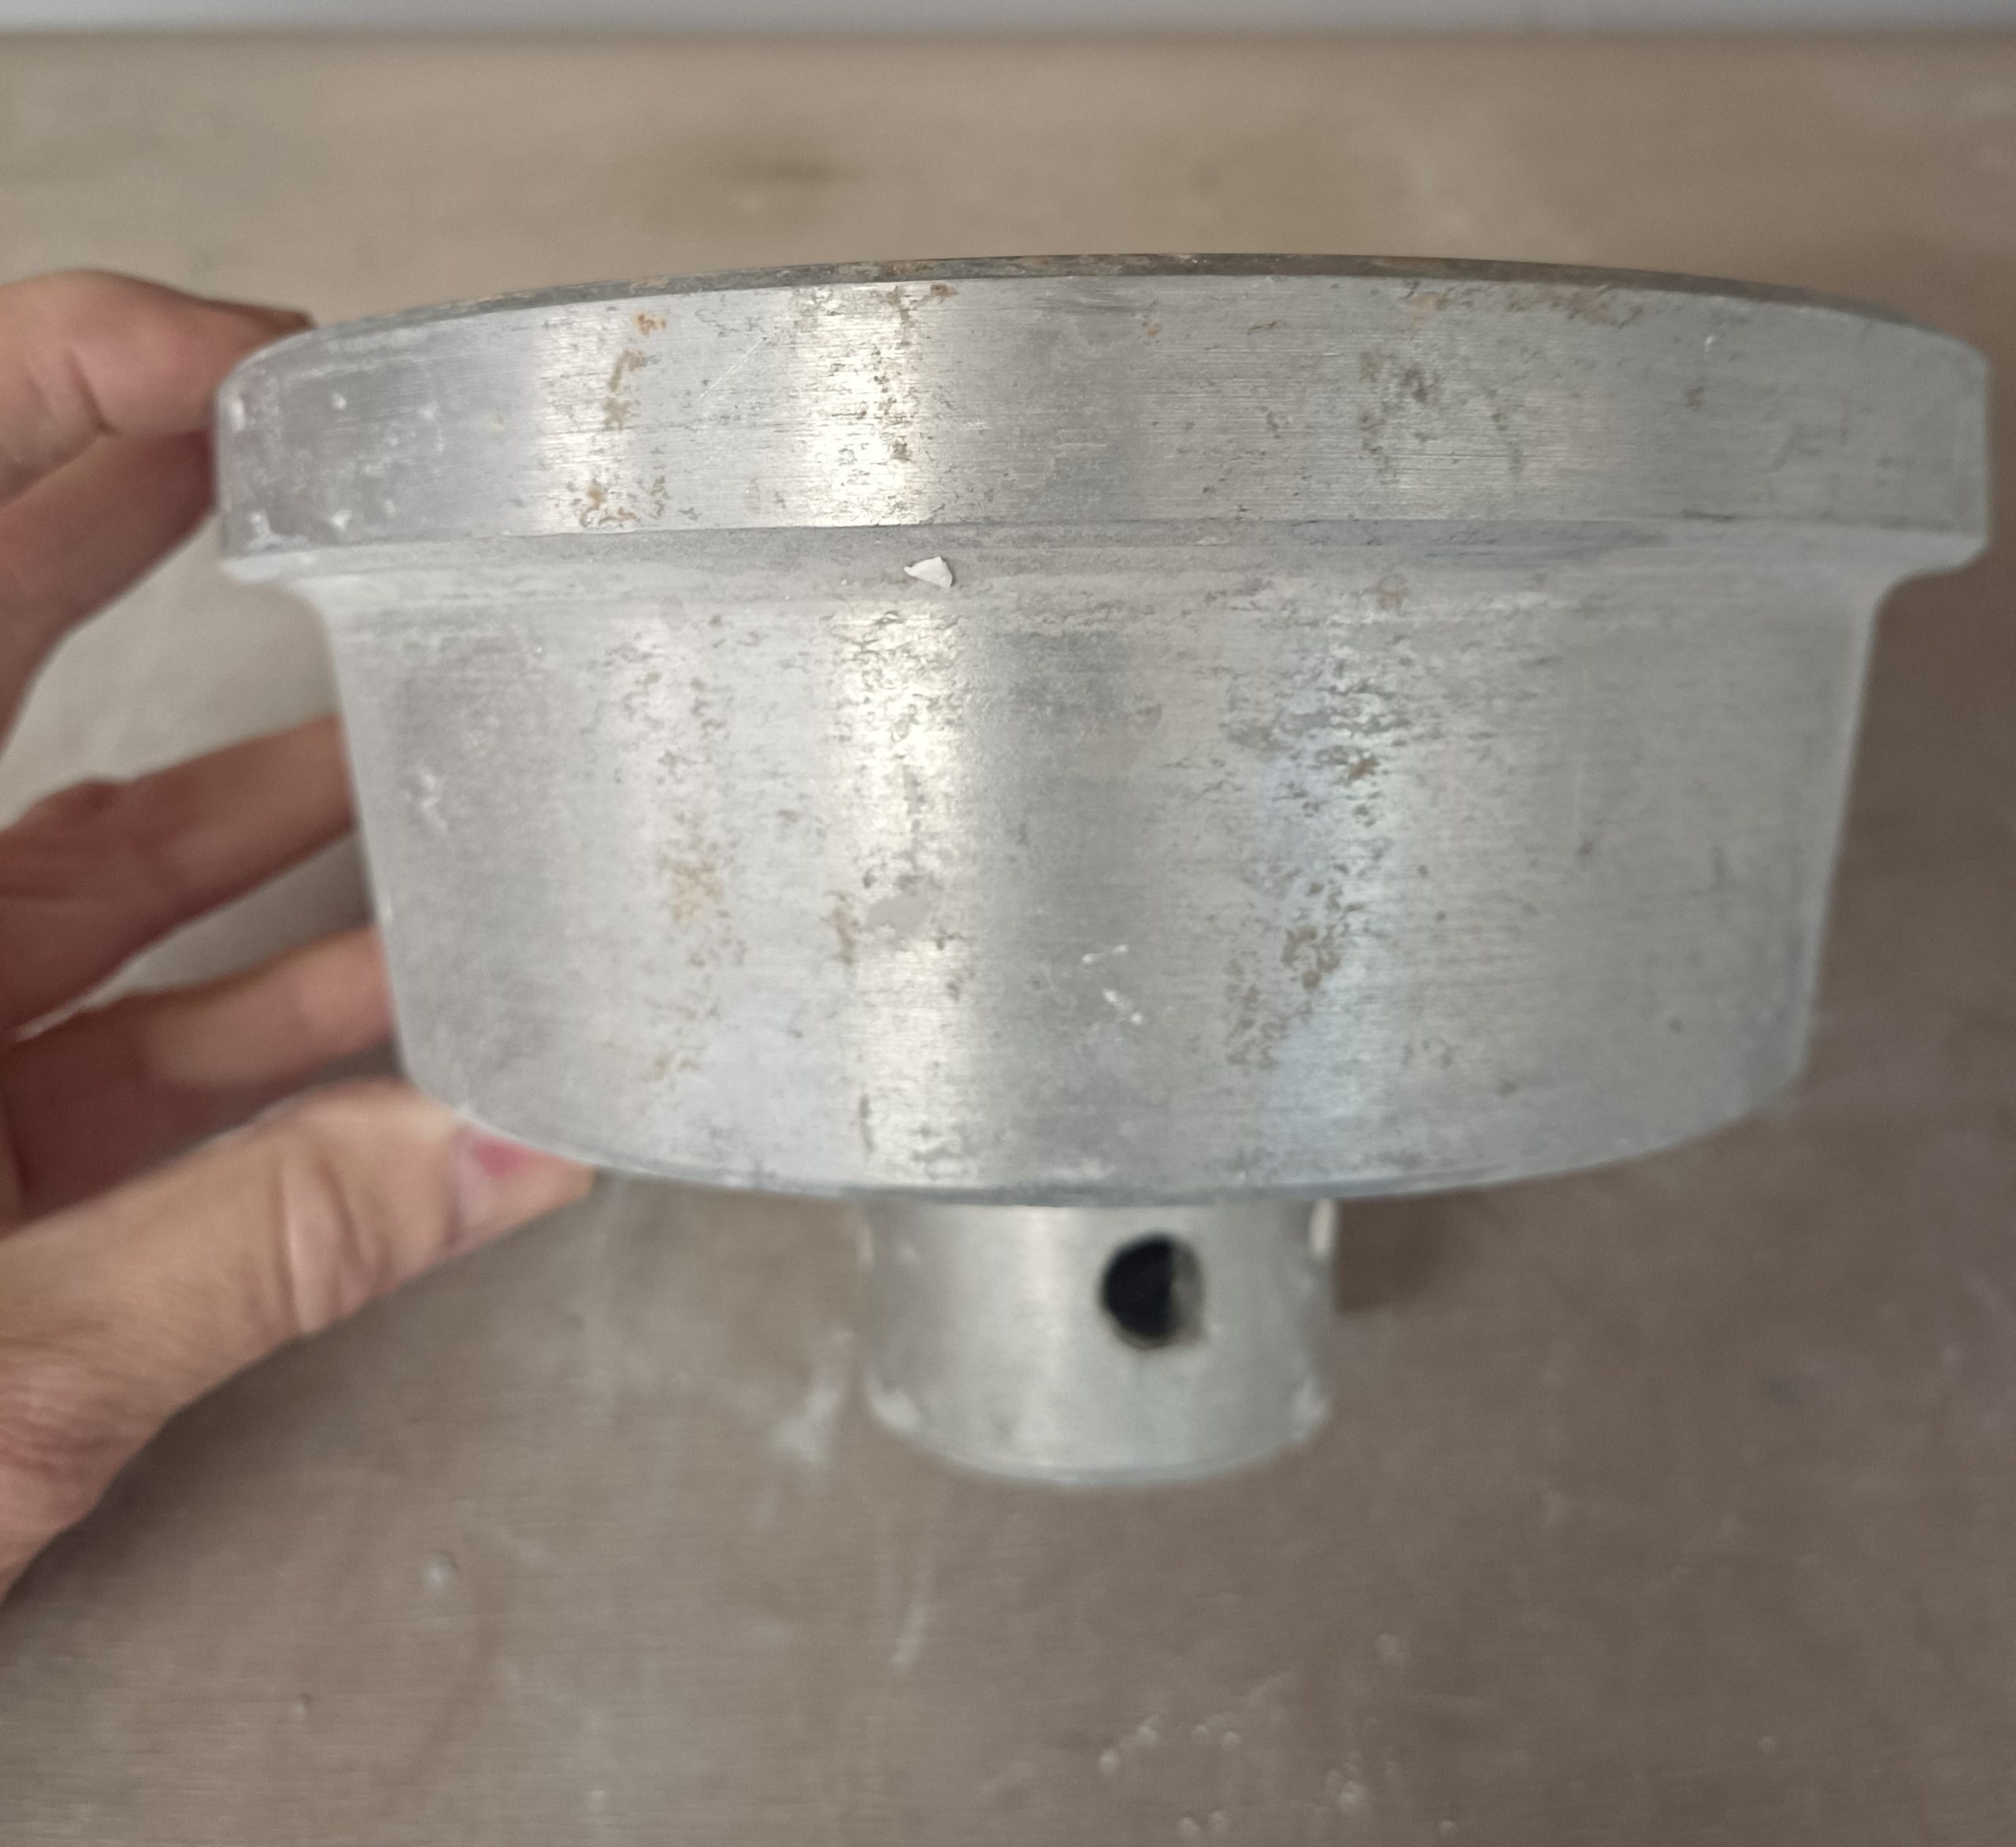
Small bucket seen in profile

Top view of the bucket: the plaster bat will fit inside.
3. Clay thickness and shrinkage
To glaze a plate underneath, it is advisable to throw it quite thick to have enough material to turn when it’s leather hard. For example, for a 30 cm diameter plate (after drying and firing), the potter will need to use between 1.4 and 1.6 kg of clay for a thickness of at least 1 cm. Turning is no longer necessary if you throw on a plaster pre-formed bat which will give the plate its desired base.

Pre-formed bat for plates: simply spread the clay on the bat. The clay takes the shape of the plaster bat, no need to turn.
4. Clay consistency
Work with very soft clay or use your recycled clay before it has hardened too much:
– very soft clay will spread easily on the bat
– it will avoid the ‘S’ cracks during drying
– using a plaster bat requires a minimum amount of water to prevent the plaster from becoming soggy).
Finally, use slip to spread over the clay with a sponge, just as you would for lubricating your hands when throwing.
5. Compression and finishing
Once the plate has been shaped, compress the surface with a flexible metal spatula to reduce deformation during drying and firing, and avoids the “S” cracks underneath. In addition, do not make the edges too thin; handling the plate will be easier when glazing, firing, and when being used afterwards by the customer.
6. Bisk firing
Do not stack too many plates on top of each other during the first firing (3 maximum). It is preferable to arrange them upright, ensuring that they only bear their own weight. This will avoid the fine cracks running from the edge of the plate towards its center.
7. Slow temperature rise
Because plates are large surfaces, their edges heat up faster than their center, with shrinkage differences: Increase the temperature gradually during bisk firing (60°C per hour up to 600°C, then 180°C per hour up to 980°C). Raising the temperature too quickly could cause straight cracks in the center of the plate.
8. Applying the glaze
Whether the plates are flat or hollow, it is advisable not to apply too much glaze to the outside walls to avoid the glaze separating as the temperature rises. A single coat of monochrome glaze is therefore preferable on the outer walls to guarantee a flawless result for the entire plate.
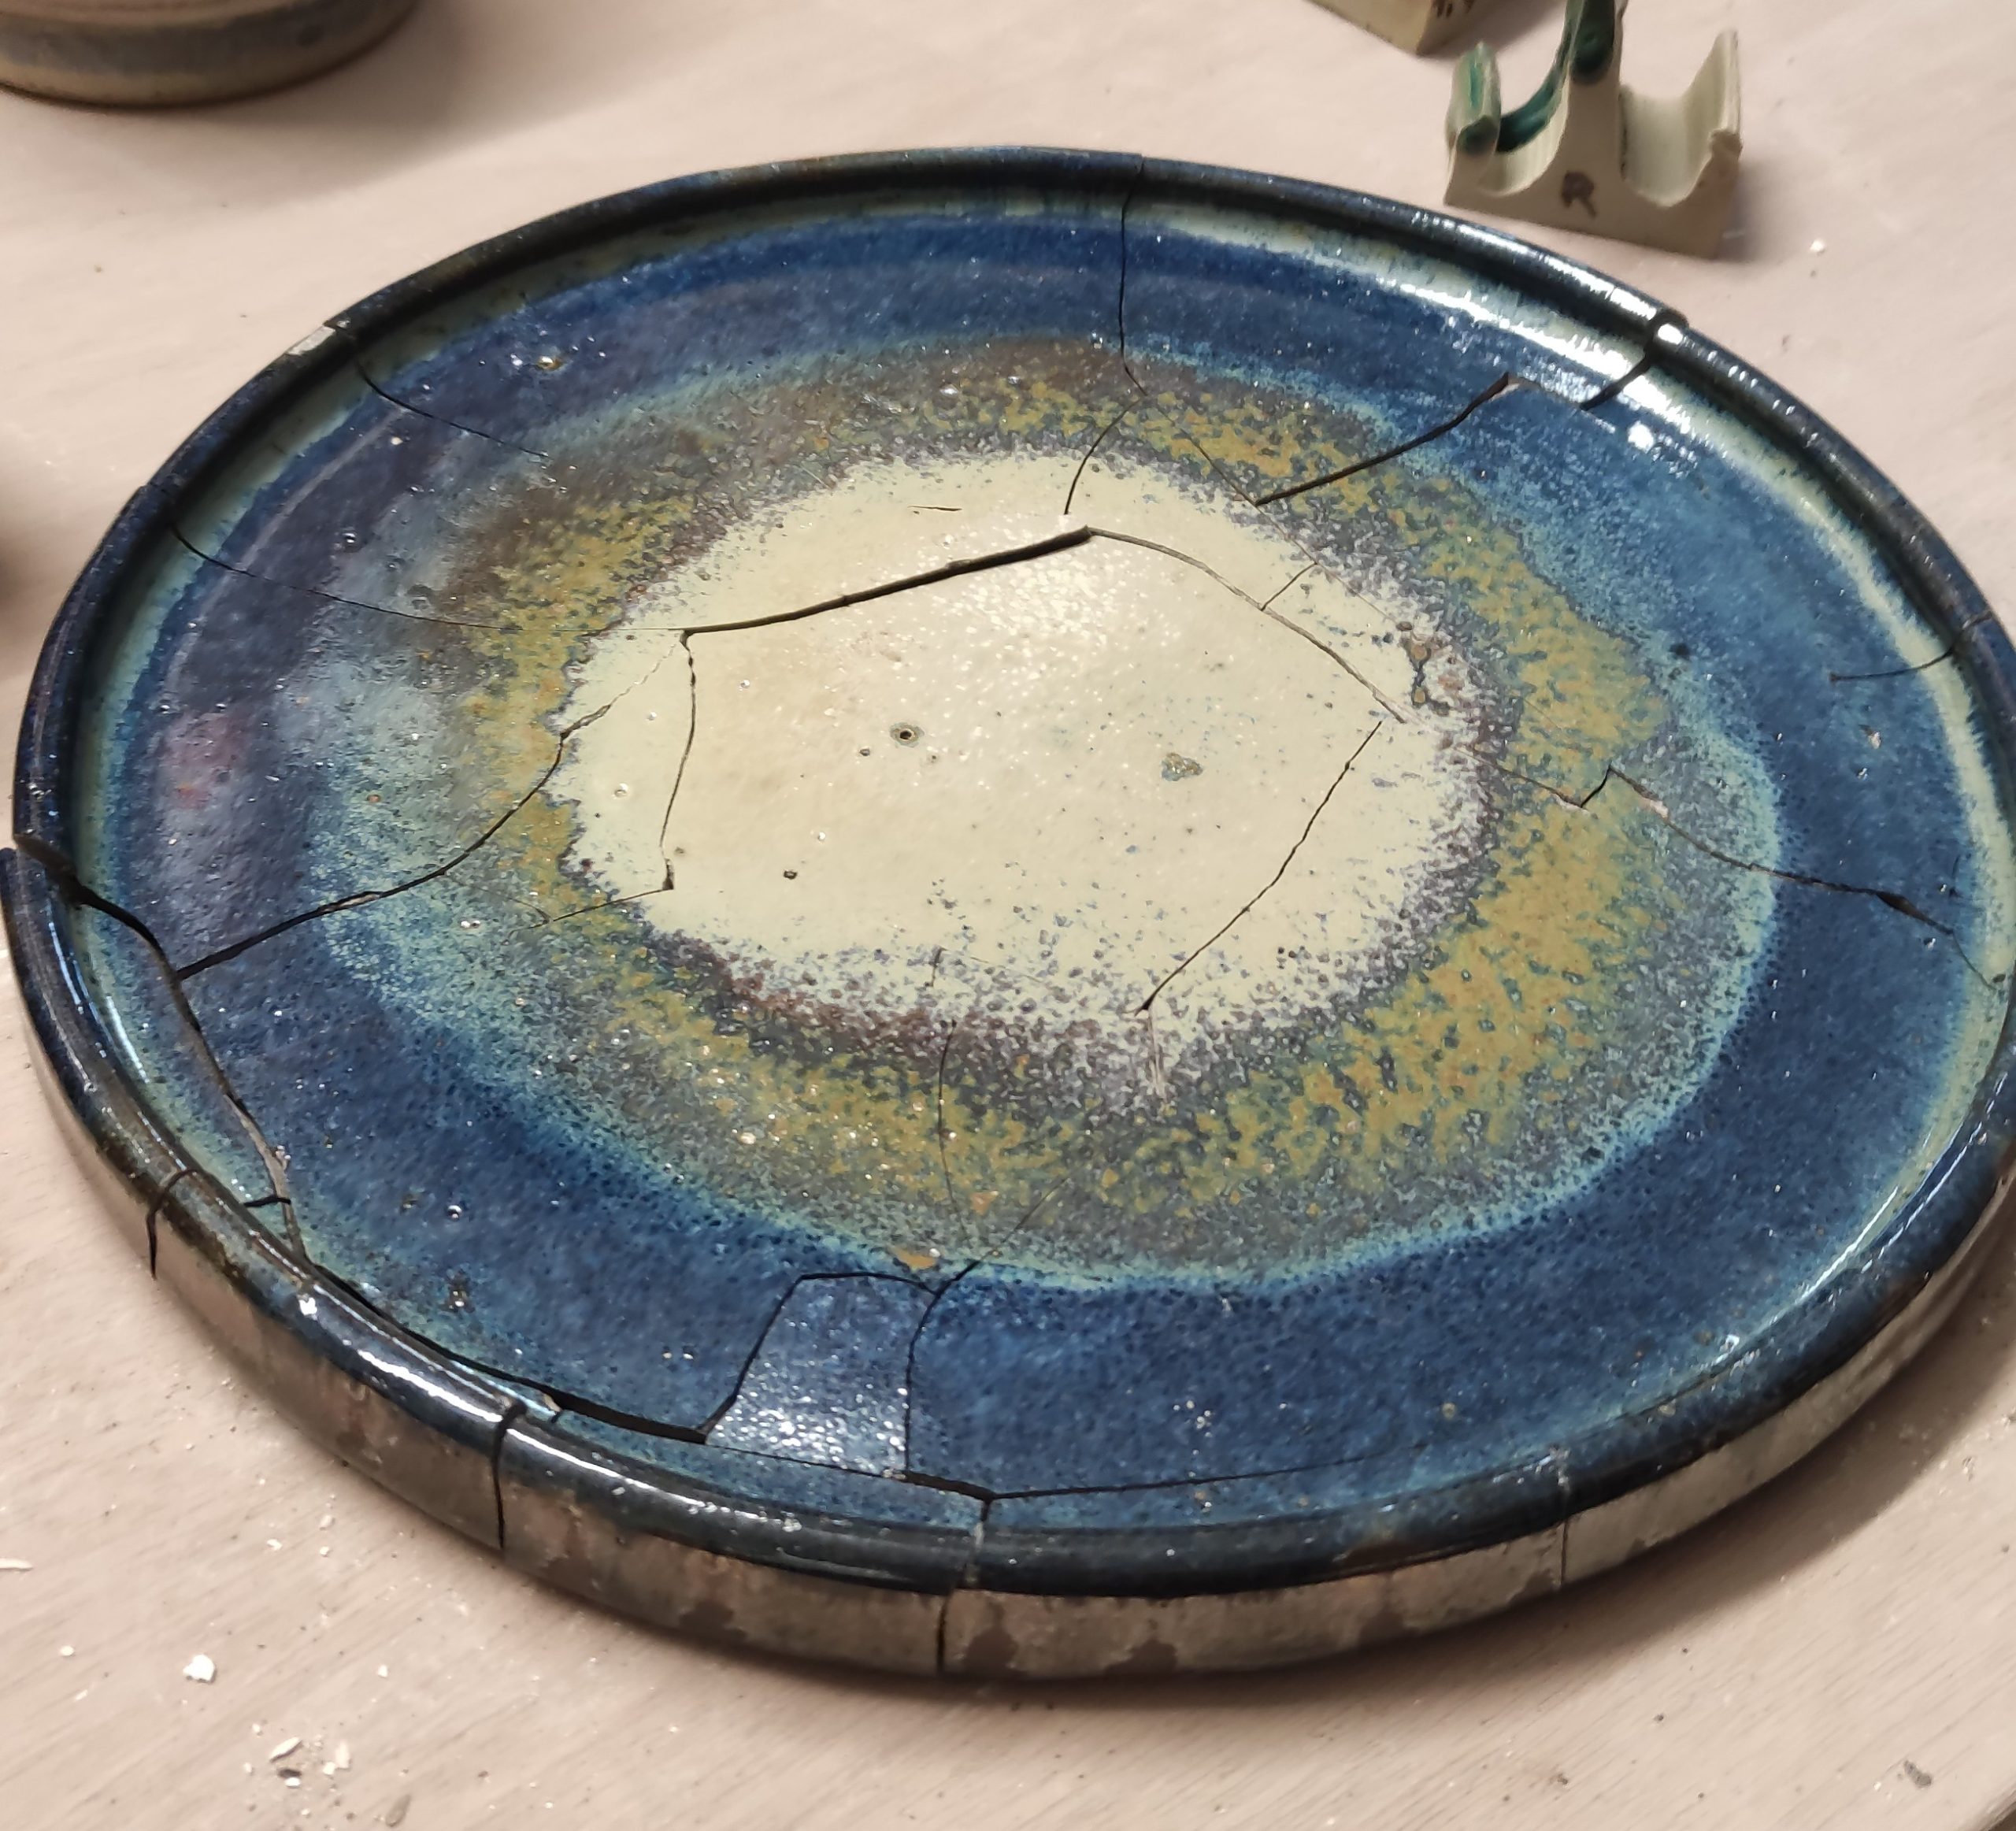
A large plate broke in the kiln
9. The size of the kiln
Small kilns, less than 250 liters, are not practical for firing plates as they fill out all the shelves space, and overall production is limited. What’s more, this situation can lead to defects due to uneven heat distribution. That said, you can always use plate supports:
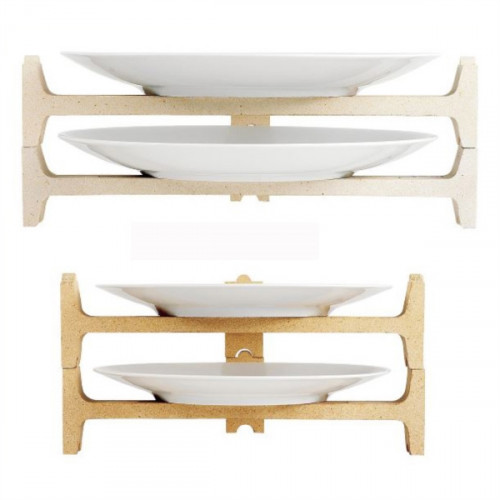
plate supports, from Cigale&Fourmi
To learn how to fill your kiln properly, read our blog article: https://creamik.com/how-to-fill-your-ceramic-kiln/?lang=en
10. Selling price and profitability
At present, the industrial production of cheap crockery, combined with low-cost imports, makes it difficult for potters to sell plates at a fair price. It’s important to strike a balance between the quality of the object and its profitability. This explains why Matthieu has always sought to optimize his plate-making to make them competitive in this tight market.
Conclusion
The manufacture of ceramic plates represents a challenge in itself, as we have just seen, with all the technical criteria that need to be taken into account. Another challenge arises when it comes to making them suitable for professional use. For restaurateurs, plates are visual, but they also had to meet a number of requirements: resistance to scratches from cutlery, withstand numerous trips through the dishwasher and repeated handling and knocks in a demanding environment.
Making plates that combine aesthetics and durability requires particularly advanced technical skills, especially in the choice and making of glazes. For the potters who rise to this challenge, the reward is twofold: to offer ceramics that enhance the food and are capable of lasting over time, even under conditions of intensive use.

Resource centre
animated by Matthieu Liévois,
potter-ceramist for over 40 years and founder of the Creamik School
Find all the courses
Keywords
Don’t miss any more news from the Créamik school!


