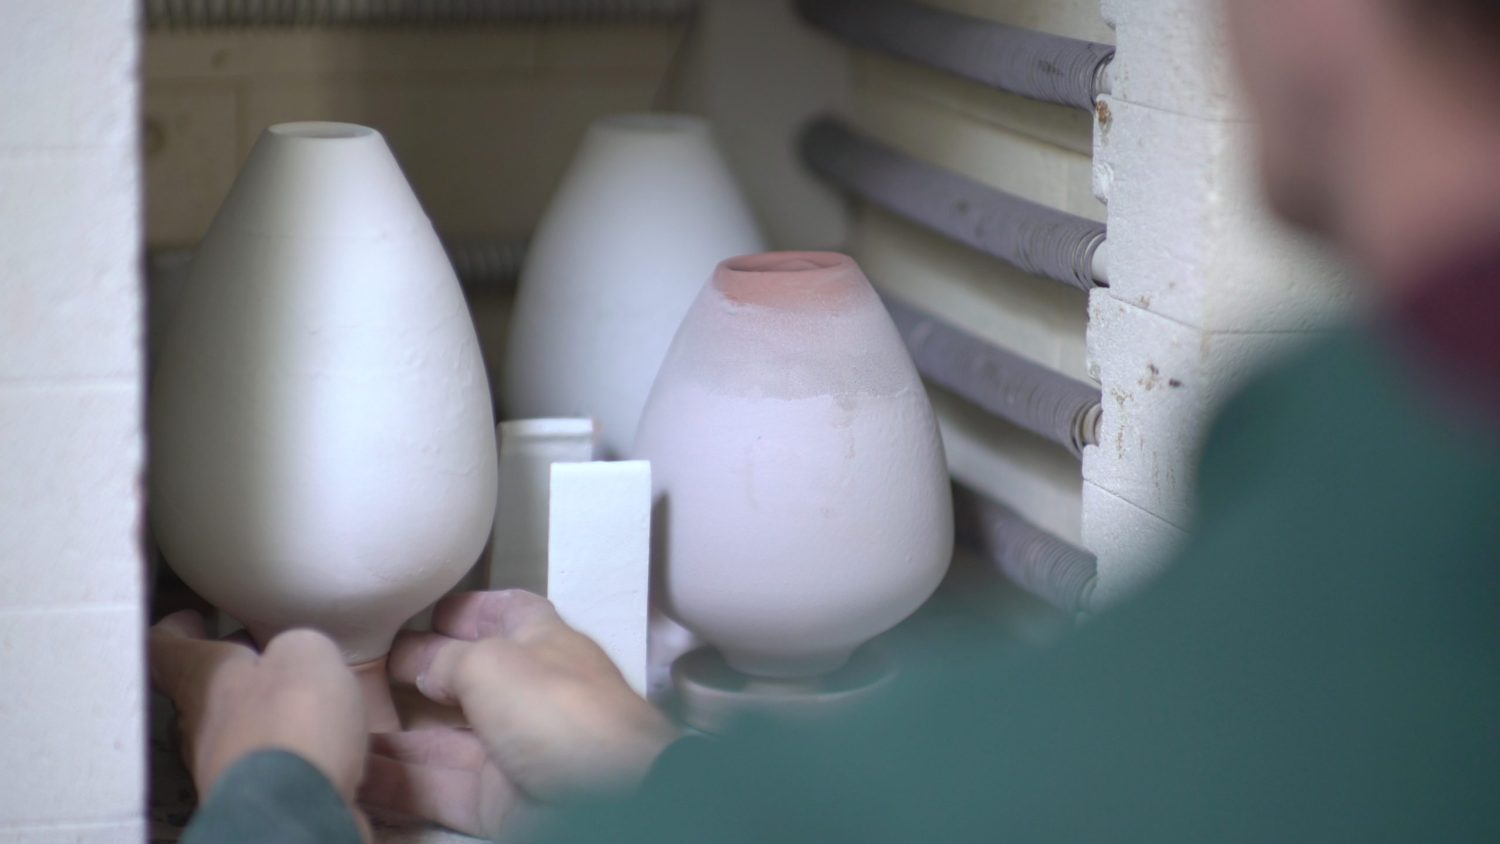
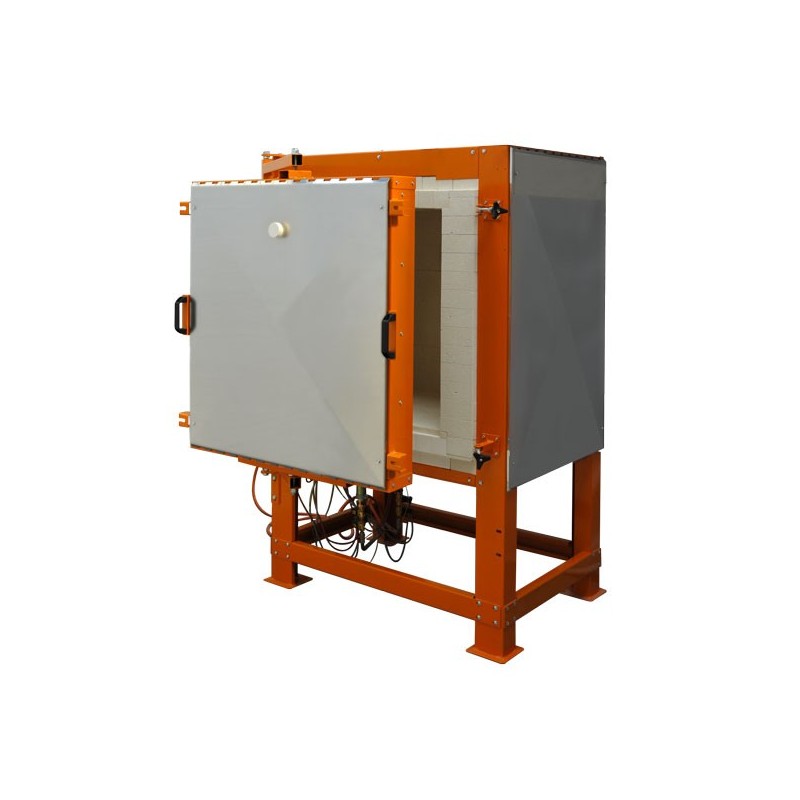
Firing ceramics: why do defects appear in the kiln?
In a potter’s life there are ups and downs, and sometimes being able to motivate yourself and overcome frustration is as important as getting new tips. That’s why we decided to share issues that Matthew and one of his students faced recently. This will show you that whether you’re a beginner or have 40 years of experience as a professional potter, no one is immune to unpleasant surprises when opening the kiln. The most important thing is to learn from your mistakes and stay motivated!
👉 Check Out our Full Glazing Course currently Up to 50% OFF for New Year’s Eve
If the temperature rises too quickly, the clay may crack!
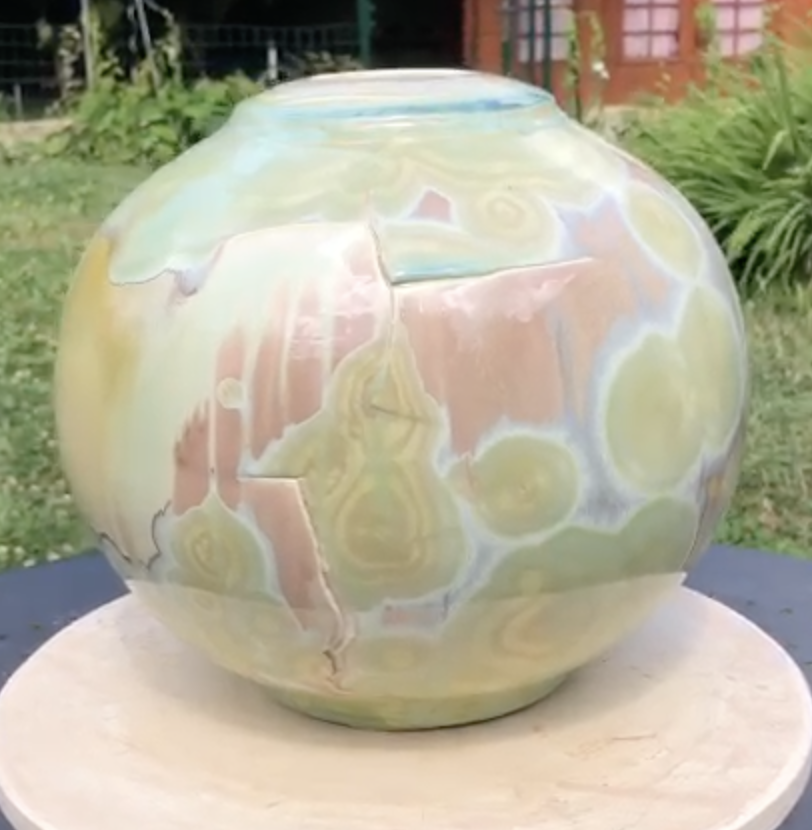
The crack in the vase pictured here was caused when bisque firing, probably because the temperature rose too quickly from 600 to 980°C. It might have started with a tiny crack, invisible to the naked eye, which is why Matthieu glazed the vase and fired it a second time.
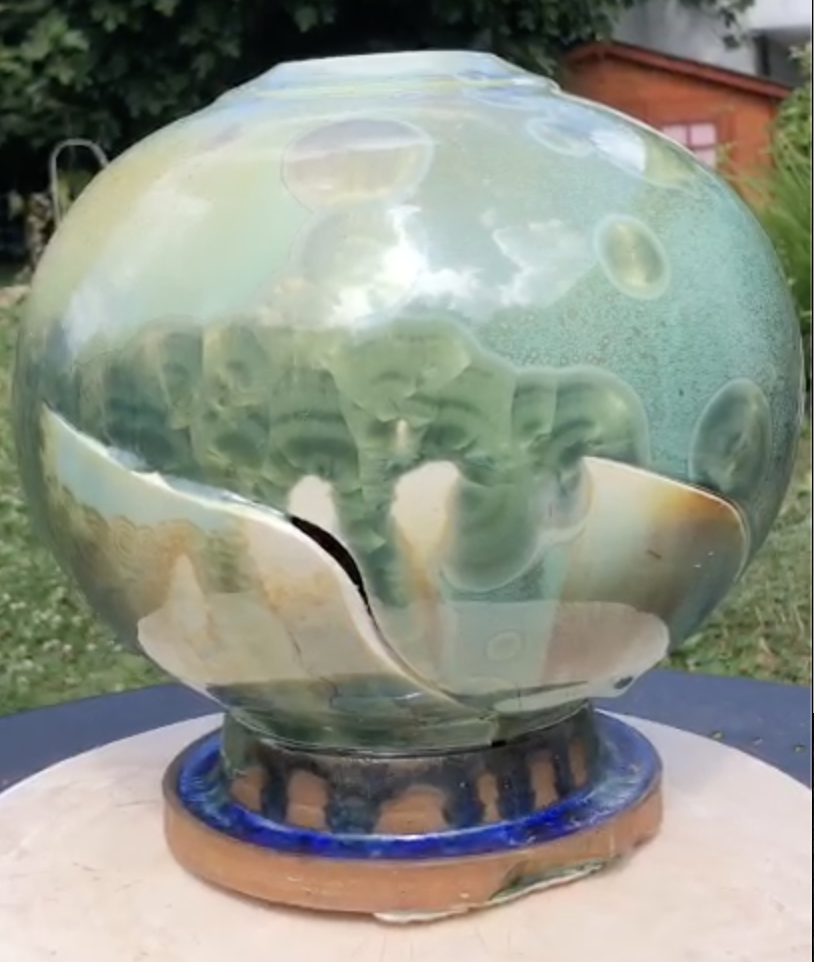
But the ceramic continued to open when the kiln temperature reached 1280°C, and here is the result. It is important not to be in a hurry when bisque firing, as it can take between 8 and 11 hours depending on the size and thickness of the ceramic piece. The aim of bisque firing is to remove the water, carbonates and sulphates contained in the clay to improve the strength of the ceramic piece and make it easier to glaze. Bisque firing is done in 3 stages (the exact temperatures vary depending on whether you are firing stoneware, porcelain or earthenware.):
-
- 1- In order to evaporate the remaining water contained in the clay, the temperature is gradually increased by 80-100°C every hour
-
- 2- From 600°C onwards, the clay will release gases and the temperature increase can be accelerated to reach 150-250°C every hour
-
- 3- When the temperature of the kiln reaches about 980°C-1000°C, pause for 20 minutes to make sure that all the items in the kiln have reached the desired temperature and then turn it off and wait for it to cool down before opening.
On thick items like this vase, a temperature difference between the outside and the inside can cause a strain that will make the clay crack. Therefore, the temperature increase should be slower, to allow the heat to penetrate evenly into the clay. Once a ceramic piece is cracked, there is no way to repair it. Matthieu can only make a mental note to keep a closer eye on the bisque firing next time!
👉 Want to learn more about glaze firing techniques? Check out our online glazing course currently at 40% OFF
👉 Discover our New Year Eve’s Special Offers up to 50% OFF
If the casting slip is too thin, the clay body will collapse during glaze firing!
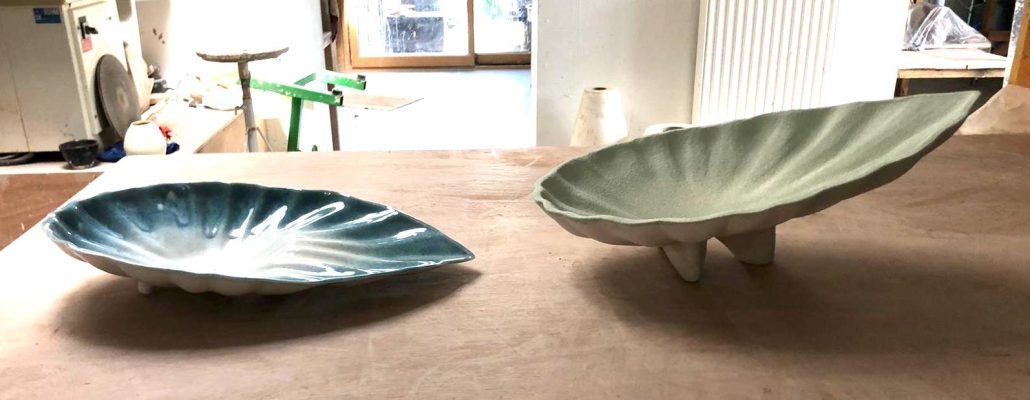
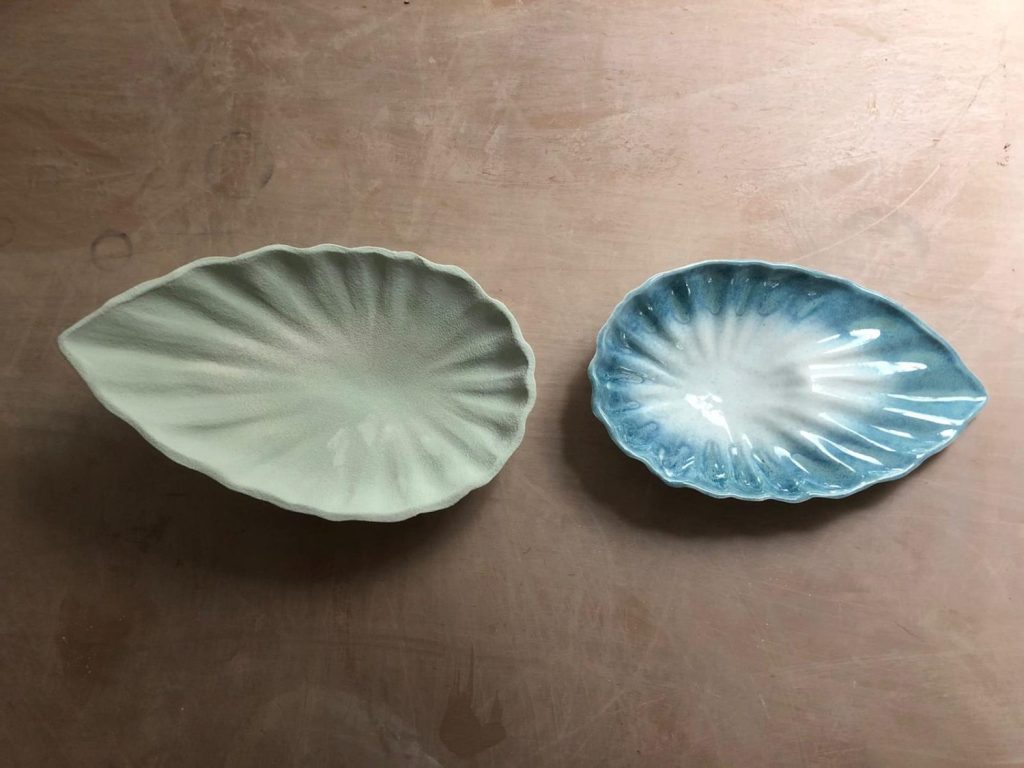
The two ceramic dishes shown in the photo came from the same mold. The dish on the right was only bisque fired and the one on the left was also glaze fired at 1260°C, which caused it to warp. The important thing to remember here is that applying glaze to a clay body will increase its melting capacity. This means that the clay is more likely to warp during glaze firing, which is 300°C hotter than bisque firing!
The art of slip casting a ceramic piece
The slip casting technique is usually used for complicated shapes or for pieces that can’t be thrown, such as our student’s piece which is flared, asymmetrical and supported by 3 legs. All of which are warping factors when glaze fired!
Slip casting involves filling a plaster mold with fairly liquid clay (slip). The plaster will absorb the water, which will allow a layer of clay to settle against the sides of the cast. The longer you wait, the thicker the layer. The difficulty lies in assessing how thick you need it to be to prevent the piece from collapsing. Especially when you’re a beginner.
To solve her issue, our student will have to slip cast a slightly thicker clay body next time!
👉 Want to learn more about glaze firing techniques? Check out our online glazing course currently at 40% OFF
👉 Discover our courses currently up to 50% OFF
Read our article When to buy a kiln?

Resource centre
animated by Matthieu Liévois,
potter-ceramist for over 40 years and founder of the Creamik School
Find all the courses
Keywords
Don’t miss any more news from the Créamik school!


