
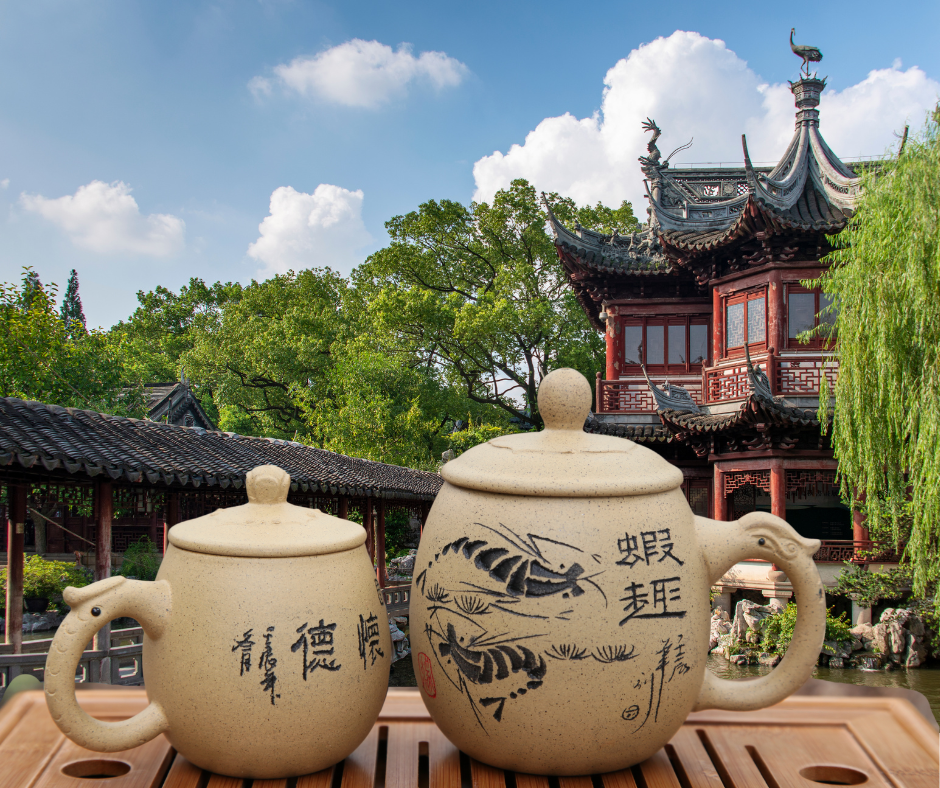
The crucial role of water in ceramics

1 — Water when preparing the clay
3 — Sustainable water management
4 — Adjusting the quantity of water according to ceramic techniques
5 — Water in the drying and firing process
When we think of pottery, we see a lump of clay taking shape on the wheel and ending up in the intense heat of the kiln. However, even before the clay meets the fire, water is at the centre of this transformation. Water is simply crucial in ceramics.
The right quantity of water allows the clay to become plastic. Thanks to this plasticity, the potter will work with ease. The water acts as a mediator to change the clay from a shapeless, compact mass to a malleable and receptive form.
The role of water is not limited to this. It is your faithful companion at every stage, up to glazing and firing. And when fire intervenes, we witness a striking transformation, where water gives way, allowing the fire to harden the clay and the glaze, giving birth to a work of art both originating from and transcending the earthly world.
In this new article, we delve into the multiple roles of water in ceramics.
1 — Water when preparing the clay
The correct water content in the clay body activates the plasticity and elasticity of dry clay particles. This step transforms the clay from a hard, dry and brittle state to one which is easy to work with. Hydration is not a random process; good clay consistency is achieved as a result of experience acquired over time.
Too much water, and the clay loses its strength and shape; too little, and the clay is hard and resistant in the hands of the potter. On the wheel, a potter can get wrist tendonitis if he or she works on clay that is too hard.
The ceramicist, drawing on his or her experience, finds a delicate point of balance where the clay achieves perfect plasticity, allowing him to throw without excessive effort. Plasticity is not only about the potter’s comfort on the wheel, but also the clay’s capacity to retain its shape. It can be pleasant to throw soft clay, it will centre easily and give an illusion of ease. But if it is too hydrated, it risks splitting on the sides, near the bottom, and will ultimately collapse.
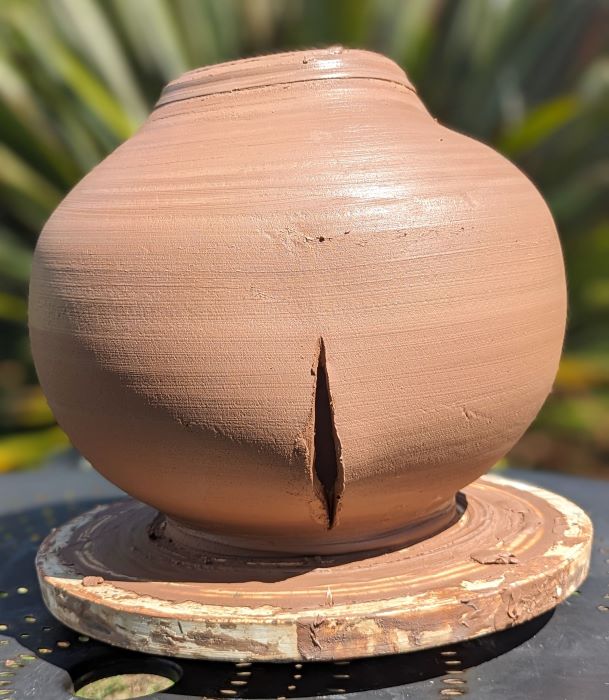
Achieving the right water content in a clay body is much more than a preliminary step in the creation process. It is necessary as soon as the clay comes out of the bag and throughout the whole shaping process of the pot.
2 — Recycled clay
Recycling clay is the potter’s contribution to environmental sustainability. This necessary step can be tedious and time-consuming, yet it has a crucial place in the work of any ceramicist. Let’s try here to share some tips for optimal recycling.
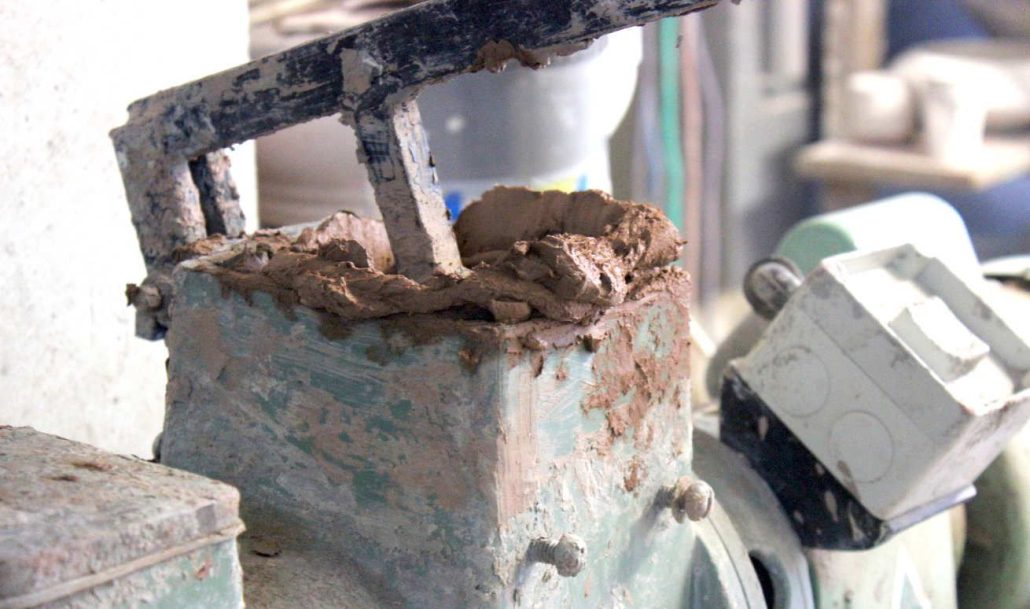
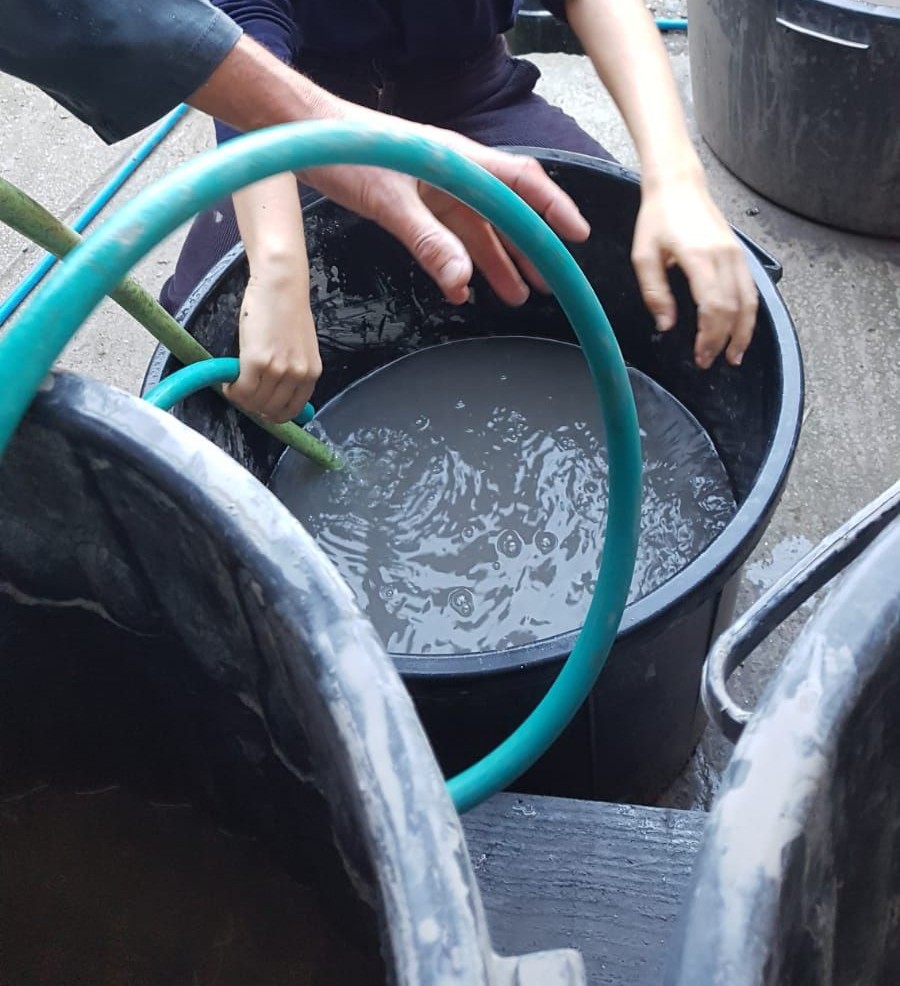
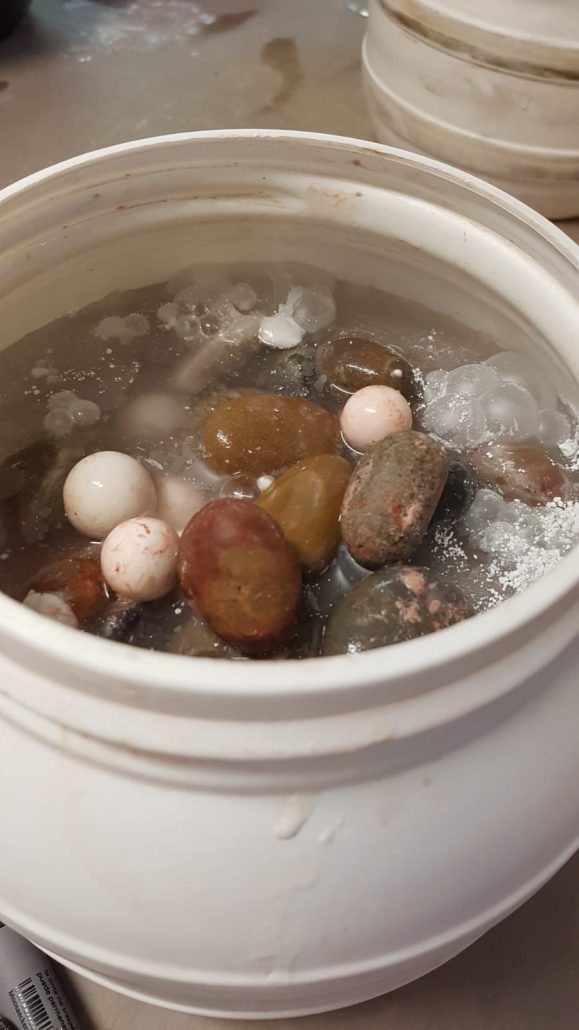
First, dry all the trimmings from turning, or any other pieces of clay. Break down this waste into small pieces, with a hammer if necessary, so that the clay will better absorb water. Put everything in a bucket, and cover it with water until the clay particles absorb it and regain their plasticity. Check regularly as the time required for this step may vary. With experience you will be able to judge when the clay is ready. It is advisable to mix the clay regularly during this process to ensure good rehydration and to prevent lumps from forming. We can also add the throwing slip.
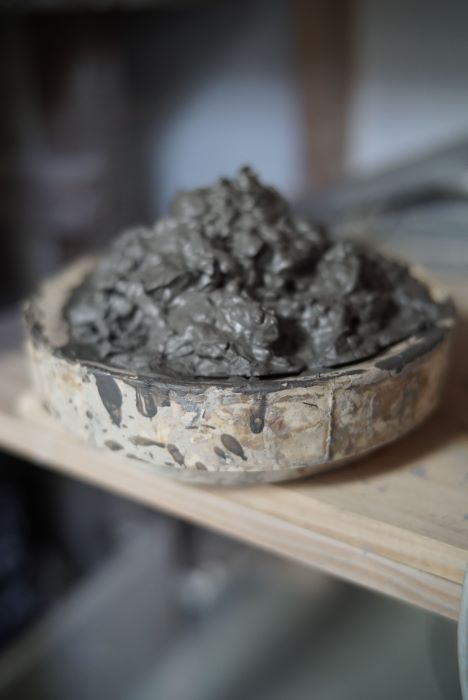
Once the clay has reached a homogeneous consistency, the recycling process can continue. At this stage, the clay is still too soft to work with, but we can address this using a number of techniques.
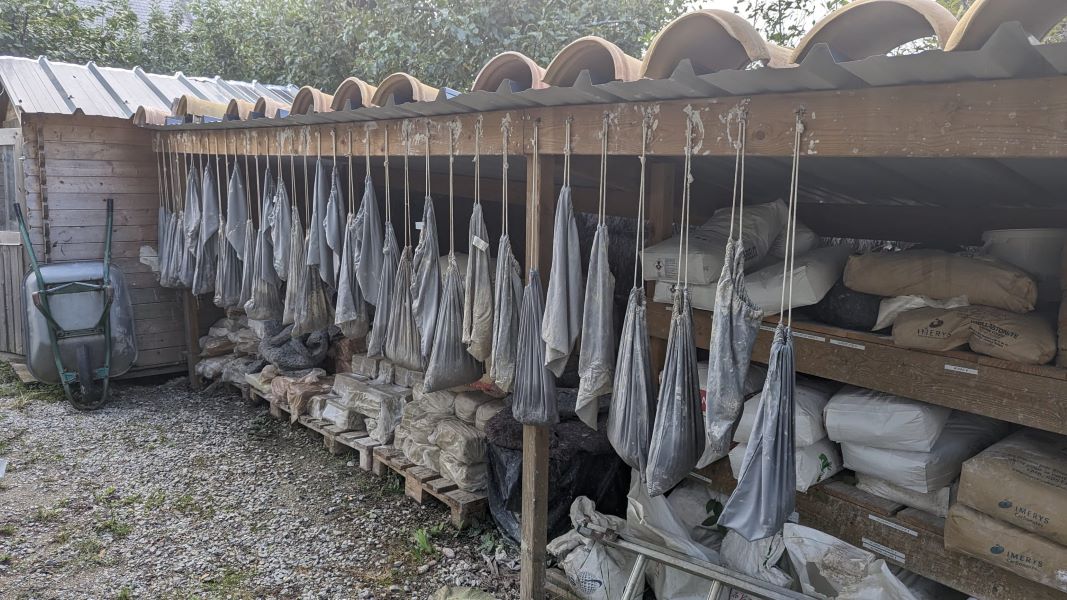
At the Créamik school, we pour the soft clay into fabric bags and hang them up until the excess water drains away; don’t use bags that are too large and too heavy to carry. Once the clay is drained, we collect it and mix it with new clay, using the studio extruder. Mixing can also be done by hand, following the classic wedging and kneading process taught in school. By mixing the recovered clay with new clay, we obtain a clay of perfect consistency to be used on the wheel.
Some potters, who do not mix recycled clay with new clay, do not immediately take the clay out of the bag, but place the bag on a plaster bat. Keeping the clay in the fabric bag makes it easier to turn it over to dry properly on both sides.
Once dry, the clay is either taken to a recycling centre or re-moistened to make throwing or casting clay.
3 — Sustainable water management
of all the students
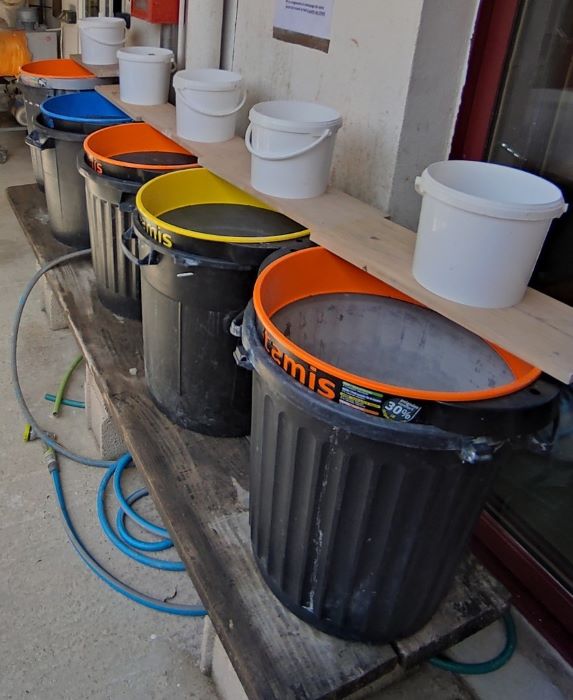
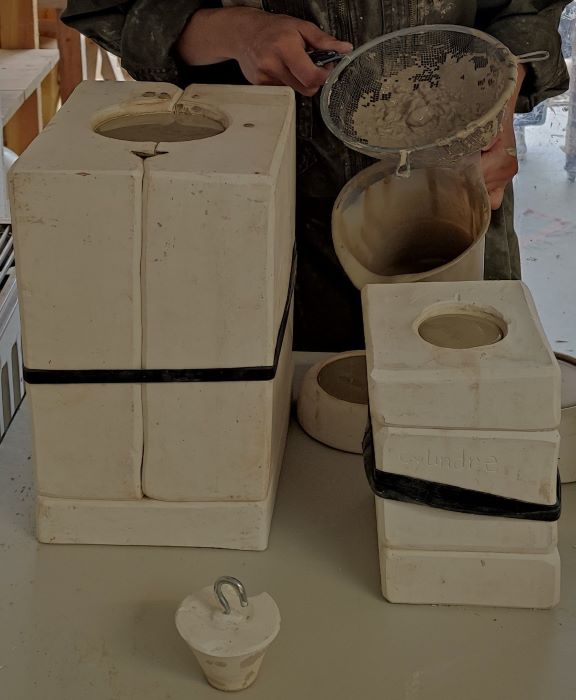
Care to conserve water is as important as the concern to recycle clay. However, in a ceramic studio, water use is constant. It can be mitigated if each student has a small basin of water when they throw and, to optimise water conservation, they wash their tools in large, water-filled containers – in this case plastic bins topped with builders’ sieves beneath but close to the surface. When students come to rinse their tools the clay sinks to the bottom and the water at the top remains clear, but the tools do not fall into the container, thanks to the mesh. This prevents excessive water consumption which happens when using the tap. The clay as well as the glaze residues at the bottom of the bins are disposed of at the recycling centre.
when rinsing tools.
Finally, you can find help at the French “Chamber of Craft Trades”.They have put together interventions with craftsmen and local actors to raise awareness and above all to initiate cooperation in sharing ideas and resources regarding sustainable water management. Do check their website regularly to see what “Chamber of Craft Trades” has to offer.
4 — Adjust the quantity of water according to ceramic techniques
Concern to only use the right amount of water is not just ecological. It is above all about the quality of your work.
We talked earlier about the risk of drowning your piece to the point of collapse (often a beginner’s fault). It is also recommended to throw with slip rather than water. Many other techniques require reduced water use.
- Plaster and wheel bats
If you work with plaster or make your own moulds and wheel bats, you need to use a precise amount of water.
- Slip casting
Do you slip cast in moulds? Here too, the ratio of clay to water must be precise:
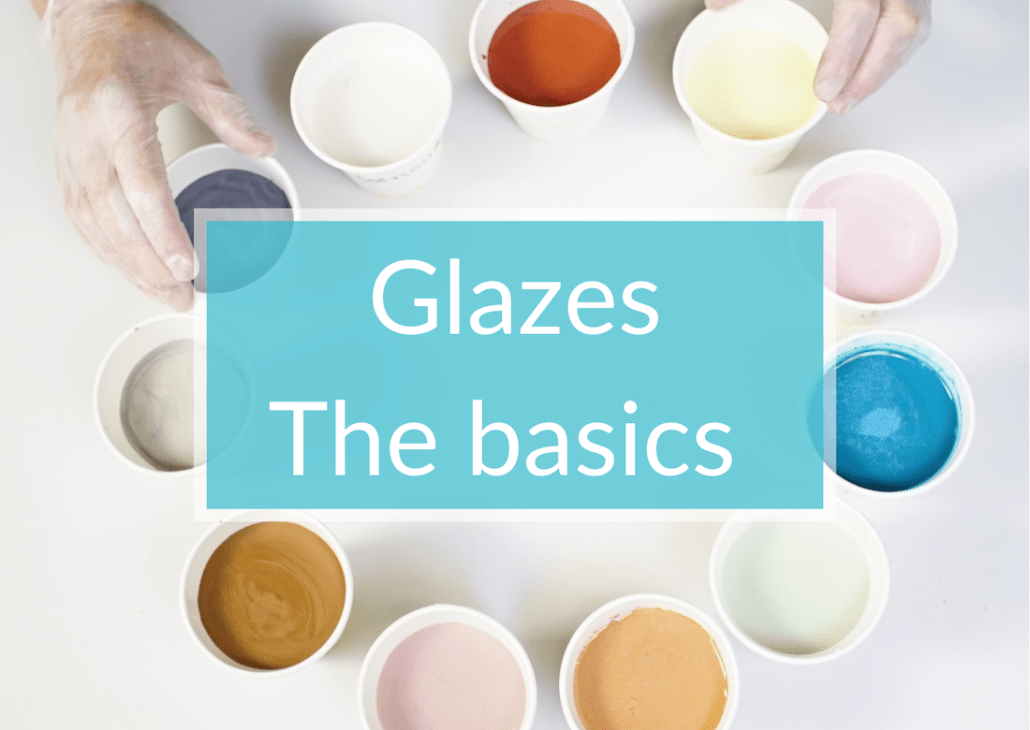
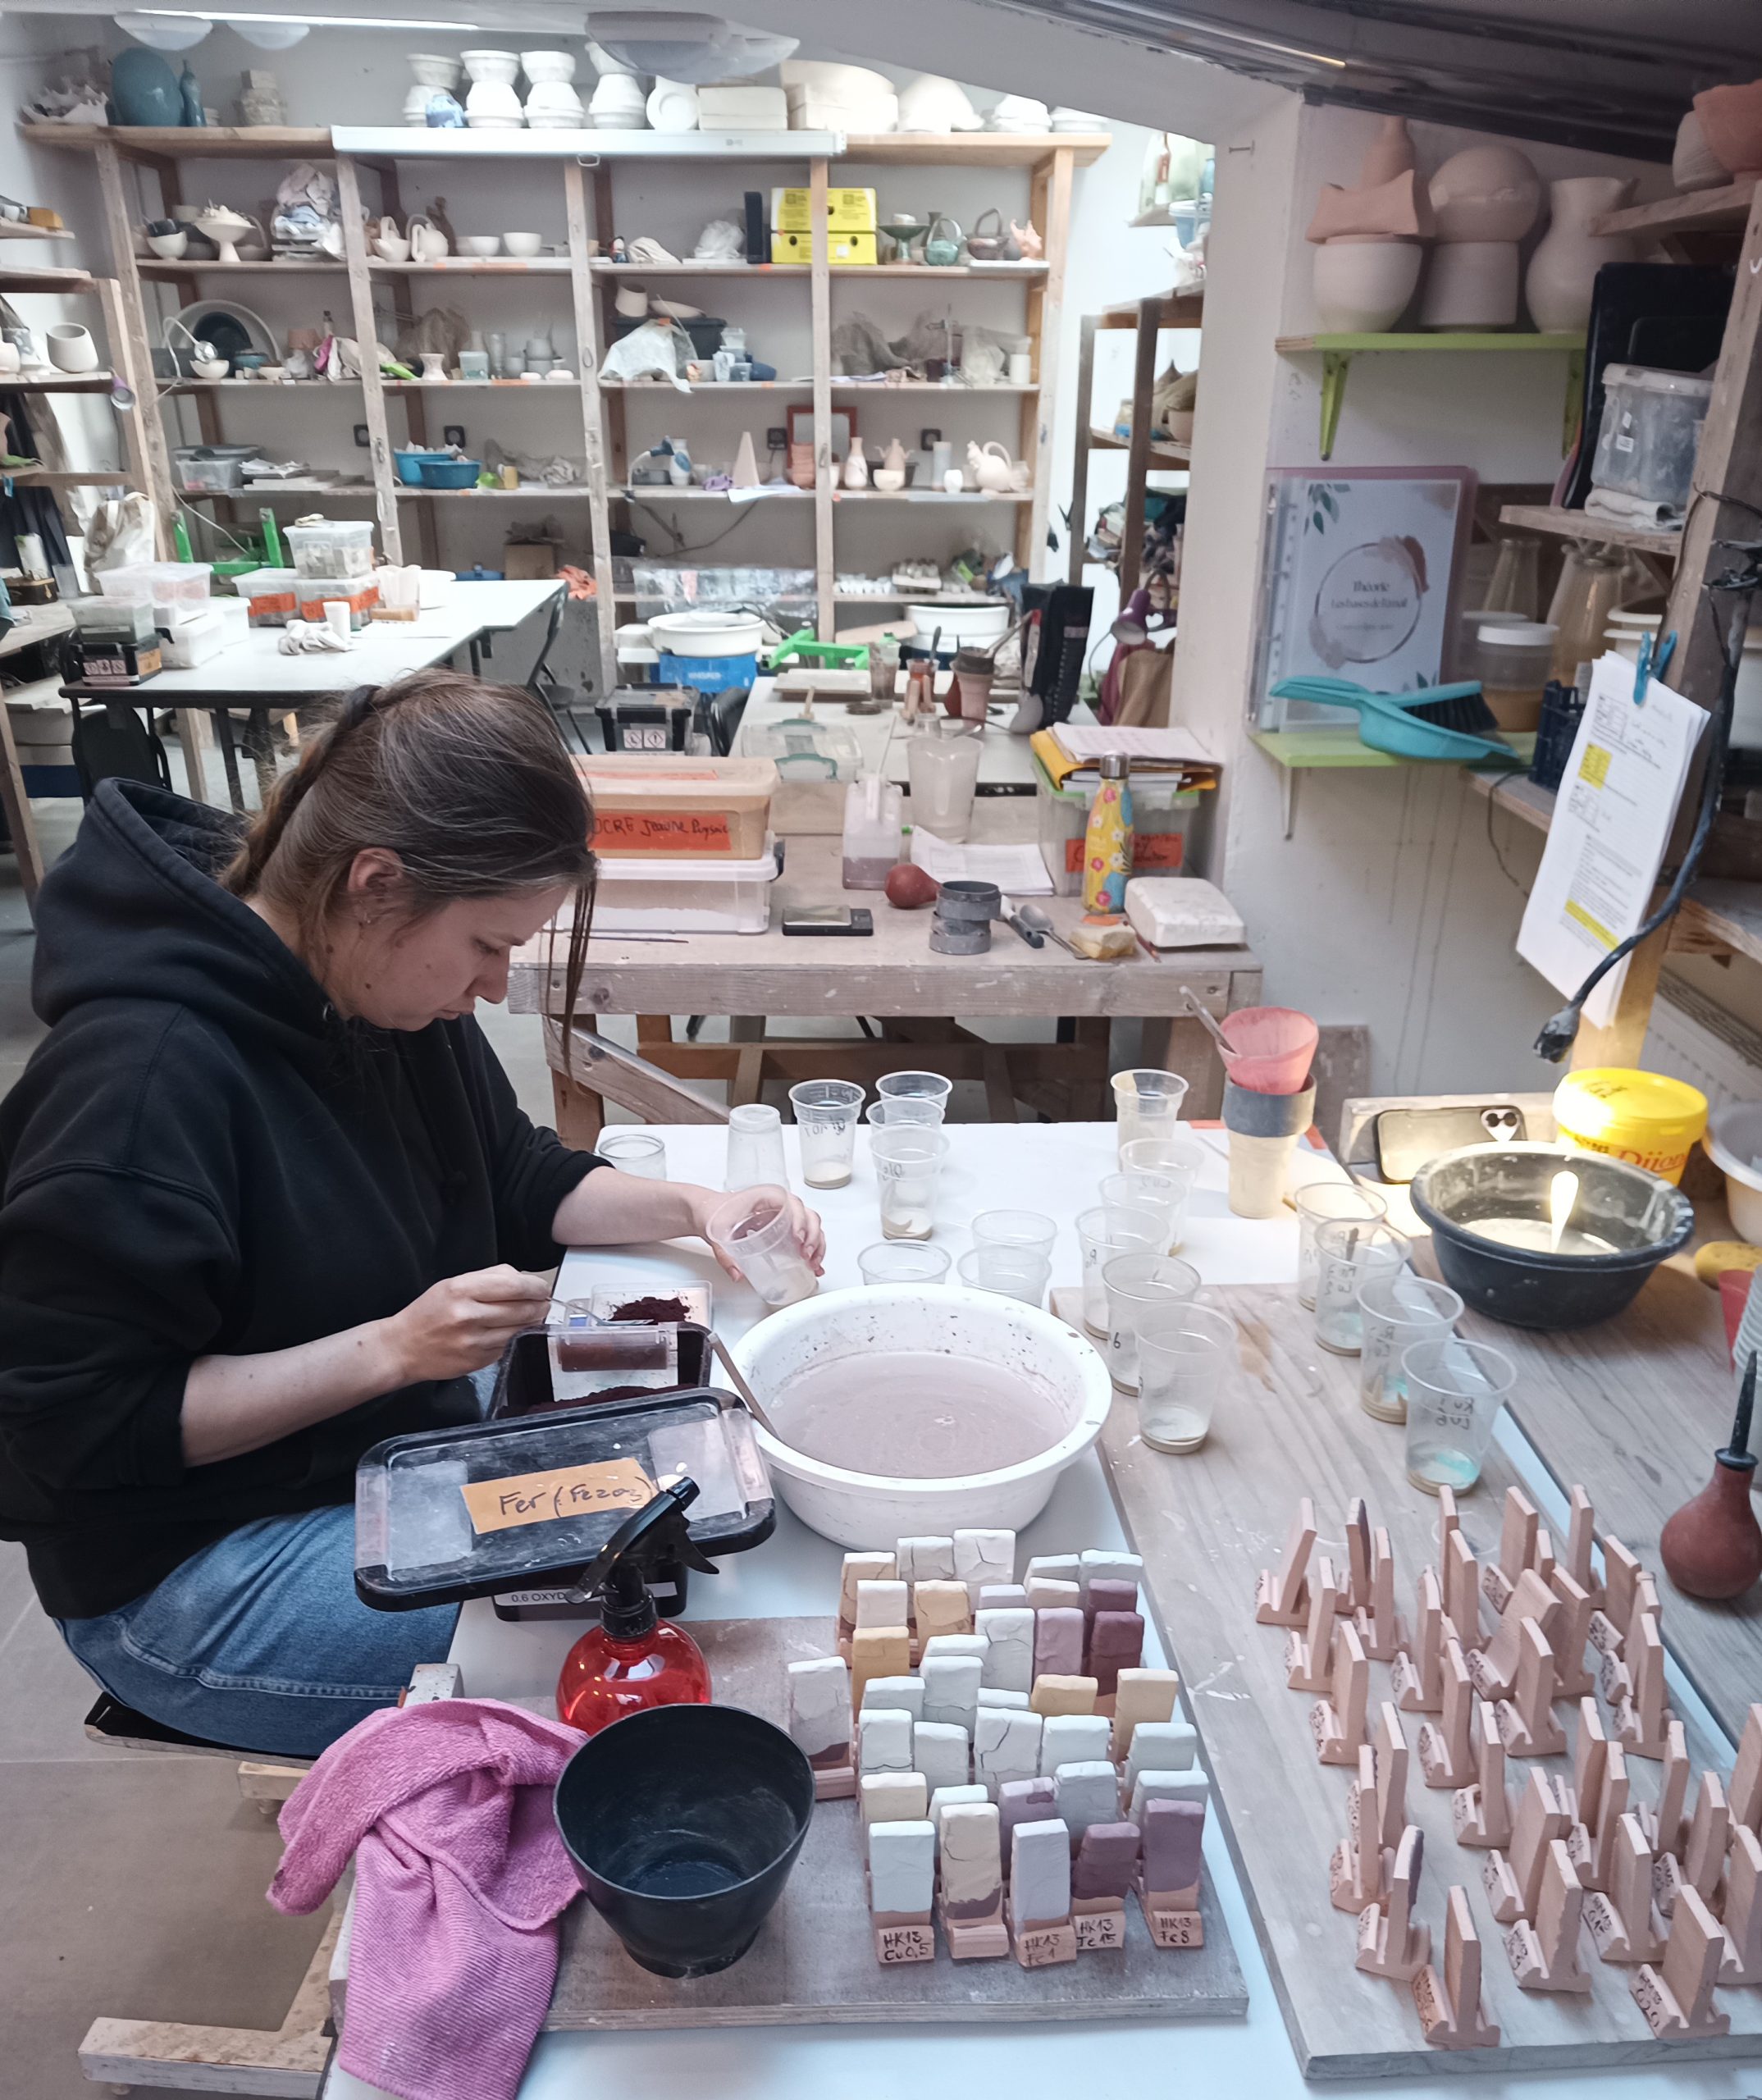
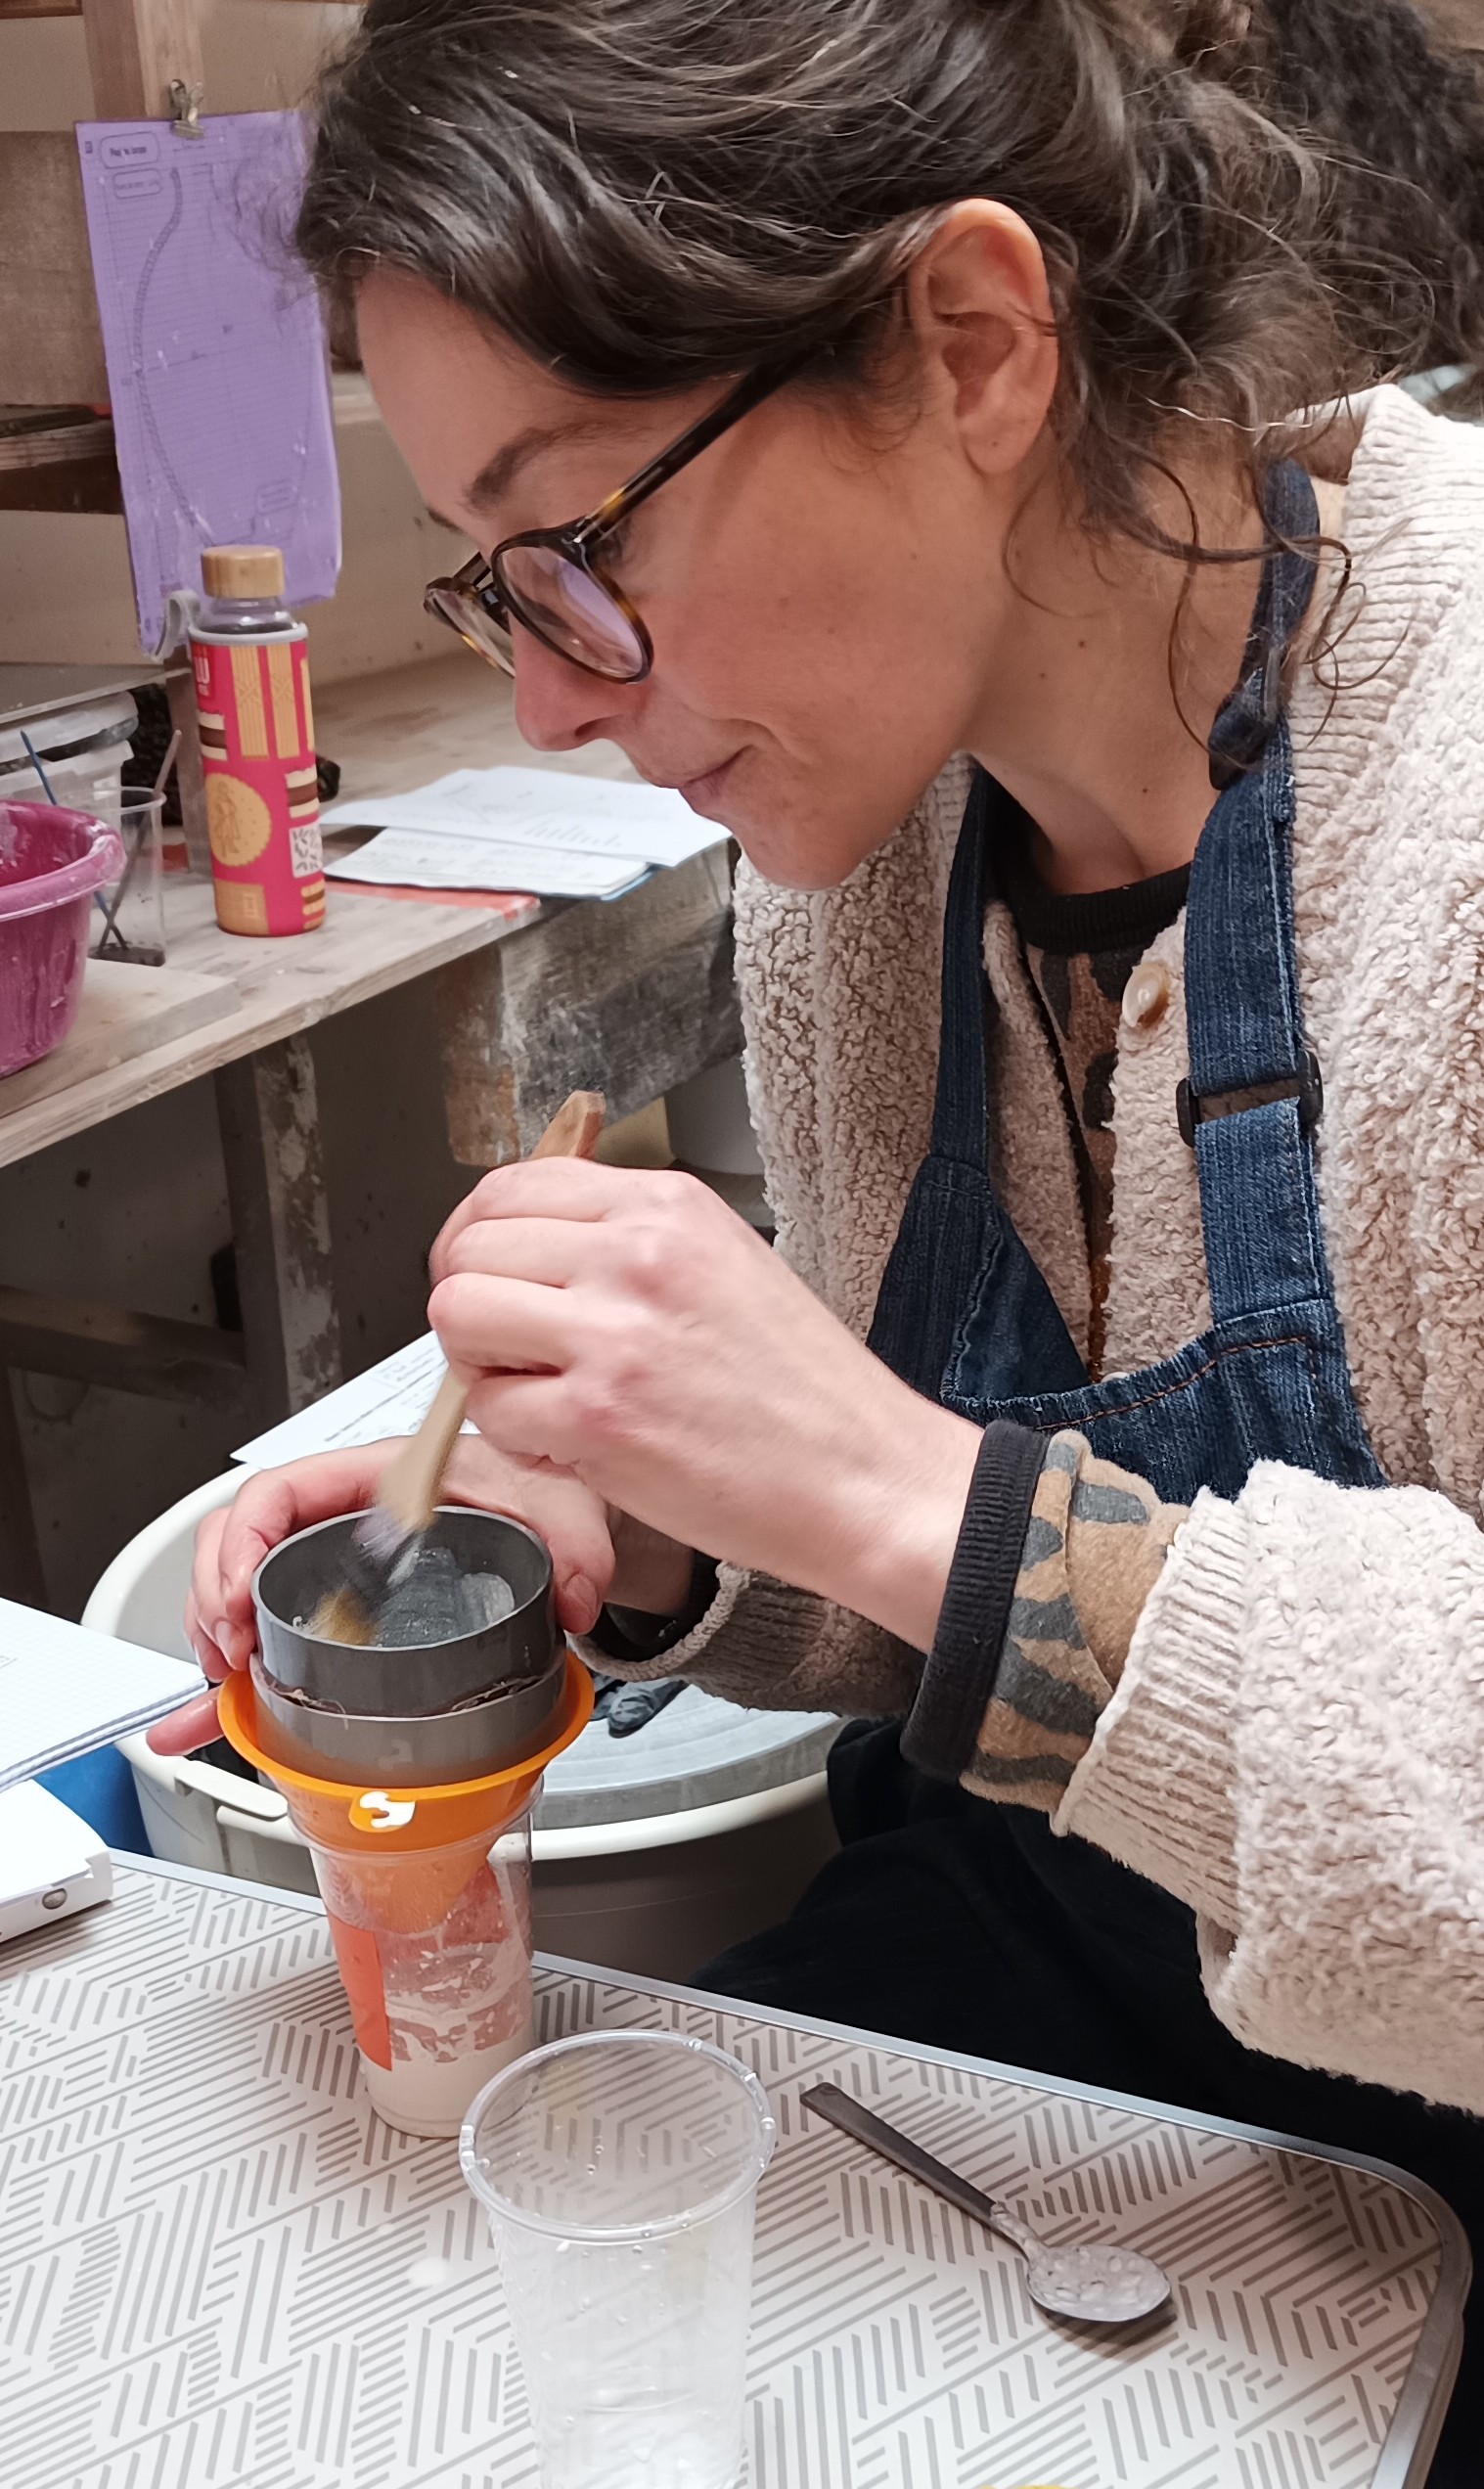
- Glaze tests
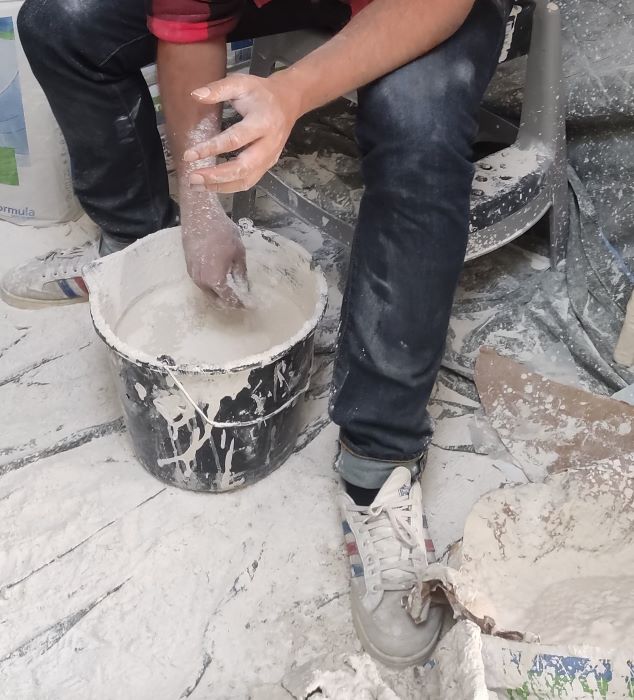
Are you preparing your glaze tests? You will need to add a very small quantity of water, or it will become too liquid… If you use too much water, you need to leave your glaze to settle for a few hours to remove the extra water. Finally, we must also pay attention to the quality of the water itself; so-called hard water, with high calcium content, can affect the final result.

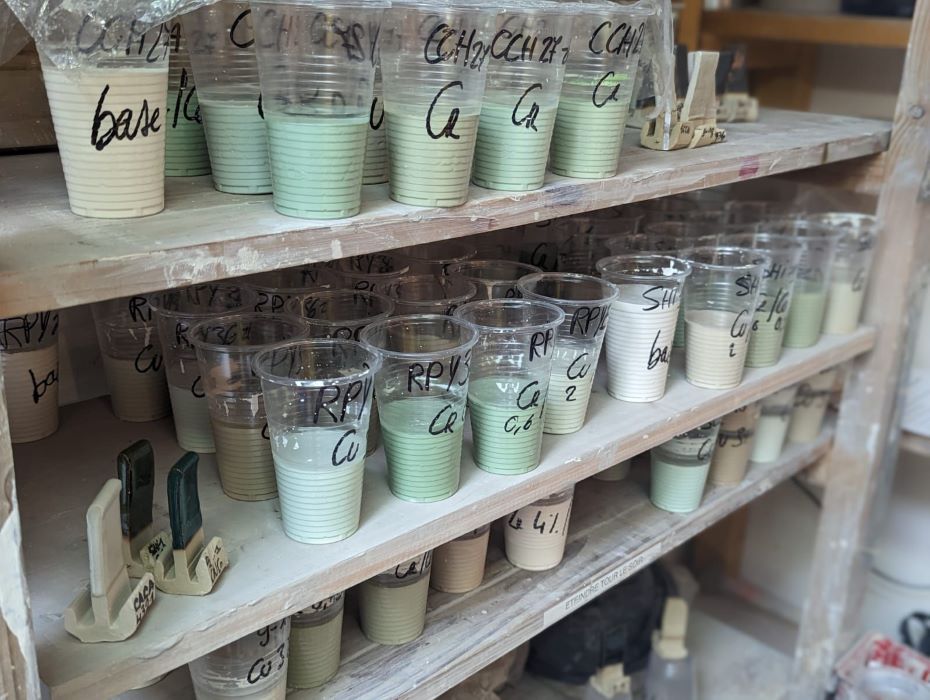
- Making glaze
When making large quantities of glaze, here too you need to add water carefully. You need enough water for the grinding and mixing to be smooth, but not so much that you risk having to wait for the glaze to settle before removing excess water. There is one rule to remember: it is easier to add water than to remove it. If your glaze is too diluted, the pieces will absorb the water first and the powder in the glaze will not be able to deposit on the pot’s surface in sufficient quantity. When it comes out of the kiln, the result will be bland and pale.
At all stages, the potter has her or his hands constantly in water; this can make the skin dry and cause cracks. To prevent this, wash your hands well with an appropriate soap and protect your hands with cream every day.
Small warning: have your hands very dry when glazing: Any trace of grease will prevent the glaze from adhering properly.
5 — Water in the drying and firing process
So far, we have talked about water, whether in clay or glaze, and how to use it sustainably. Next, after throwing and turning the pots, come the crucial stages of drying and firing, two distinct but intrinsically linked stages where water plays a determining role, not by its addition, but by its removal.
From thorough drying to careful preparation before firing, each step has a determining influence on the final result.
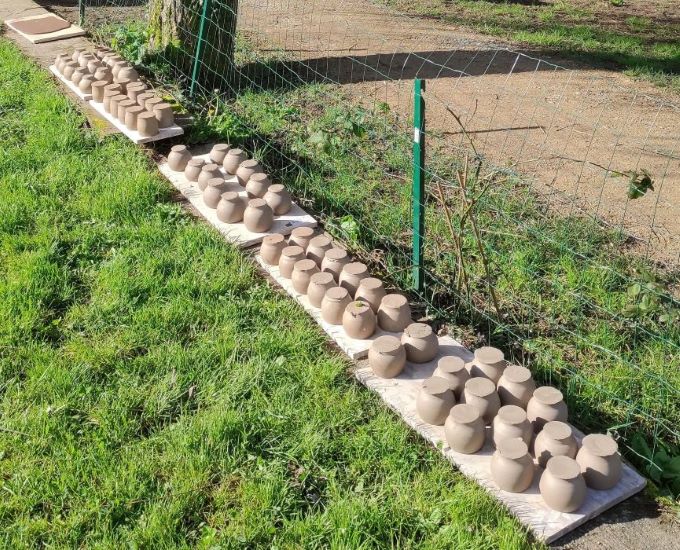
The importance of uniform drying: we regularly raise this issue because uneven drying leads to internal tensions in the clay, causing cracks and deformations which will be visible after glaze firing. It is a good idea to cover the pottery with plastic, allowing the water to evaporate slowly and simultaneously from all parts of the piece. In addition, you need to ensure that all different parts have a consistent thickness. Uneven thicknesses will also cause tensions and will lead to cracks.
Firing: Before packing the kiln, make sure that all residual water has completely evaporated during the drying stage. If this is not the case, it is wise to finish drying the pieces in the kiln, raising the temperature very slowly, up to 200°C in around 8 hours. If your piece is not properly dry, it can explode in the kiln. The water contained in the clay will become gaseous, with a much greater volume than liquid water. The piece will be lost, not to mention that the kiln will be damaged. Water can also allow certain elements to migrate within the clay, causing defects such as blisters. It is therefore important to understand the behaviour of any oxides in water to enable their correct use.
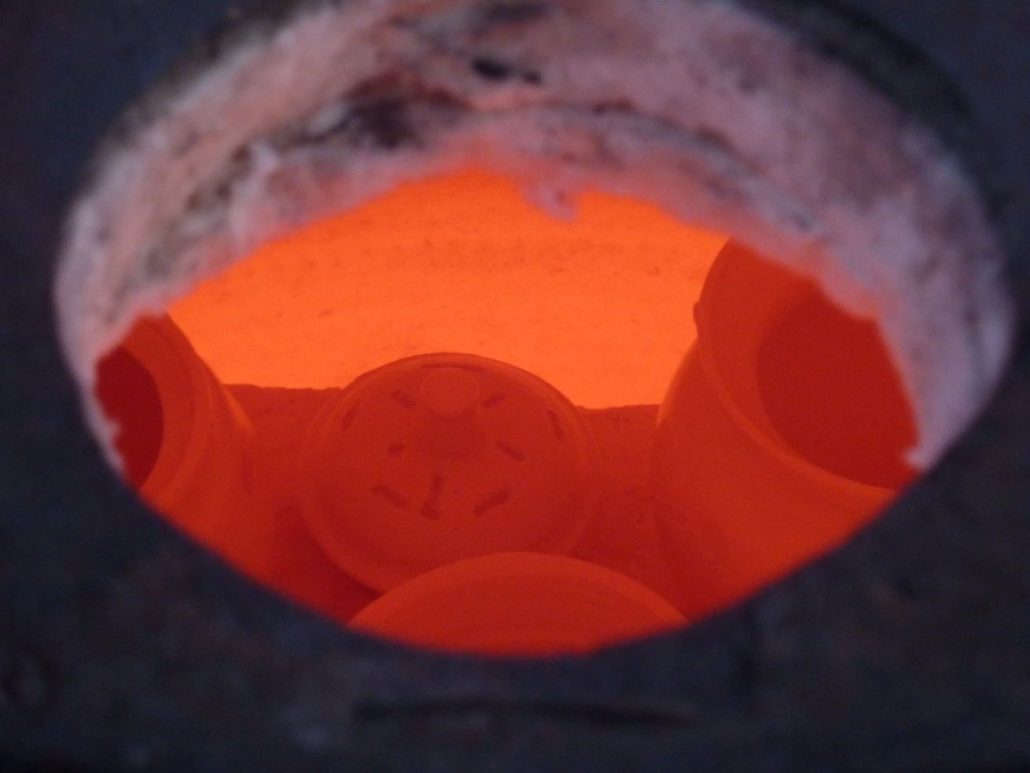
At this stage, the chemical effects of water begin to be seen. The piece, already dried during firing, will lose H2O molecules which were structuring the material. This explains why, at this stage, the size of the pot decreases significantly. The removal of water from the very structure of the material is an irreversible reaction which gives fired clay its definitive solidity.
Conclusion
Throughout the creation process, water has been a facilitator of the work. In the end, it withdraws completely, allowing the clay to become strong and durable.
This is the magic of ceramics: water, earth and fire combine to form a work of art!
")
Resource centre
animated by Matthieu Liévois,
potter-ceramist for over 40 years and founder of the Creamik School
Find all the courses

Keywords
Don’t miss any more news from the Créamik school!
Follow us on the networks
You can also discover…
Less math, better research: Generative Artificial Intelligence in the Ceramic Industry

Garance Lanfray, journey through Southeast Asia

From beginner to professional : choosing the right ceramic courses

Matthieu Liévois, The search for crystals
Can ceramics be fired in a microwave?
Discovering the Art of Japanese Ceramic Masters
Instructions for making your own sieve