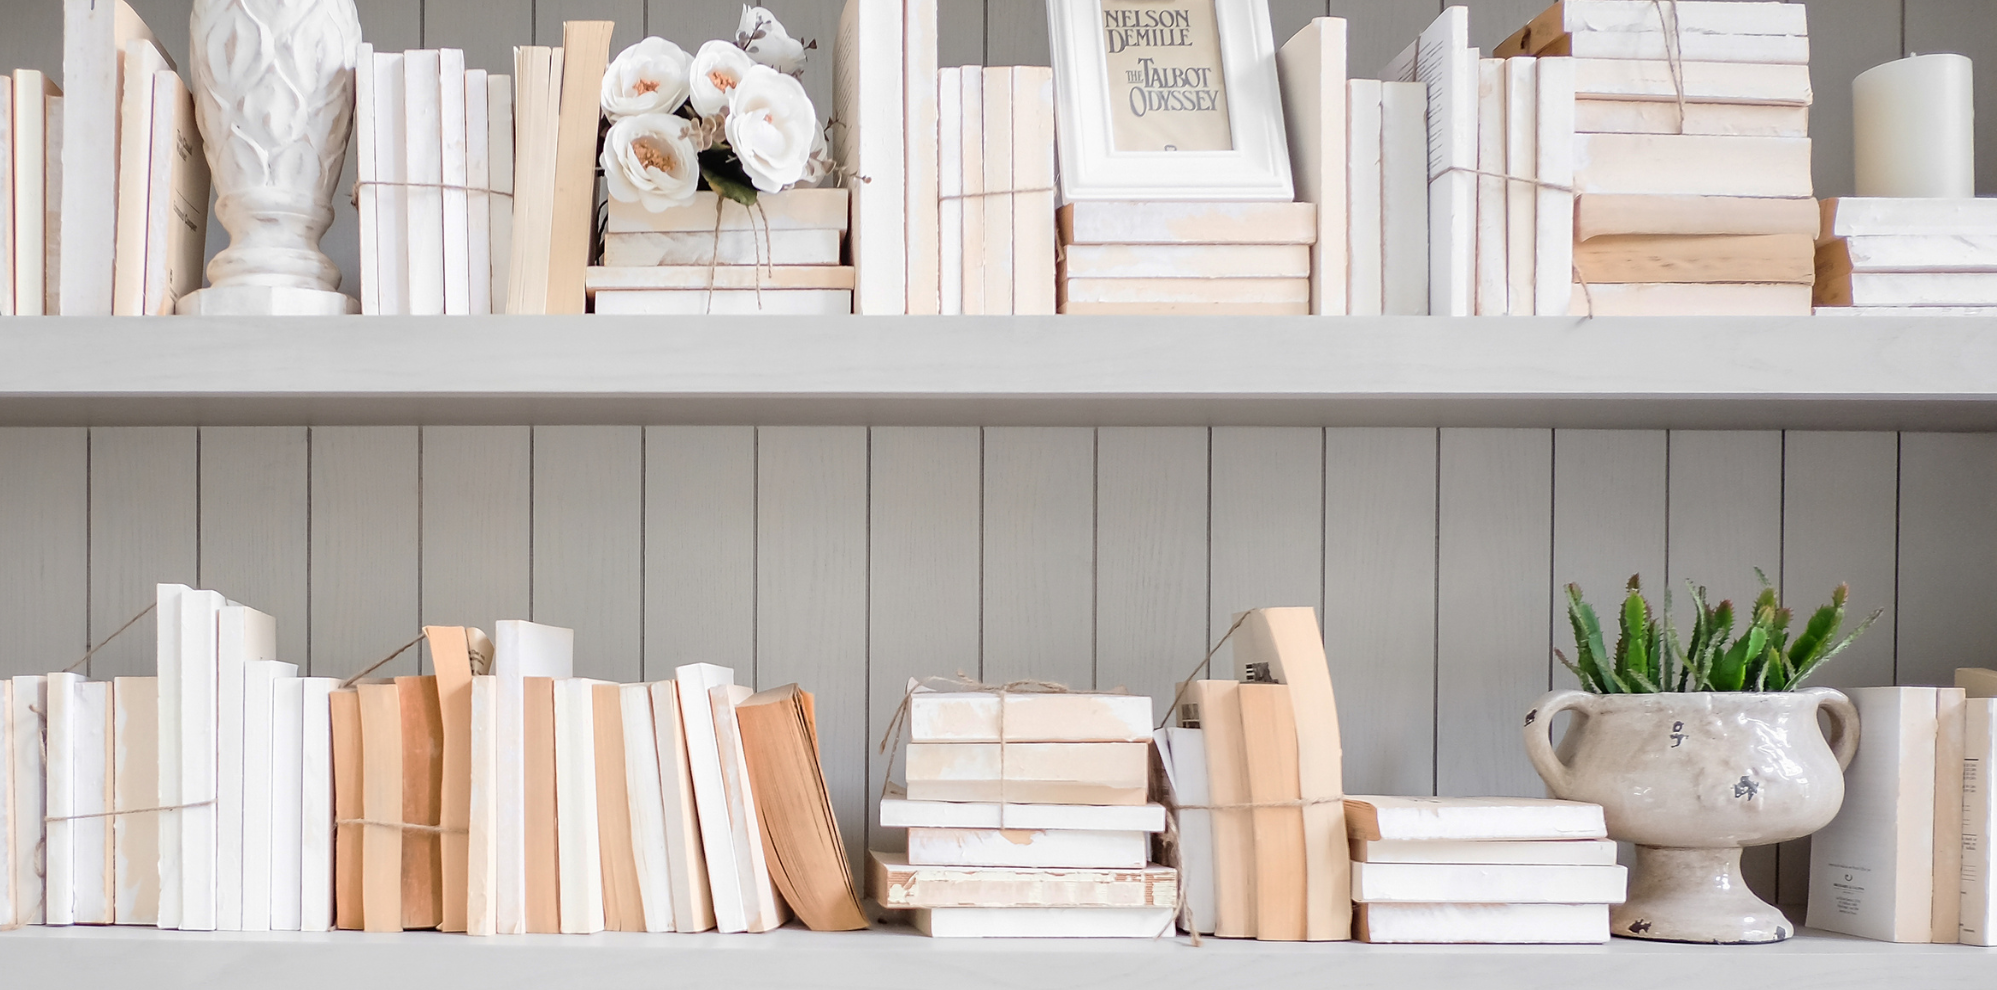

Tips and tricks in the studio
Contents
1 — How to keep track of all the tips and tricks
2 — Protecting the jar on your ball mill
5 — Water recycling system using a camping sink
6 — A trick for the kiln: home-made shelf props
Introduction
In ceramics, ingenuity is not restricted to artistic creativity; it is also found in the most mundane moments of a potter’s life. Potters have an extraordinary knack of transforming everyday constraints into opportunities to innovate. Confronted with tedious tasks, they always find tricks to make life easier.
The wide range of tools used by ceramicists leads them to enter a hardware store, or any other store, in a particular frame of mind: every kitchen item, each everyday object, is assessed according to its potential usefulness in the workshop. This quest is driven by the desire to minimize repetitive and tedious tasks, and to free up more time for production and creation. Specialist pottery suppliers, meanwhile, are full of tempting tools at very discouraging prices. Making them yourself can be far more rewarding, especially when it results in substantial savings. This DIY approach brings creativity to the practical side of running a studio.
This article explores some of the tricks we’ve developed at Créamik to improve the practice of your craft. These tips are designed to enrich your experience as a potter, saving you time, money and, above all, enhancing the pleasure of creating.
How to keep track of all the tips and tricks
How best to keep track of all the tips and tricks available? Today’s social networks – especially Facebook – are overflowing with groups dedicated to pottery tips in French, English and many other languages. Two examples are: Pottery Tips & Tricks, Trucs et astuces de potiers.
To organise your tips, a simple image is often enough: keep a screenshot or a quick note. For those who are comfortable with digital technology, create clearly named folders or use note-taking applications.
But let’s not underestimate a more traditional system: printing the information and pasting it into a “tips notebook”. This offers the advantage of ease of access. By creating a thematic classification, whether organised by technique, raw material, or type of tool, you can easily find the tip you need when you need it. Create cross-references between sections to help you navigate your notebook.
Protecting the jar on your ball mill
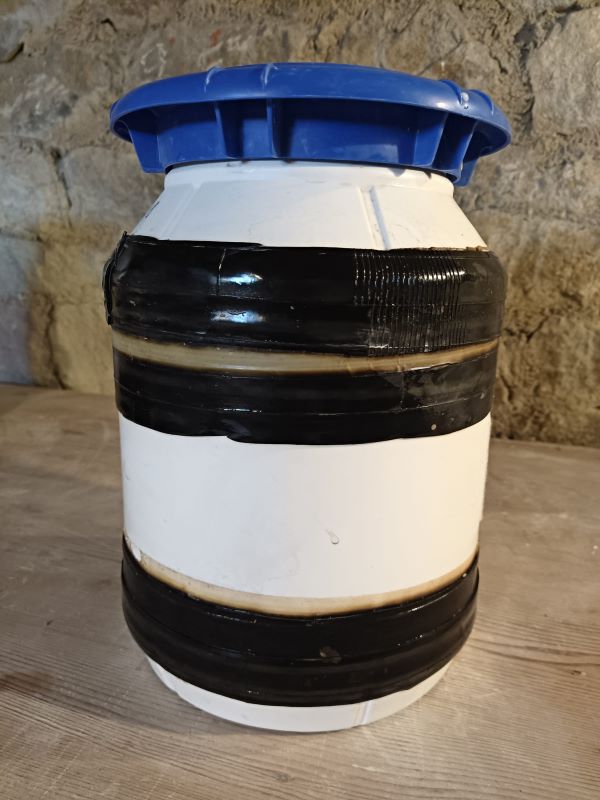
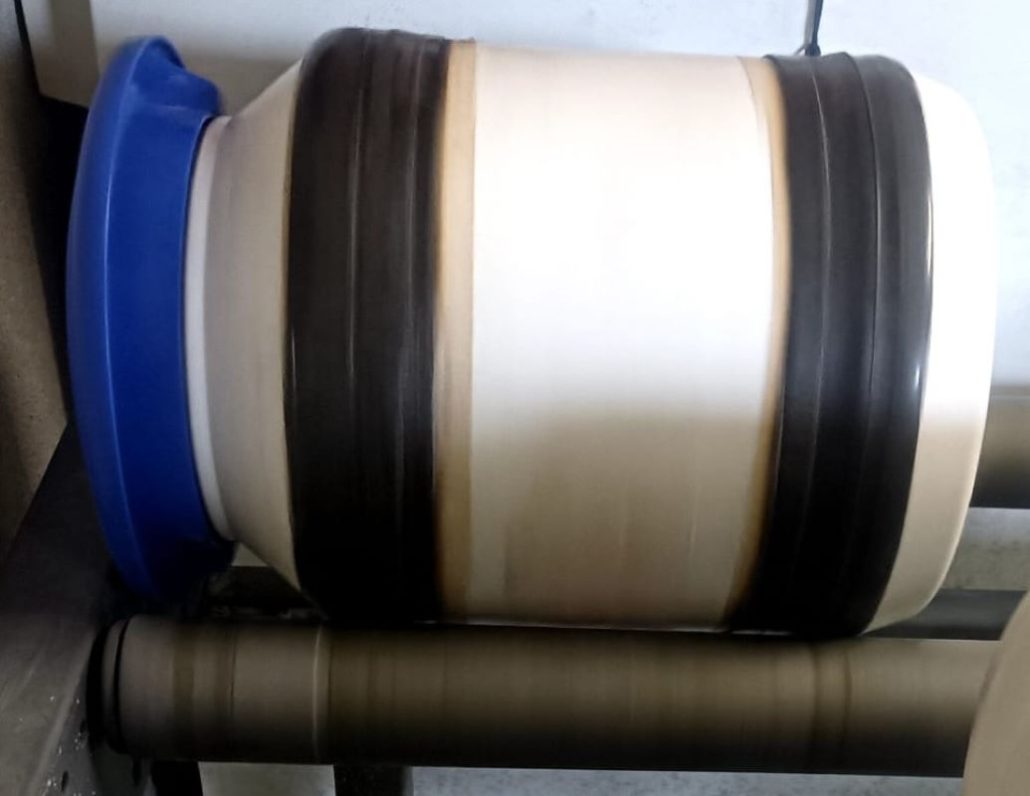
With so many tips being shared, you’d think everything had already been explored. Yet some ideas, because of their simplicity and effectiveness, seem to escape attention. One of them concerns the protection of plastic jars used on ball mills, a solution we haven’t yet seen circulating. The problem is well known: repeated wear and tear can cause the jar to deteriorate rapidly. The solution? Use a bicycle inner tube as a protective layer.
How to do it. Identify the parts of the jar that rest on the ball mill.
Start applying double-sided tape, of the same width as the inner tube, all around the jar. The sticky tape will keep the inner tube on the jar. You can use an old inner tube, or a new one. Cut it in half lengthwise, pulling it so that the inner tube is taut. Finally, fix both ends with a stapler. Here’s how it’s done in pictures:

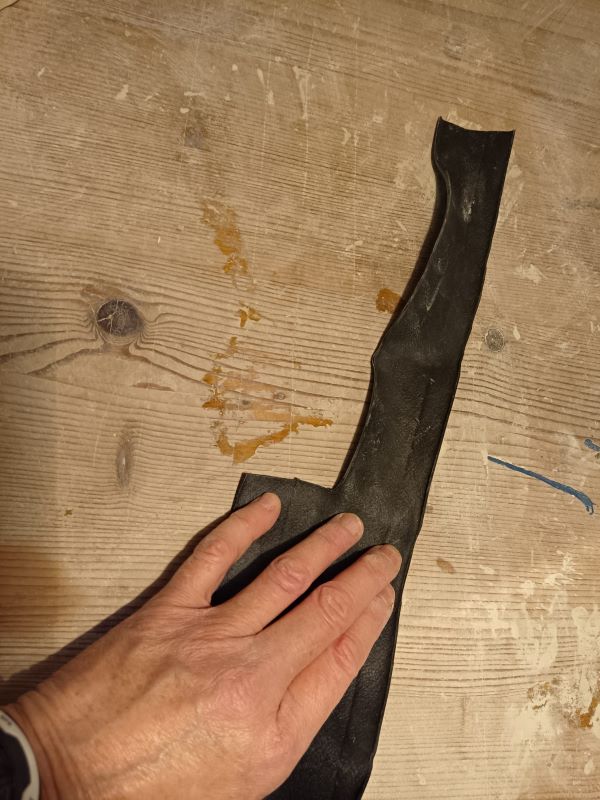
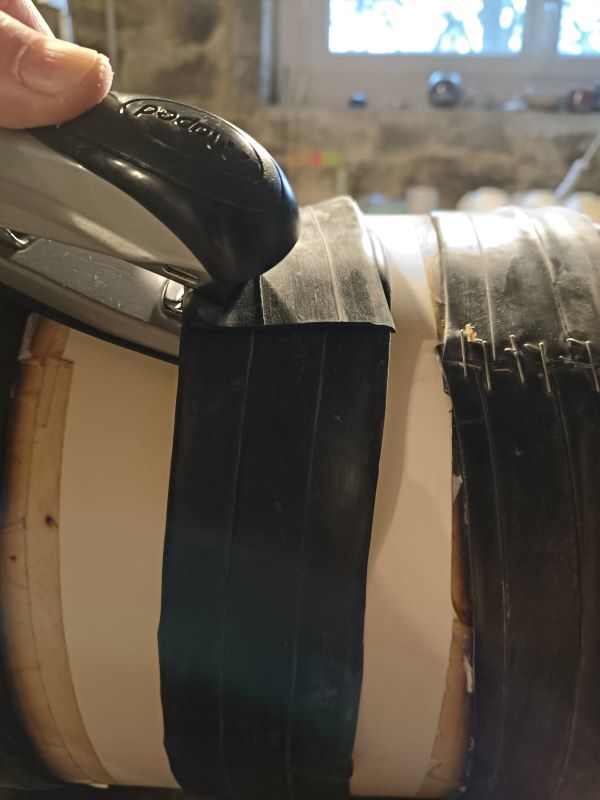
By carefully wrapping the inner tube around the jar, you will create a barrier that absorbs friction and extends the life of your equipment.
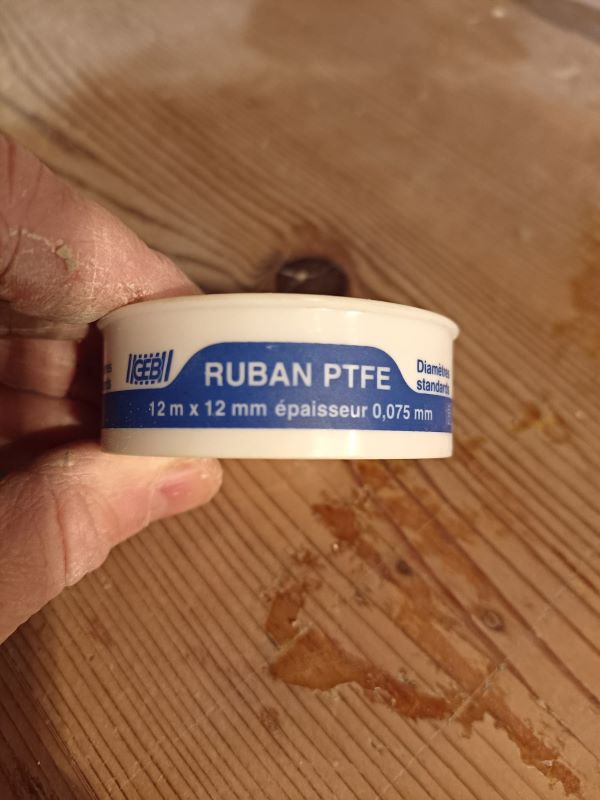
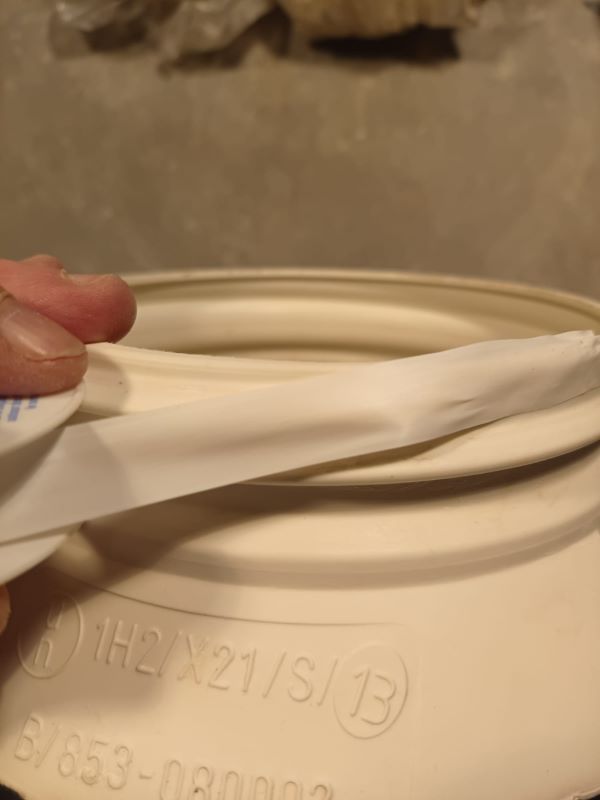
Many potters choose to use cheap plastic jars rather than traditional ones for their ball mill. These cheap containers can have another weakness: the lid can come loose due to vibrations from the grinder. The solution is to use PTFE tape, used by plumbers and sometimes known as Teflon tape, around the rim before closing the lid. This product is used for sealing joints on taps and other plumbing fittings, but it works just as well on plastic jars:
And to complete the picture, use a timer with your ball mill. You can safely do something else while your glaze is being ground.
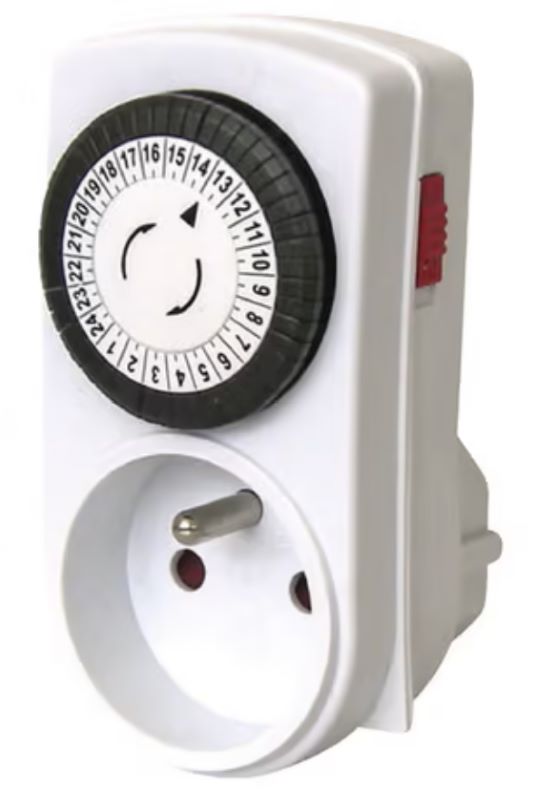
very easy to use.
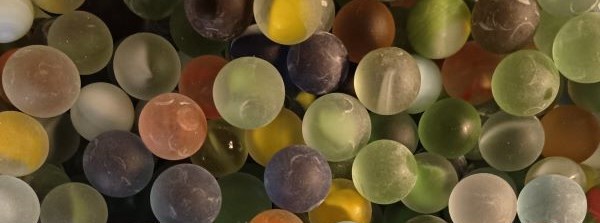
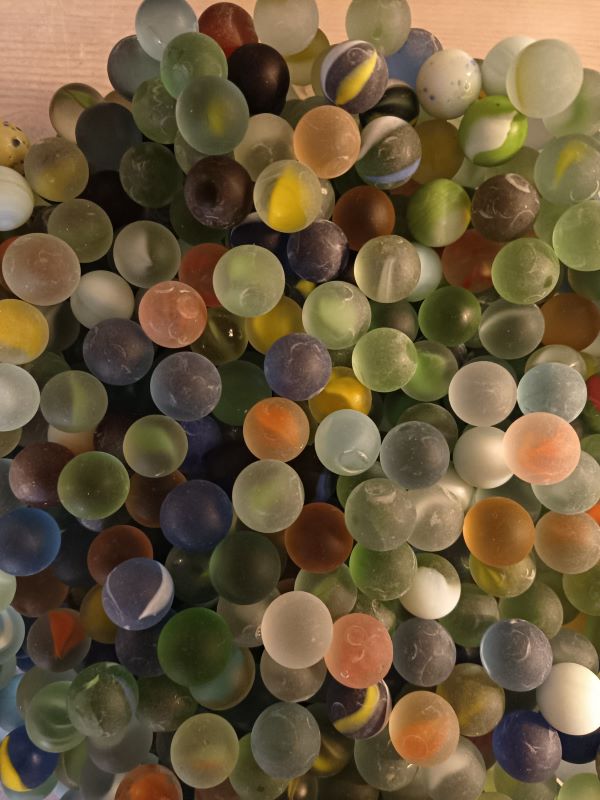
One last thing: if you use a plastic container, you can replace the porcelain beads that are usually used in grinders with small pebbles or commercial glass balls:

We preferred them to commercial marbles:
Plastics in the workshop
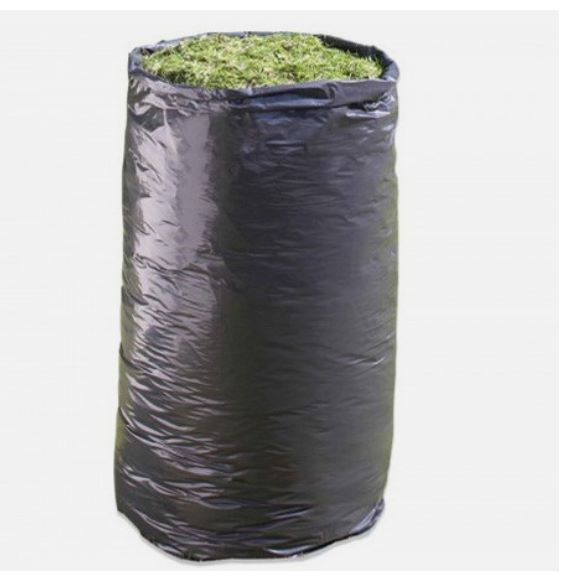
Clay arrives wrapped in plastic, which we use repeatedly when we need to protect the clay or our work during drying time… However, potters seem to never have enough plastic wraps. The obvious solution is to use trash bags. However, disposable plastic bags pose an environmental problem, as they are fragile and must be changed frequently. Wandering into a store not dedicated to pottery led to a solution. Useful materials are often right before our eyes, but used in a completely different context:
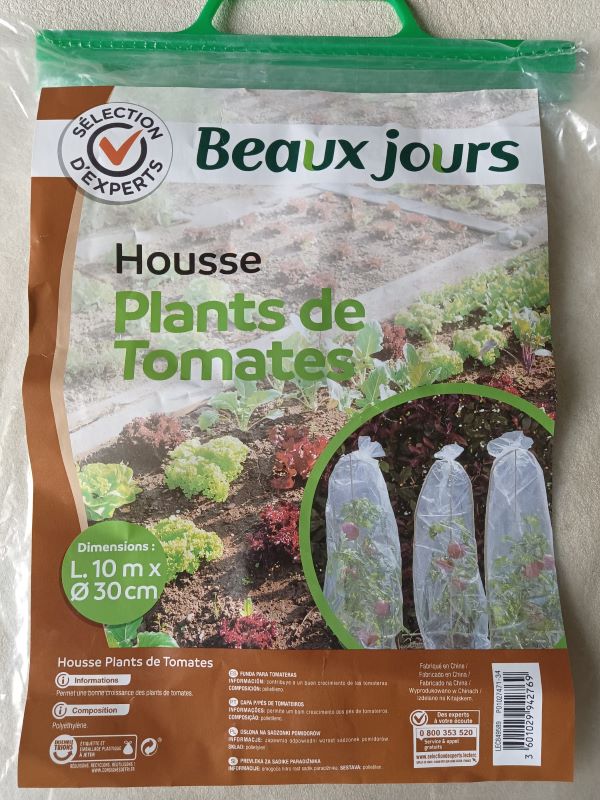
These large tomato plant tube covers can be cut to size. You can protect a single piece or a whole line of pieces during the drying stage. The covers’ thickness and flexibility make them ideal for use in the workshop.
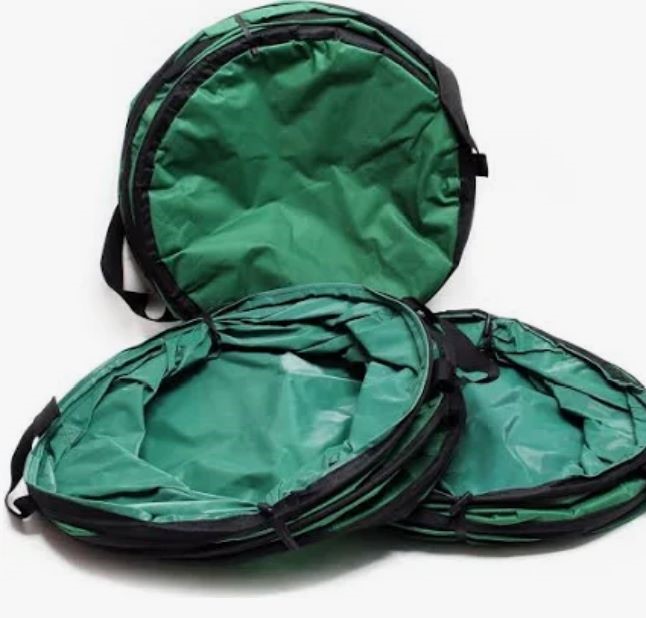
Gardening stores are full of ideas for potters. How best to store large bags of raw materials and keep them accessible? Garden waste bags are very useful. To protect bags of raw materials from humidity, place them in a 100 litre plastic waste bag. What we do is pull the waste bag onto the raw material bag from the top. Then we upend it and place it on a flattened pop-up leaf bag, which we then extend upwards.
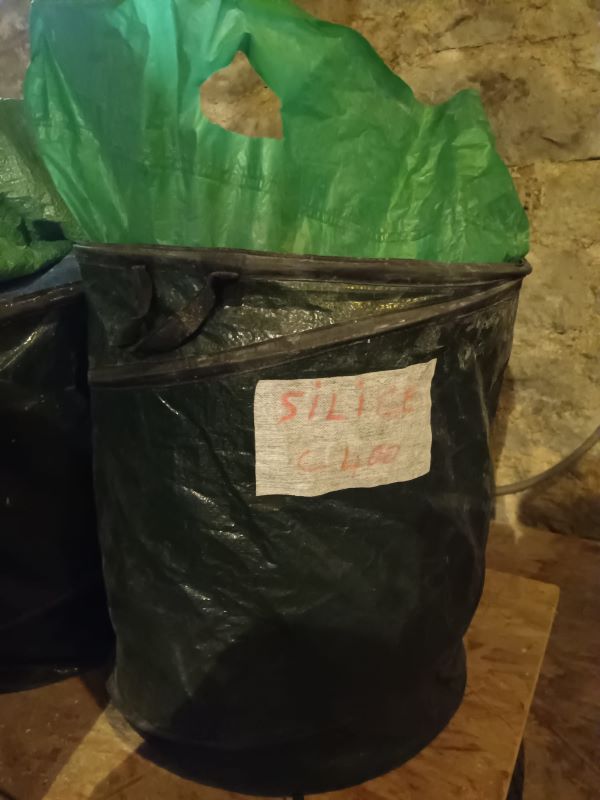
To keep it dry, place it on a dolly:

A workshop on wheels
To optimize space and efficiency, one simple tip: add casters to furniture and equipment. This seemingly minor modification can radically transform your workspace.
Installing casters, particularly under drying shelves, or even tool storage racks, makes it easier to rearrange your workshop according to ongoing projects or specific needs. This flexibility is particularly valuable in tight spaces. You can roll your tray up to your potter’s wheel, put your pieces on it without leaving the wheel, then roll them to their drying place afterwards.
Choose good quality casters, with locking options to ensure maximum stability. Increased mobility makes cleaning and maintaining the workshop easier, allowing access without moving heavy equipment.
Water recycling system using a camping sink
Water consumption and its management can quickly become significant, whether for cleaning tools, hands, or the studio itself. Recently, a very interesting tip emerged on Facebook, offering both an ecological and practical solution: using camping sinks for water recycling.

The camping sink is equipped with a recovery and filtration system. Water used for cleaning is collected in a tank, where it can be filtered and reused. Combining tips, casters can be added to the sink.
Still on water management, round-edged containers are not very efficient for cleaning hands when throwing. But a sharp edged bowl can be used to scrape slip off your hands. The best sharp-edged basins we’ve found are salad spinner containers. They’re large and the rims aren’t rounded:
A trick for the kiln: home-made shelf props
If you buy your own kiln, make sure you buy an extra shelf. You can use a broken or a second-hand one, if it is suitable for your kiln temperature. Cut the shelf into small pieces, about 4 cm x 4 cm, to make shelf props. These will enable you to adjust your shelves to a more precise height than if you were to use only conventional commercially bought props:
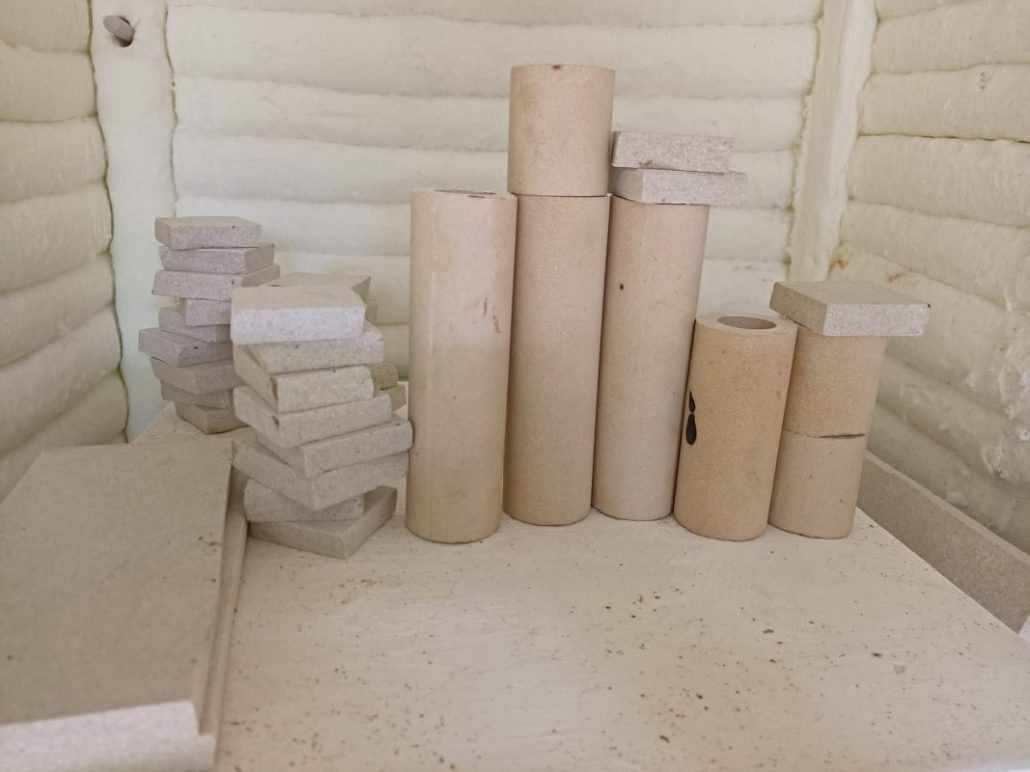
by using additional home-made props.
To cut the shelf, mark the places you need to cut and then use an angle grinder:
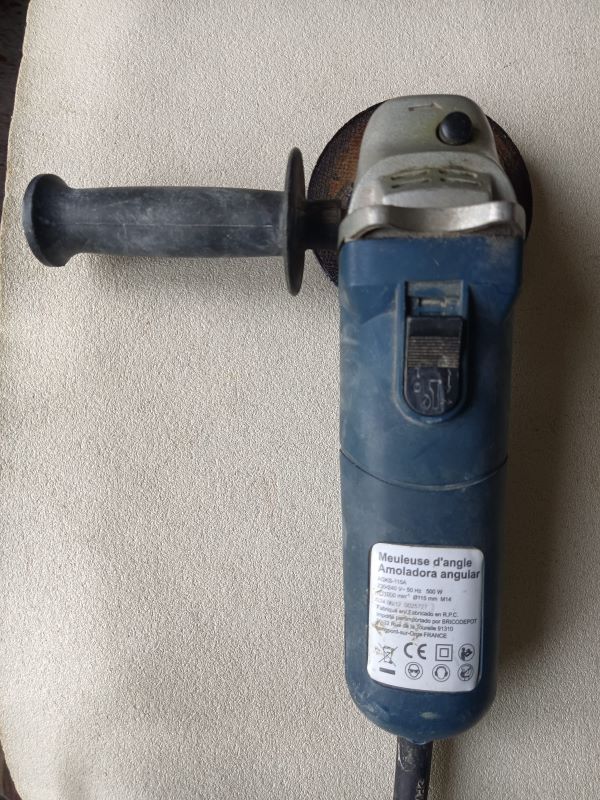
This one cost 9.90 euros a few years ago, and it’s still going strong!
Start by scoring a groove to make sure your cut is accurate before completing the task. Then cut the plate in 2, then in 4… etc. Each time, make a groove first, cutting the shelf little by little until you’ve divided it. Do this outdoors, as it generates dust. Protect yourself with gloves, masks and goggles.
Conclusion
We could continue with this catalogue, and we certainly will in other articles. Some tricks may seem old or obvious at first, but don’t be too quick to discount them. Take time to reflect on them, as there may well be one that will make all the difference in your workshop. And if one is completely new to you, you’ve just found another gem to add to your collection of potter’s tips.
Every tip, whether it concerns the re-use of materials, the optimisation of workspace, or the management of resources, shows how much our community wants to share ideas rather than keep them to themselves.
This generosity is what makes our community so strong and dynamic. It encourages everyone to remain open and curious. By sharing our discoveries, we improve our own practice, as well as that of others, and weave a network of knowledge that benefits us all and enhances our business. Together, we can continue to explore, learn and share.
")
Resource centre
animated by Matthieu Liévois,
potter-ceramist for over 40 years and founder of the Creamik School
Find all the courses

Keywords
Don’t miss any more news from the Créamik school!
Follow us on the networks
You can also discover…
Less math, better research: Generative Artificial Intelligence in the Ceramic Industry

Garance Lanfray, journey through Southeast Asia

From beginner to professional : choosing the right ceramic courses

Matthieu Liévois, The search for crystals
Can ceramics be fired in a microwave?

Discovering the Art of Japanese Ceramic Masters
Instructions for making your own sieve