
Densimeter, rib: back-to-school tips for making your own ceramic tools
I – The densimeter
II – The rib
III – An unexpected material
Introduction
As the summer draws to a close and the spirit of the new year rises with the arrival of September, we give you some tips on how to make your own ceramic tools.
Our tips will help you make a densimeter, create made-to-measure ribs, and recycle an object well known to seaside holidaymakers. The tools will be best suited to your pottery practice in the studio.
A creative and innovative way to start the year!
I – The densimeter
In a previous article, we promised you that we’d come back to you with improvements to our densimeter, and here we are!
Do reread the article, as we’re not going through the entire manufacturing process, just the improved stages:
- Lester the test tube: we’ve simplified this step by replacing the nuts and slats with fishing weights. With a weight of 25 g, the tube is perfectly weighted.

- To pour wax into the test tube: simply place the tube vertically on a piece of clay as follows:

- Here, the lead is clearly visible at the bottom. A quick reminder: the paper allows the wax to be poured without sticking to the sides of the tube.
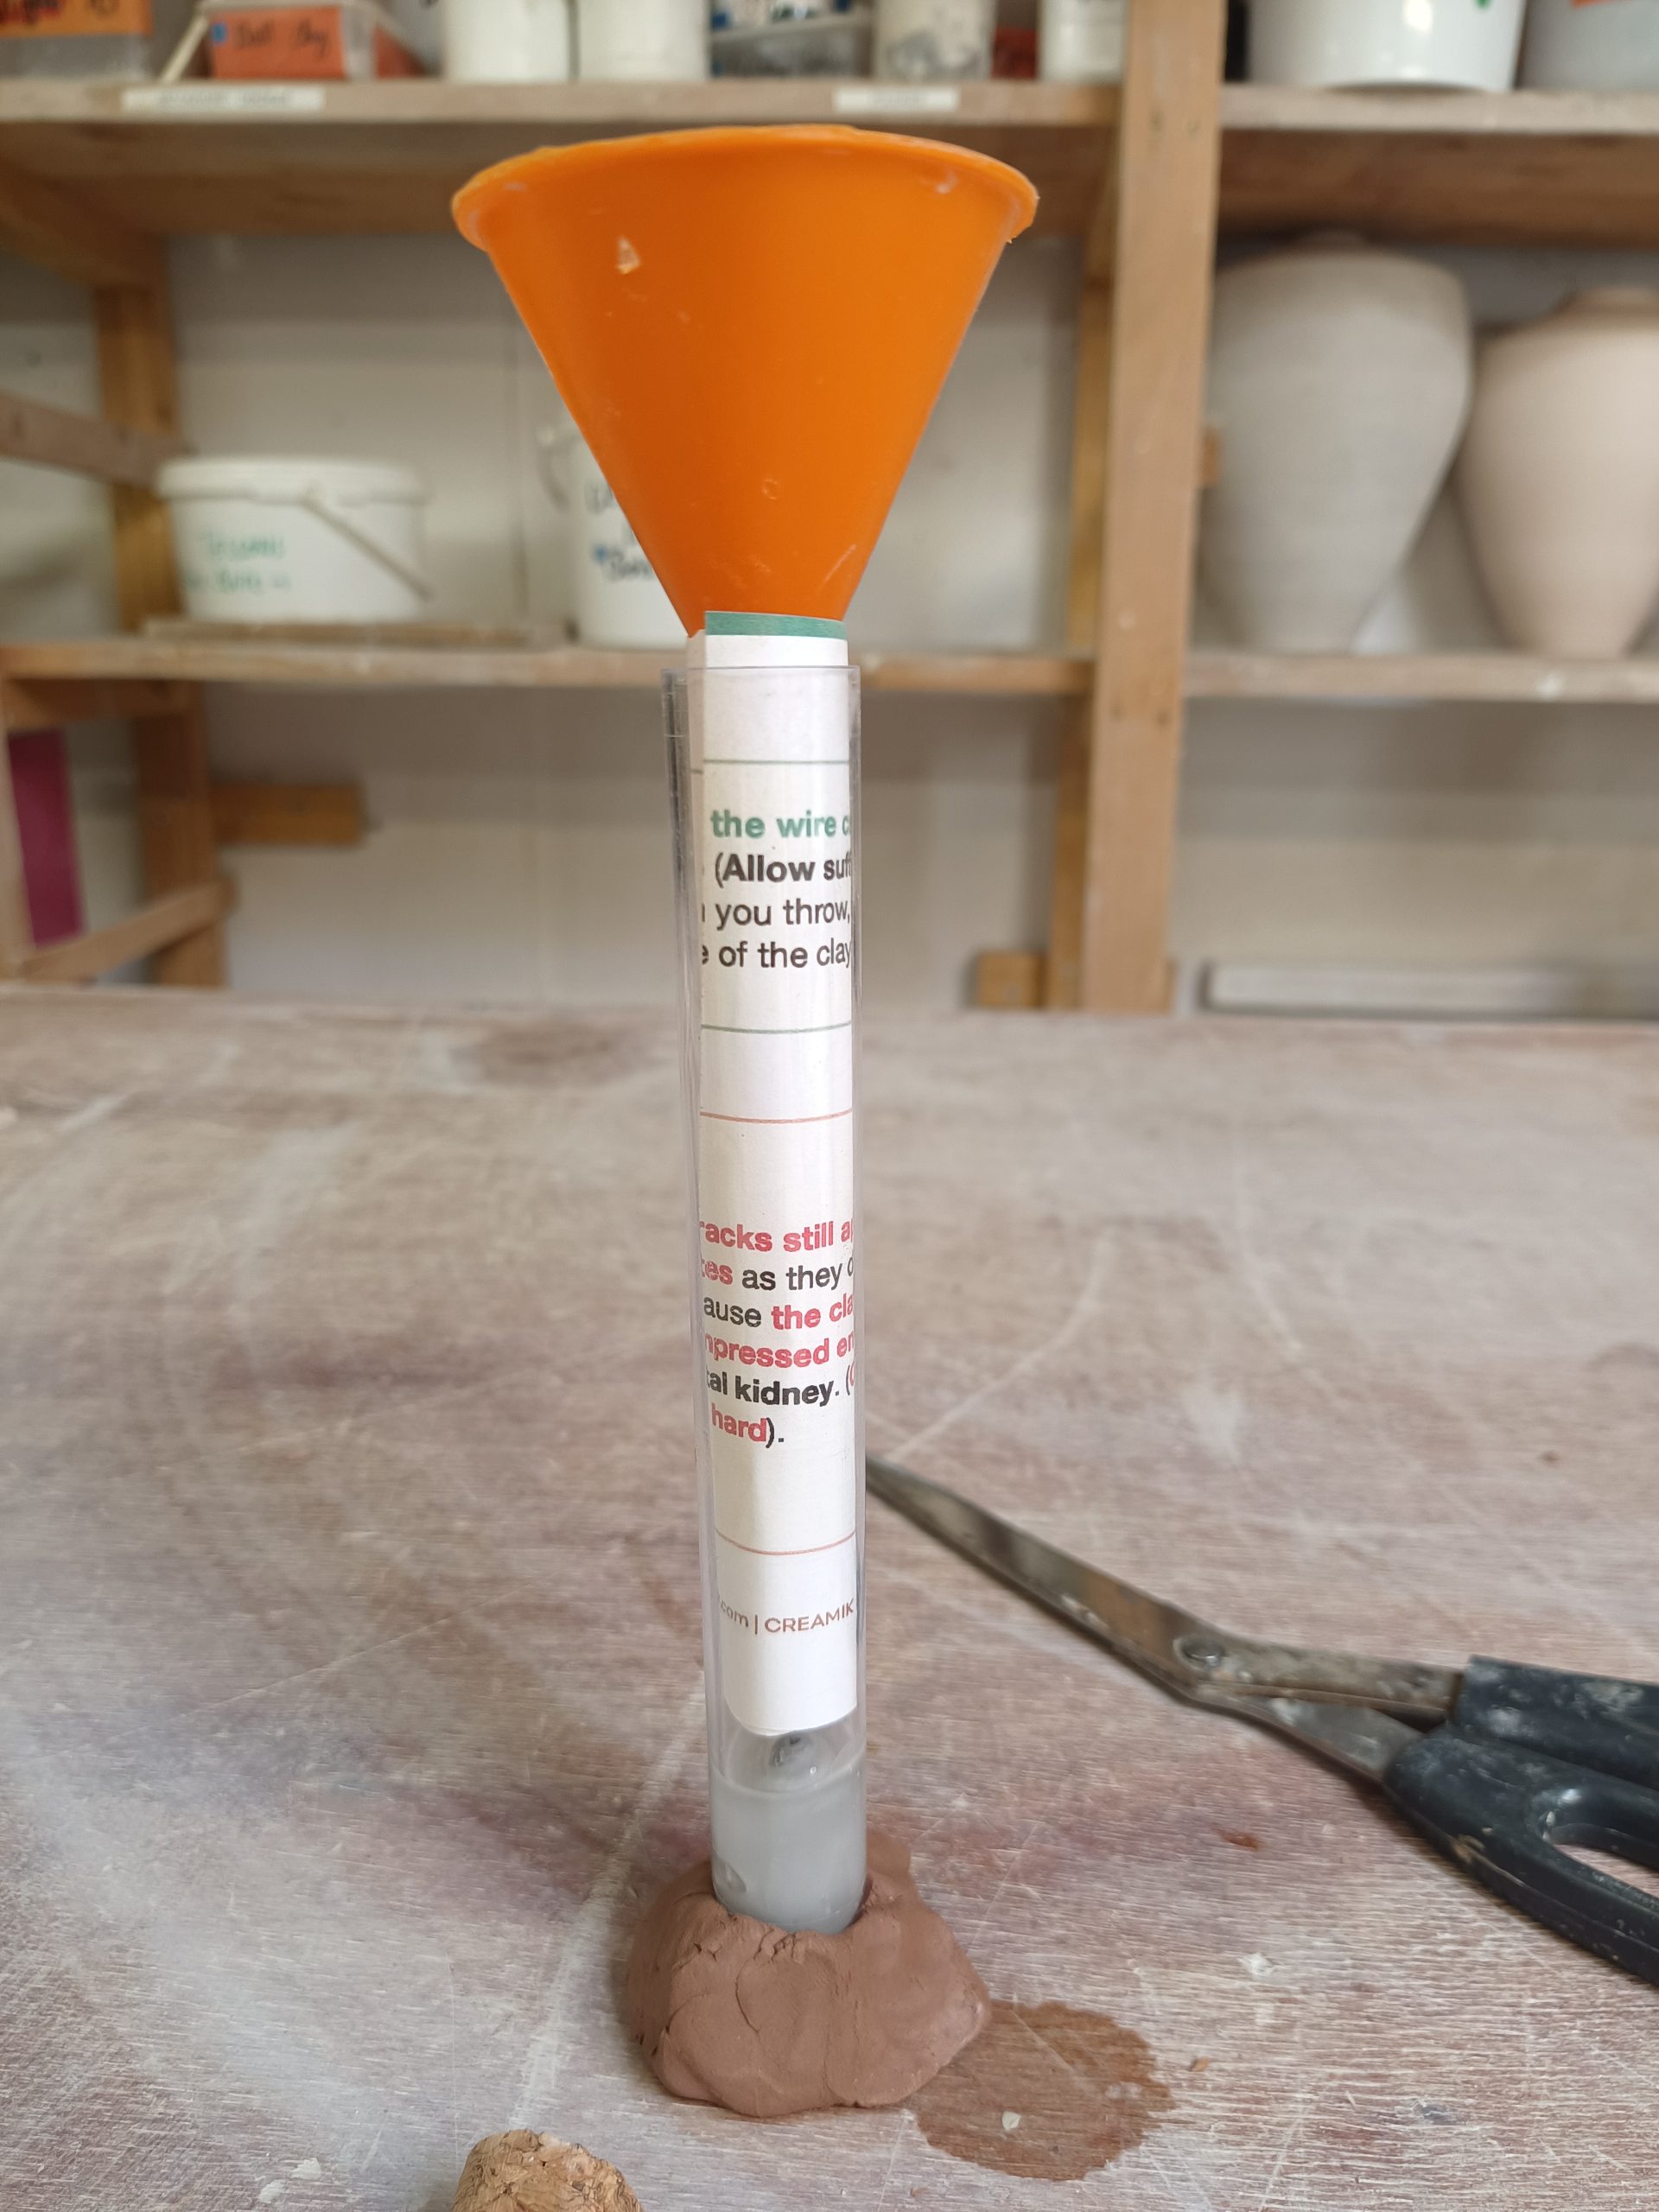
The wax has been poured on and hides the lead.
- A way to store, protect and transporte the densimeter:
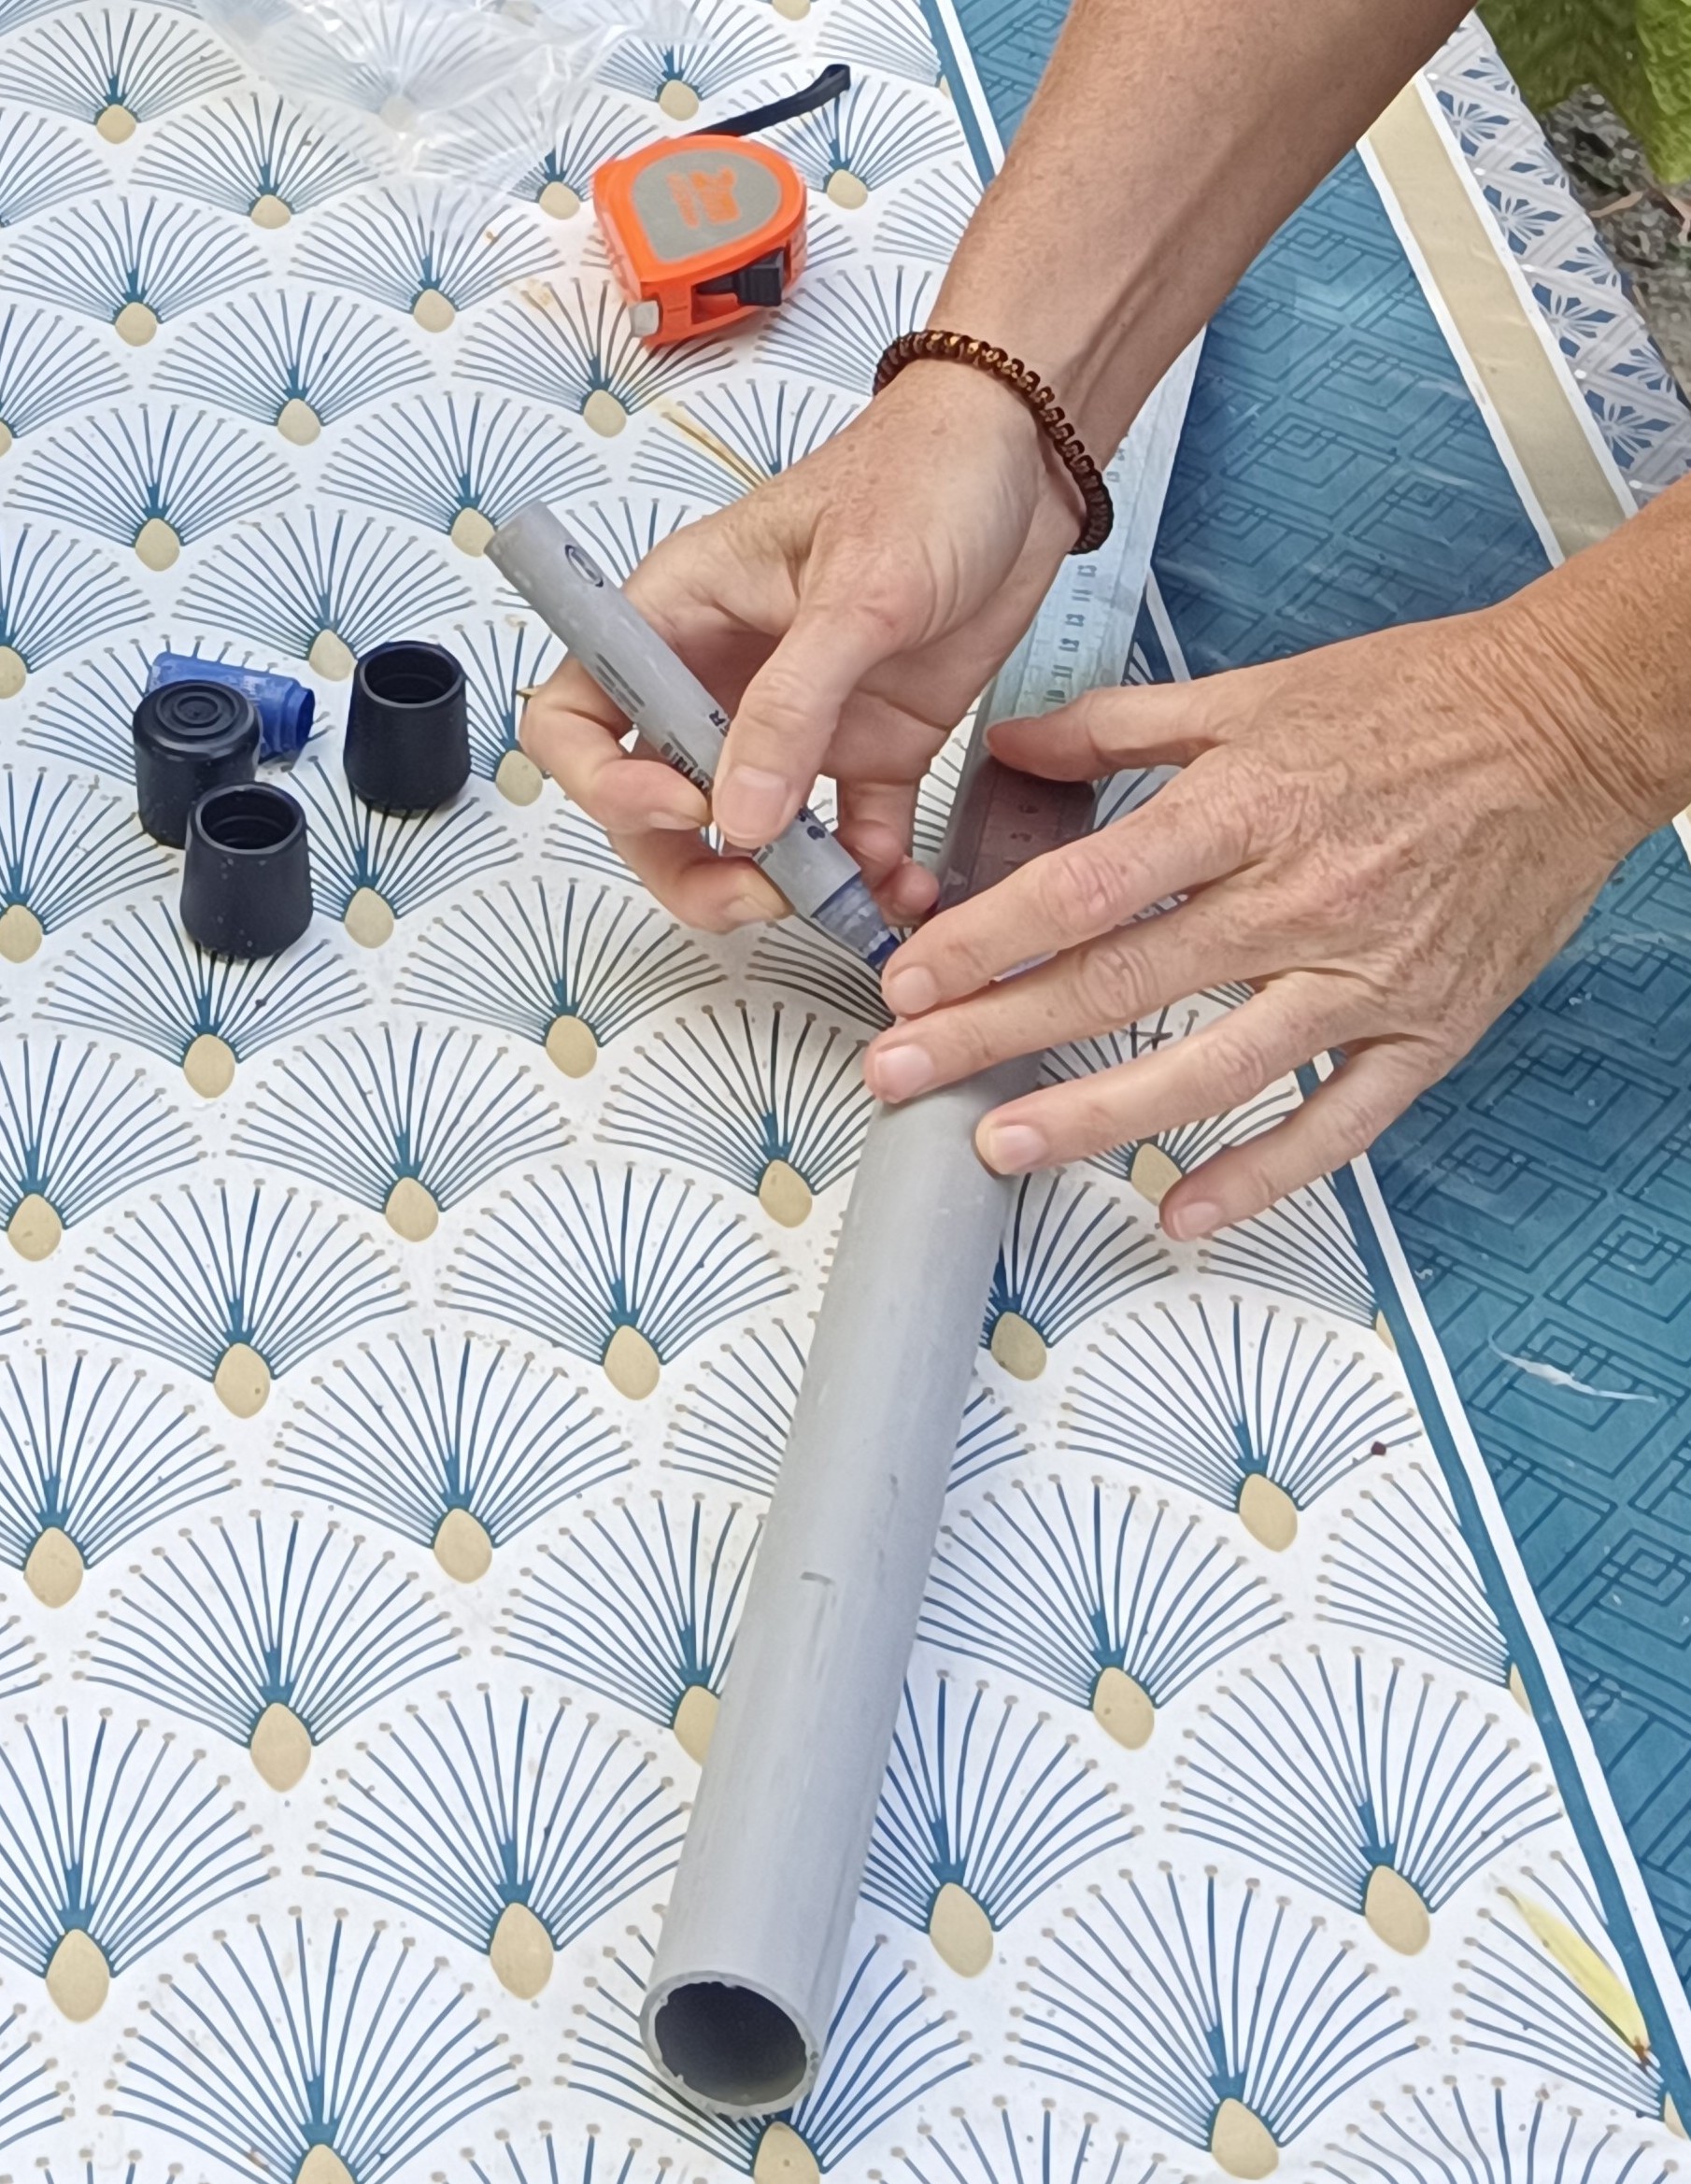
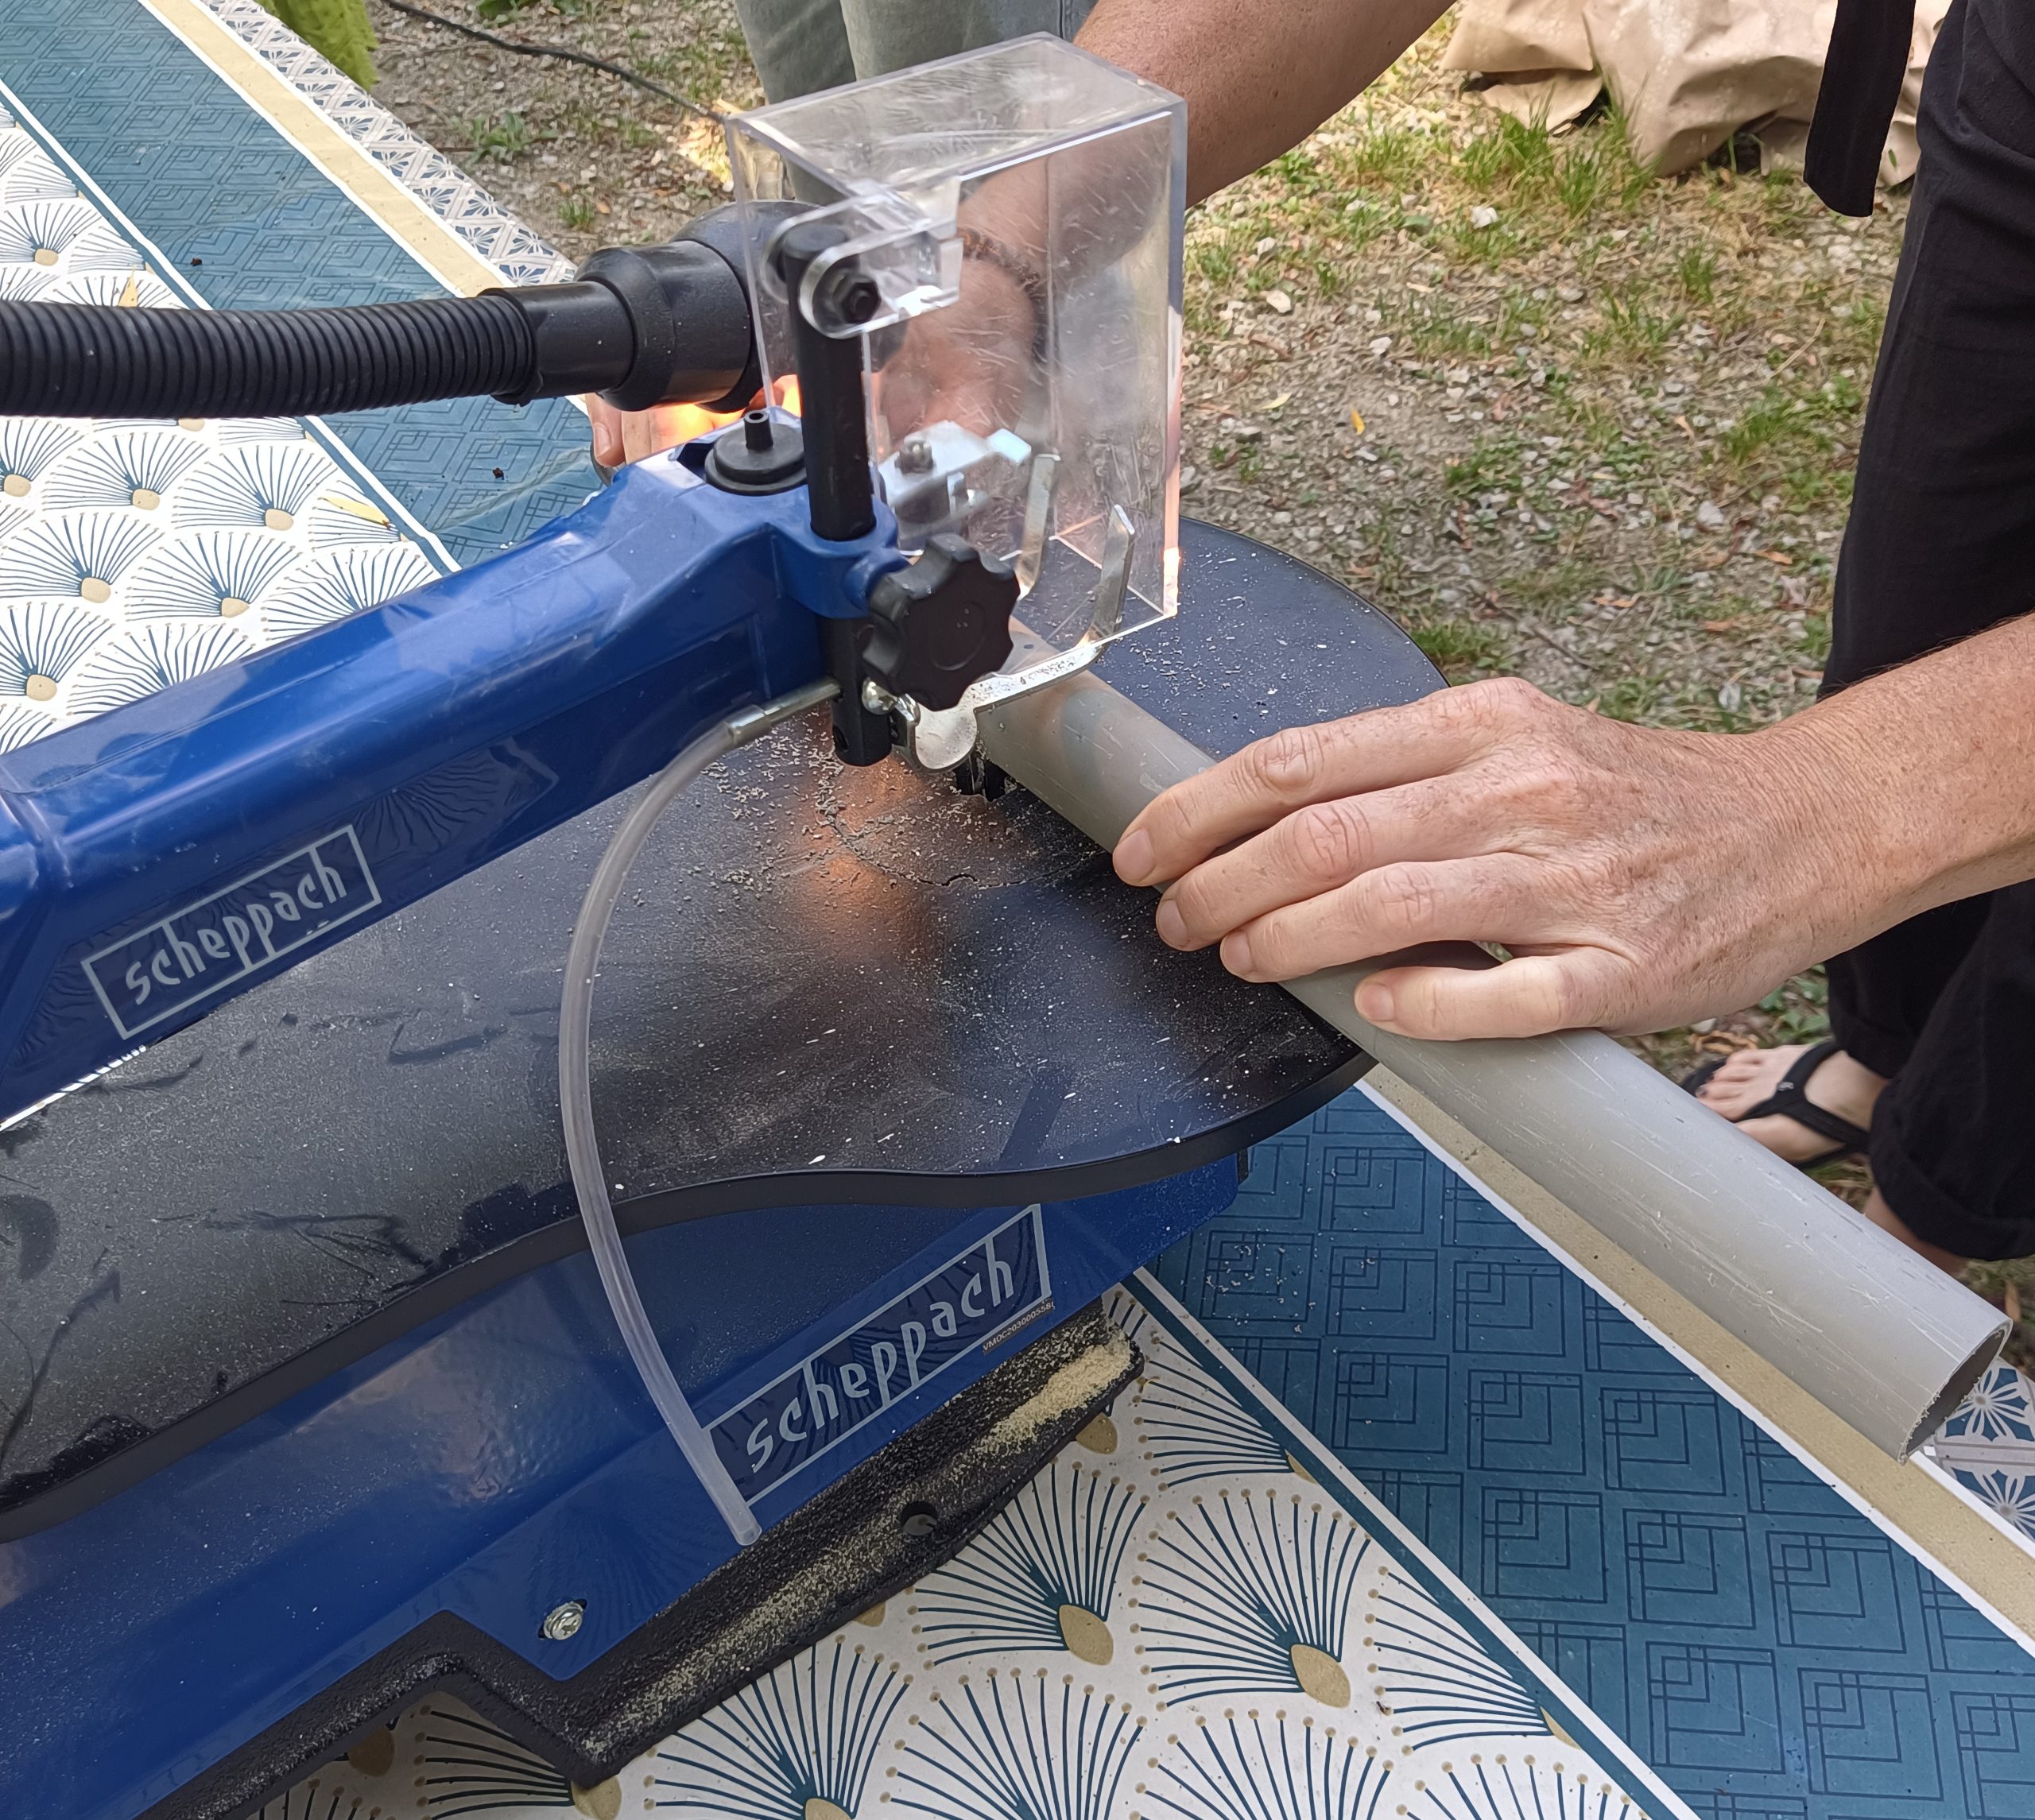
- Take a PVC tube (diameter and length should be greater than those of the test tube). The tube is sold by the metre; cut it to the correct length:
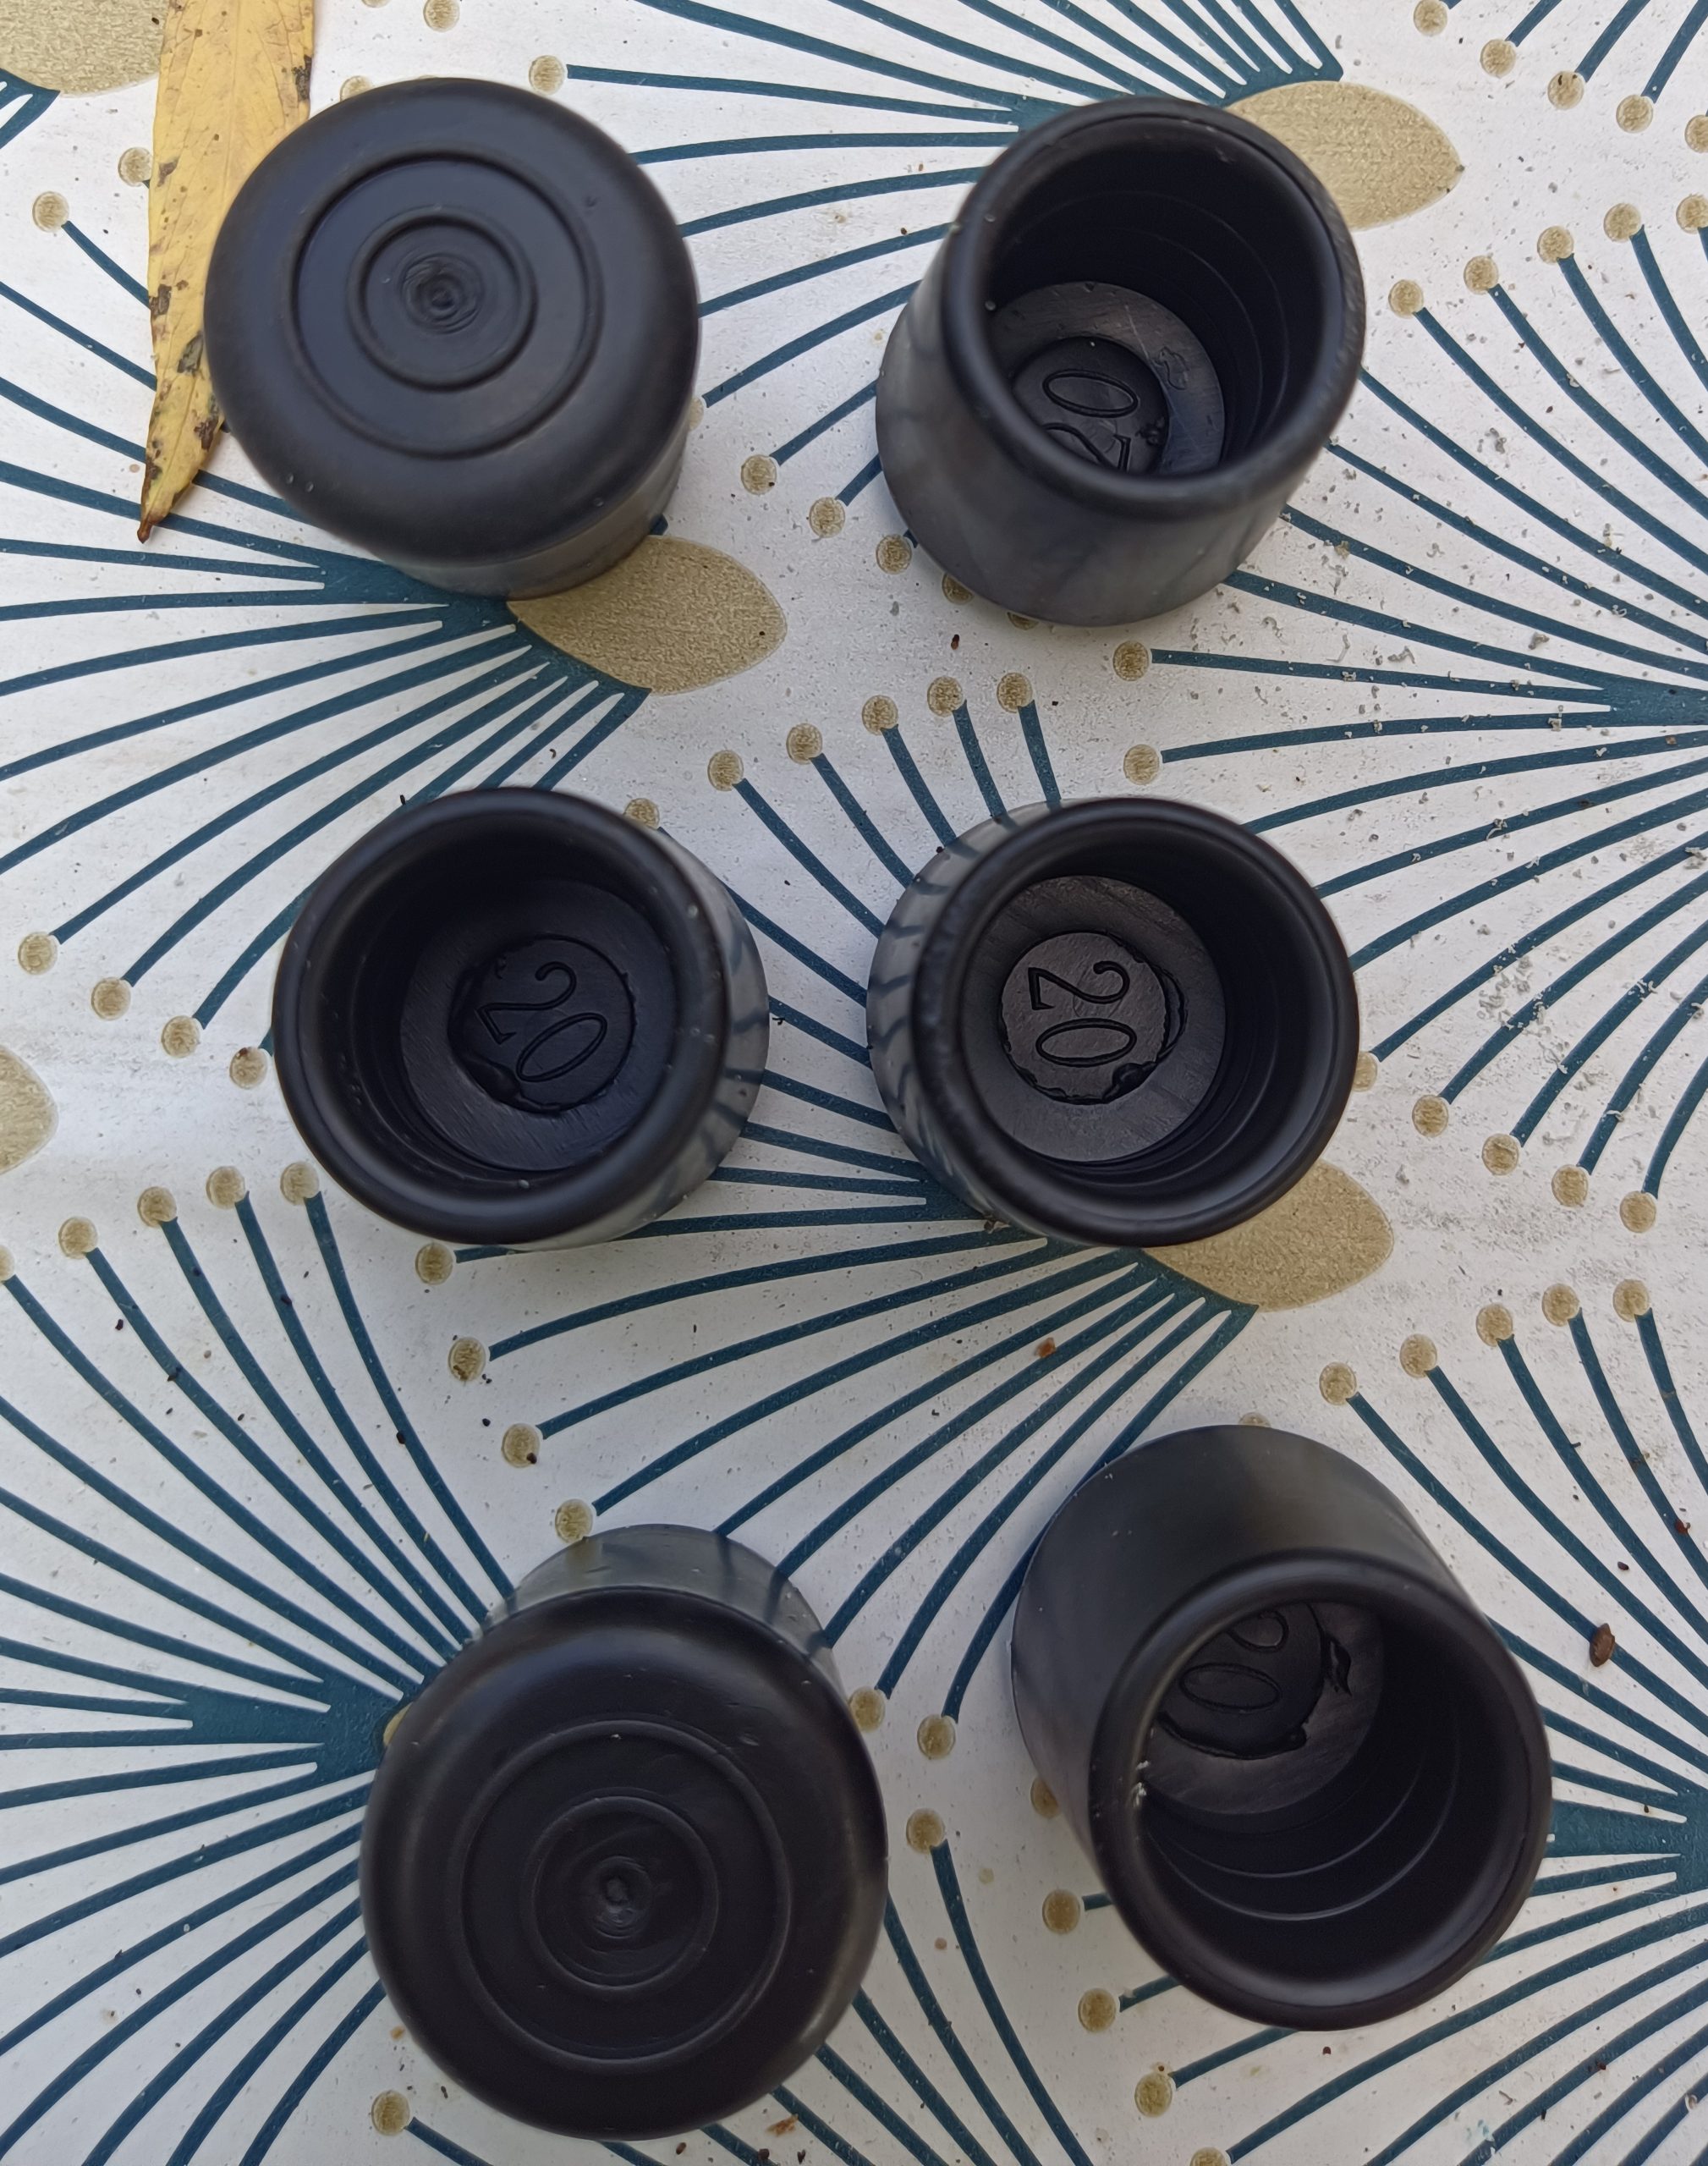
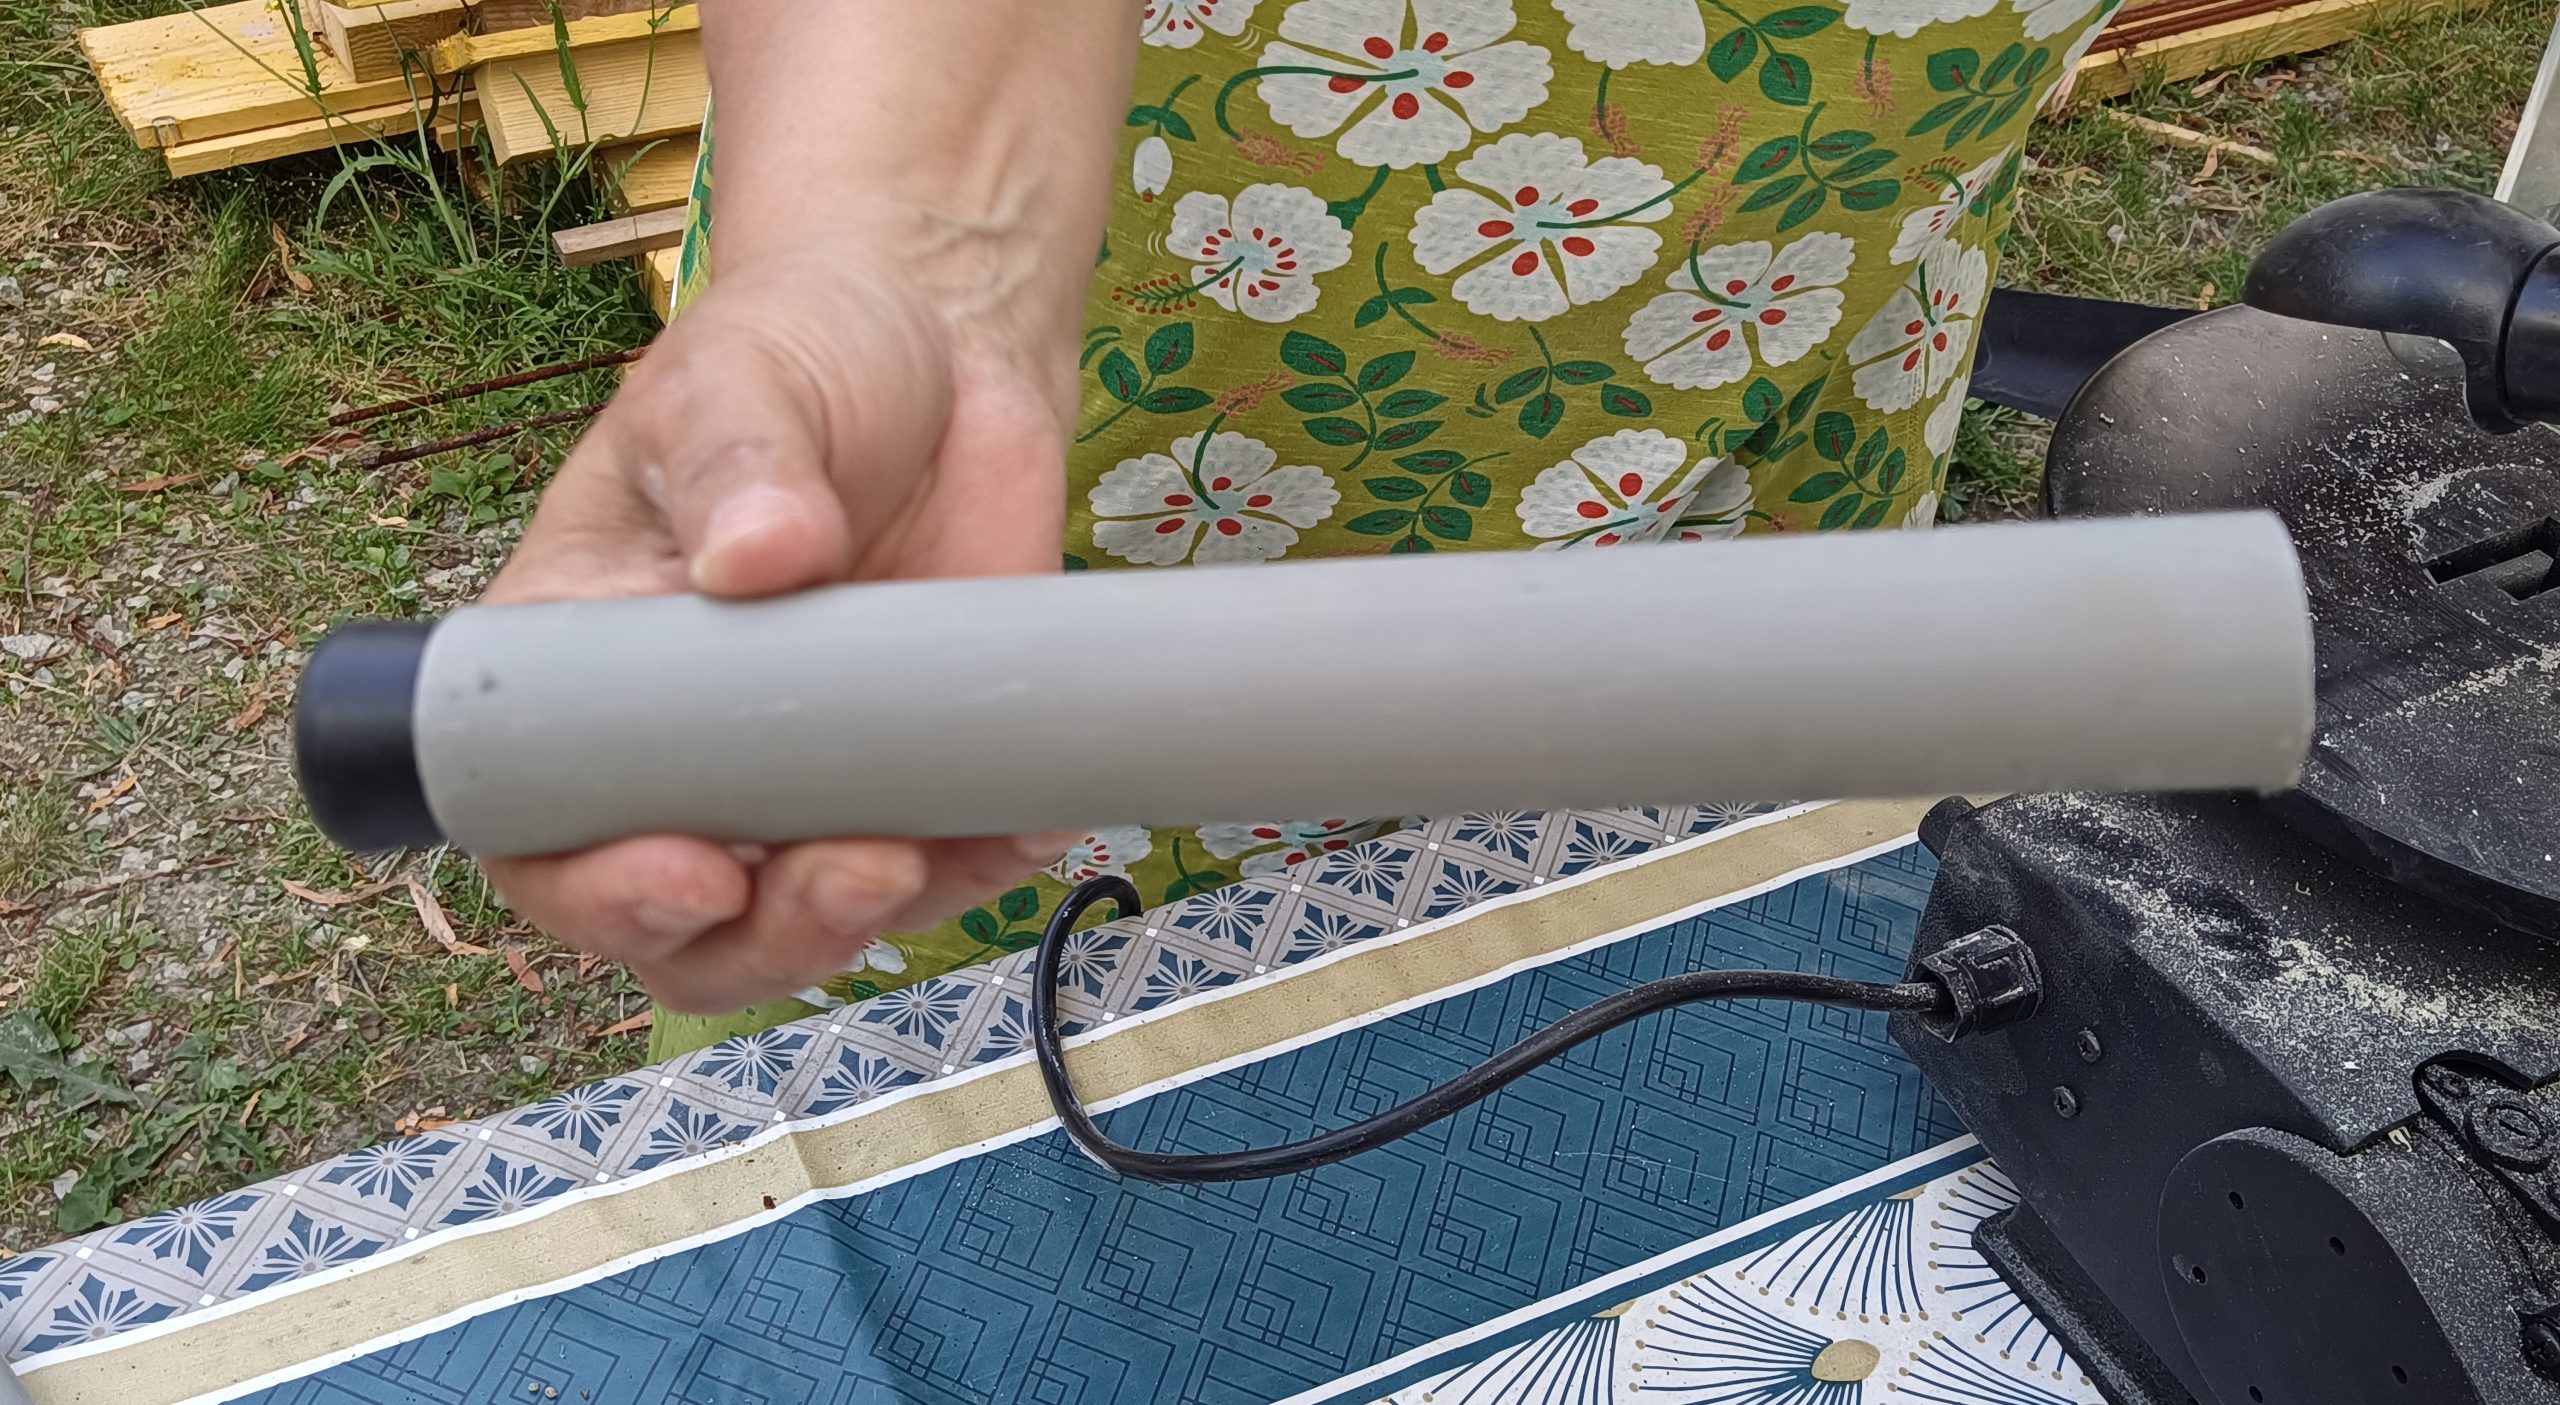
- Find rubber end caps that are usually used to protect chair legs: they will be used to close the PVC tube on both sides:
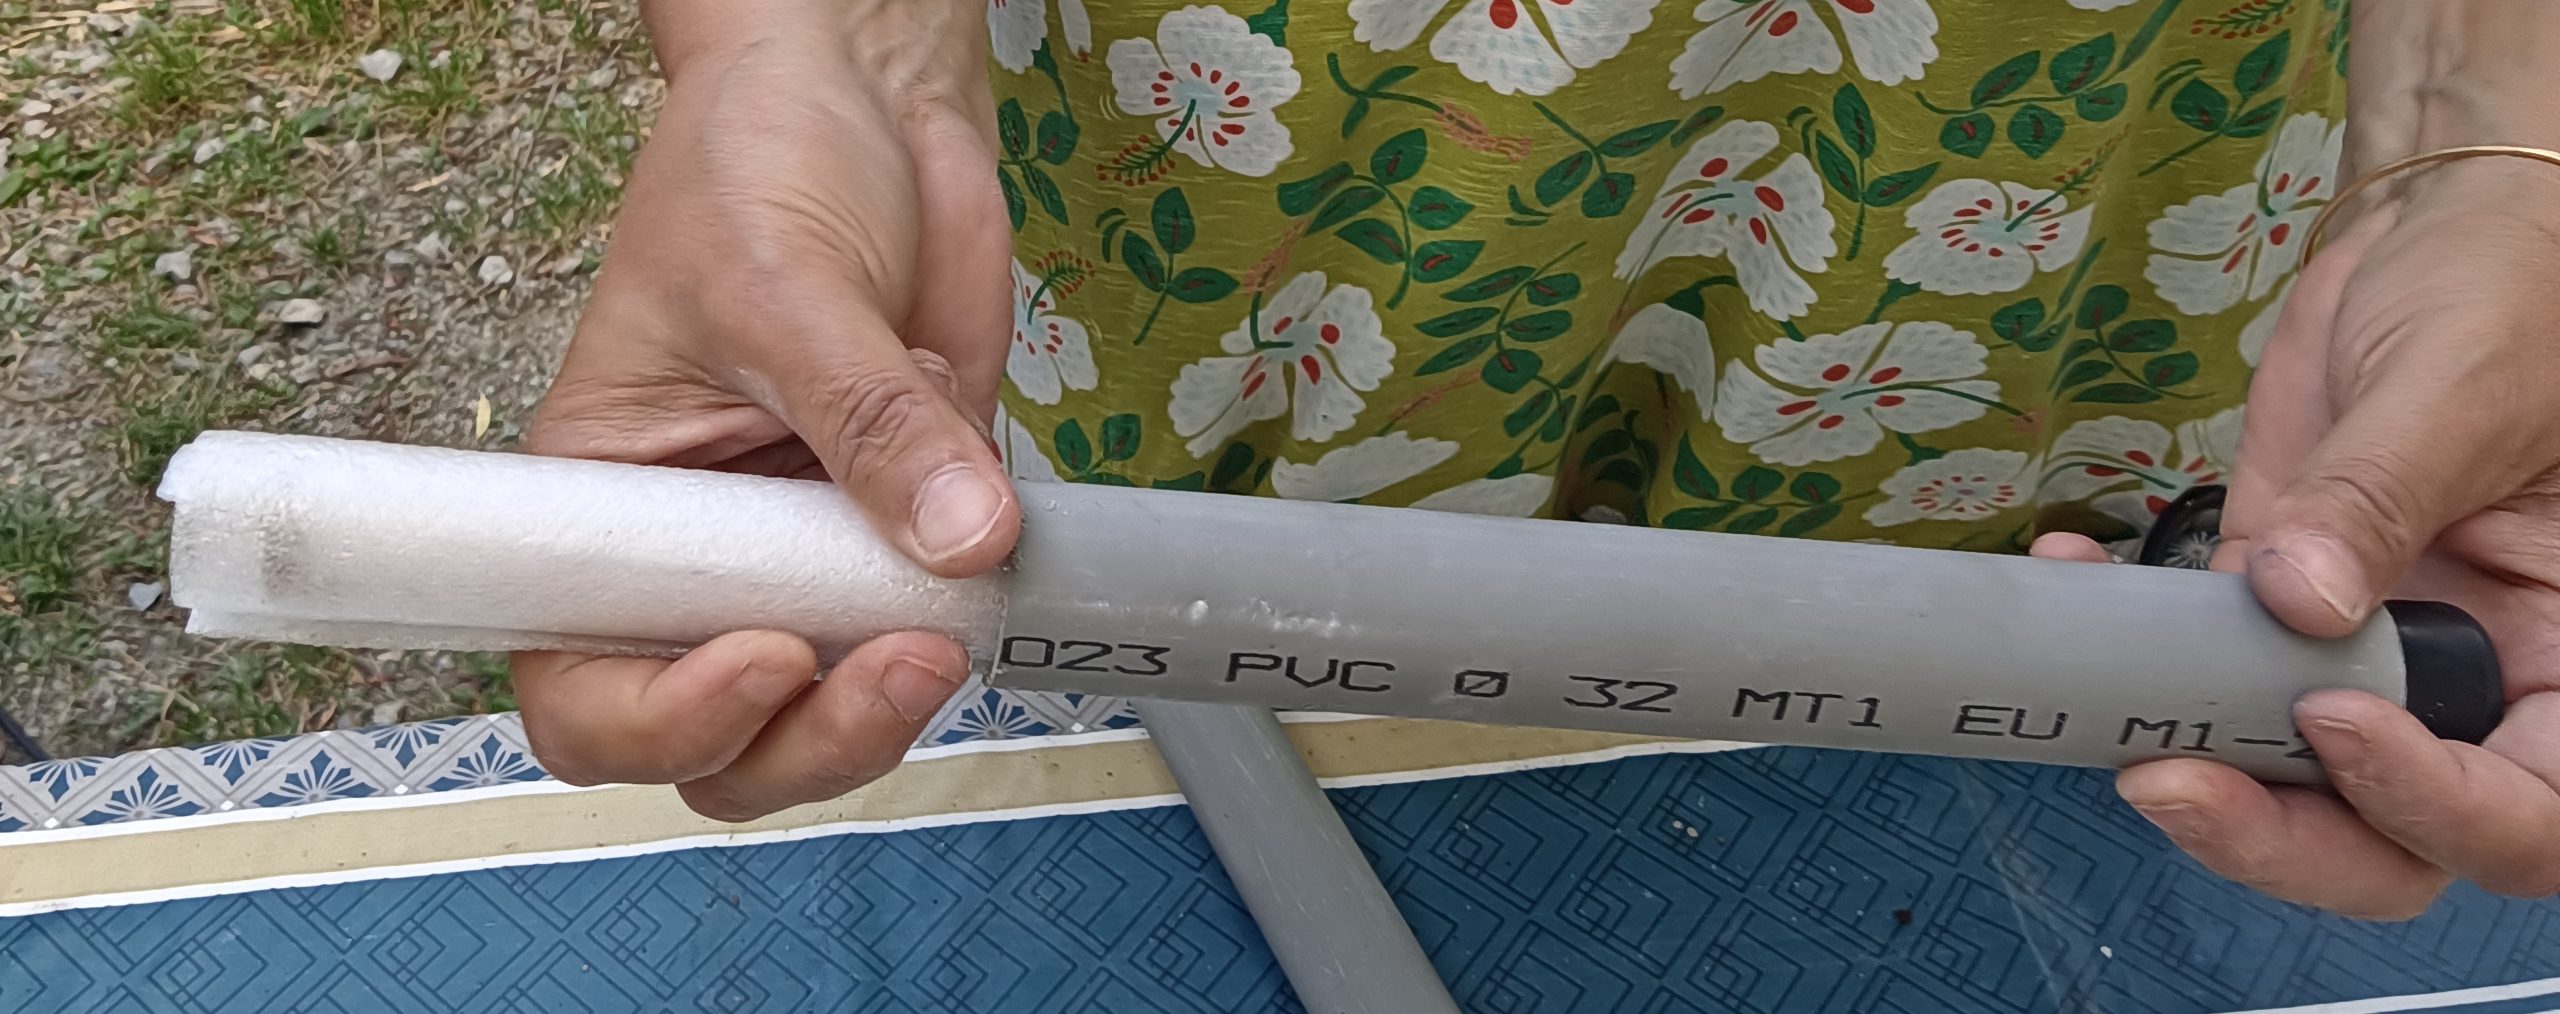
- The tube is wrapped in a protective plastic to keep it securely in place and prevent it from moving around inside the tube:
II – The rib
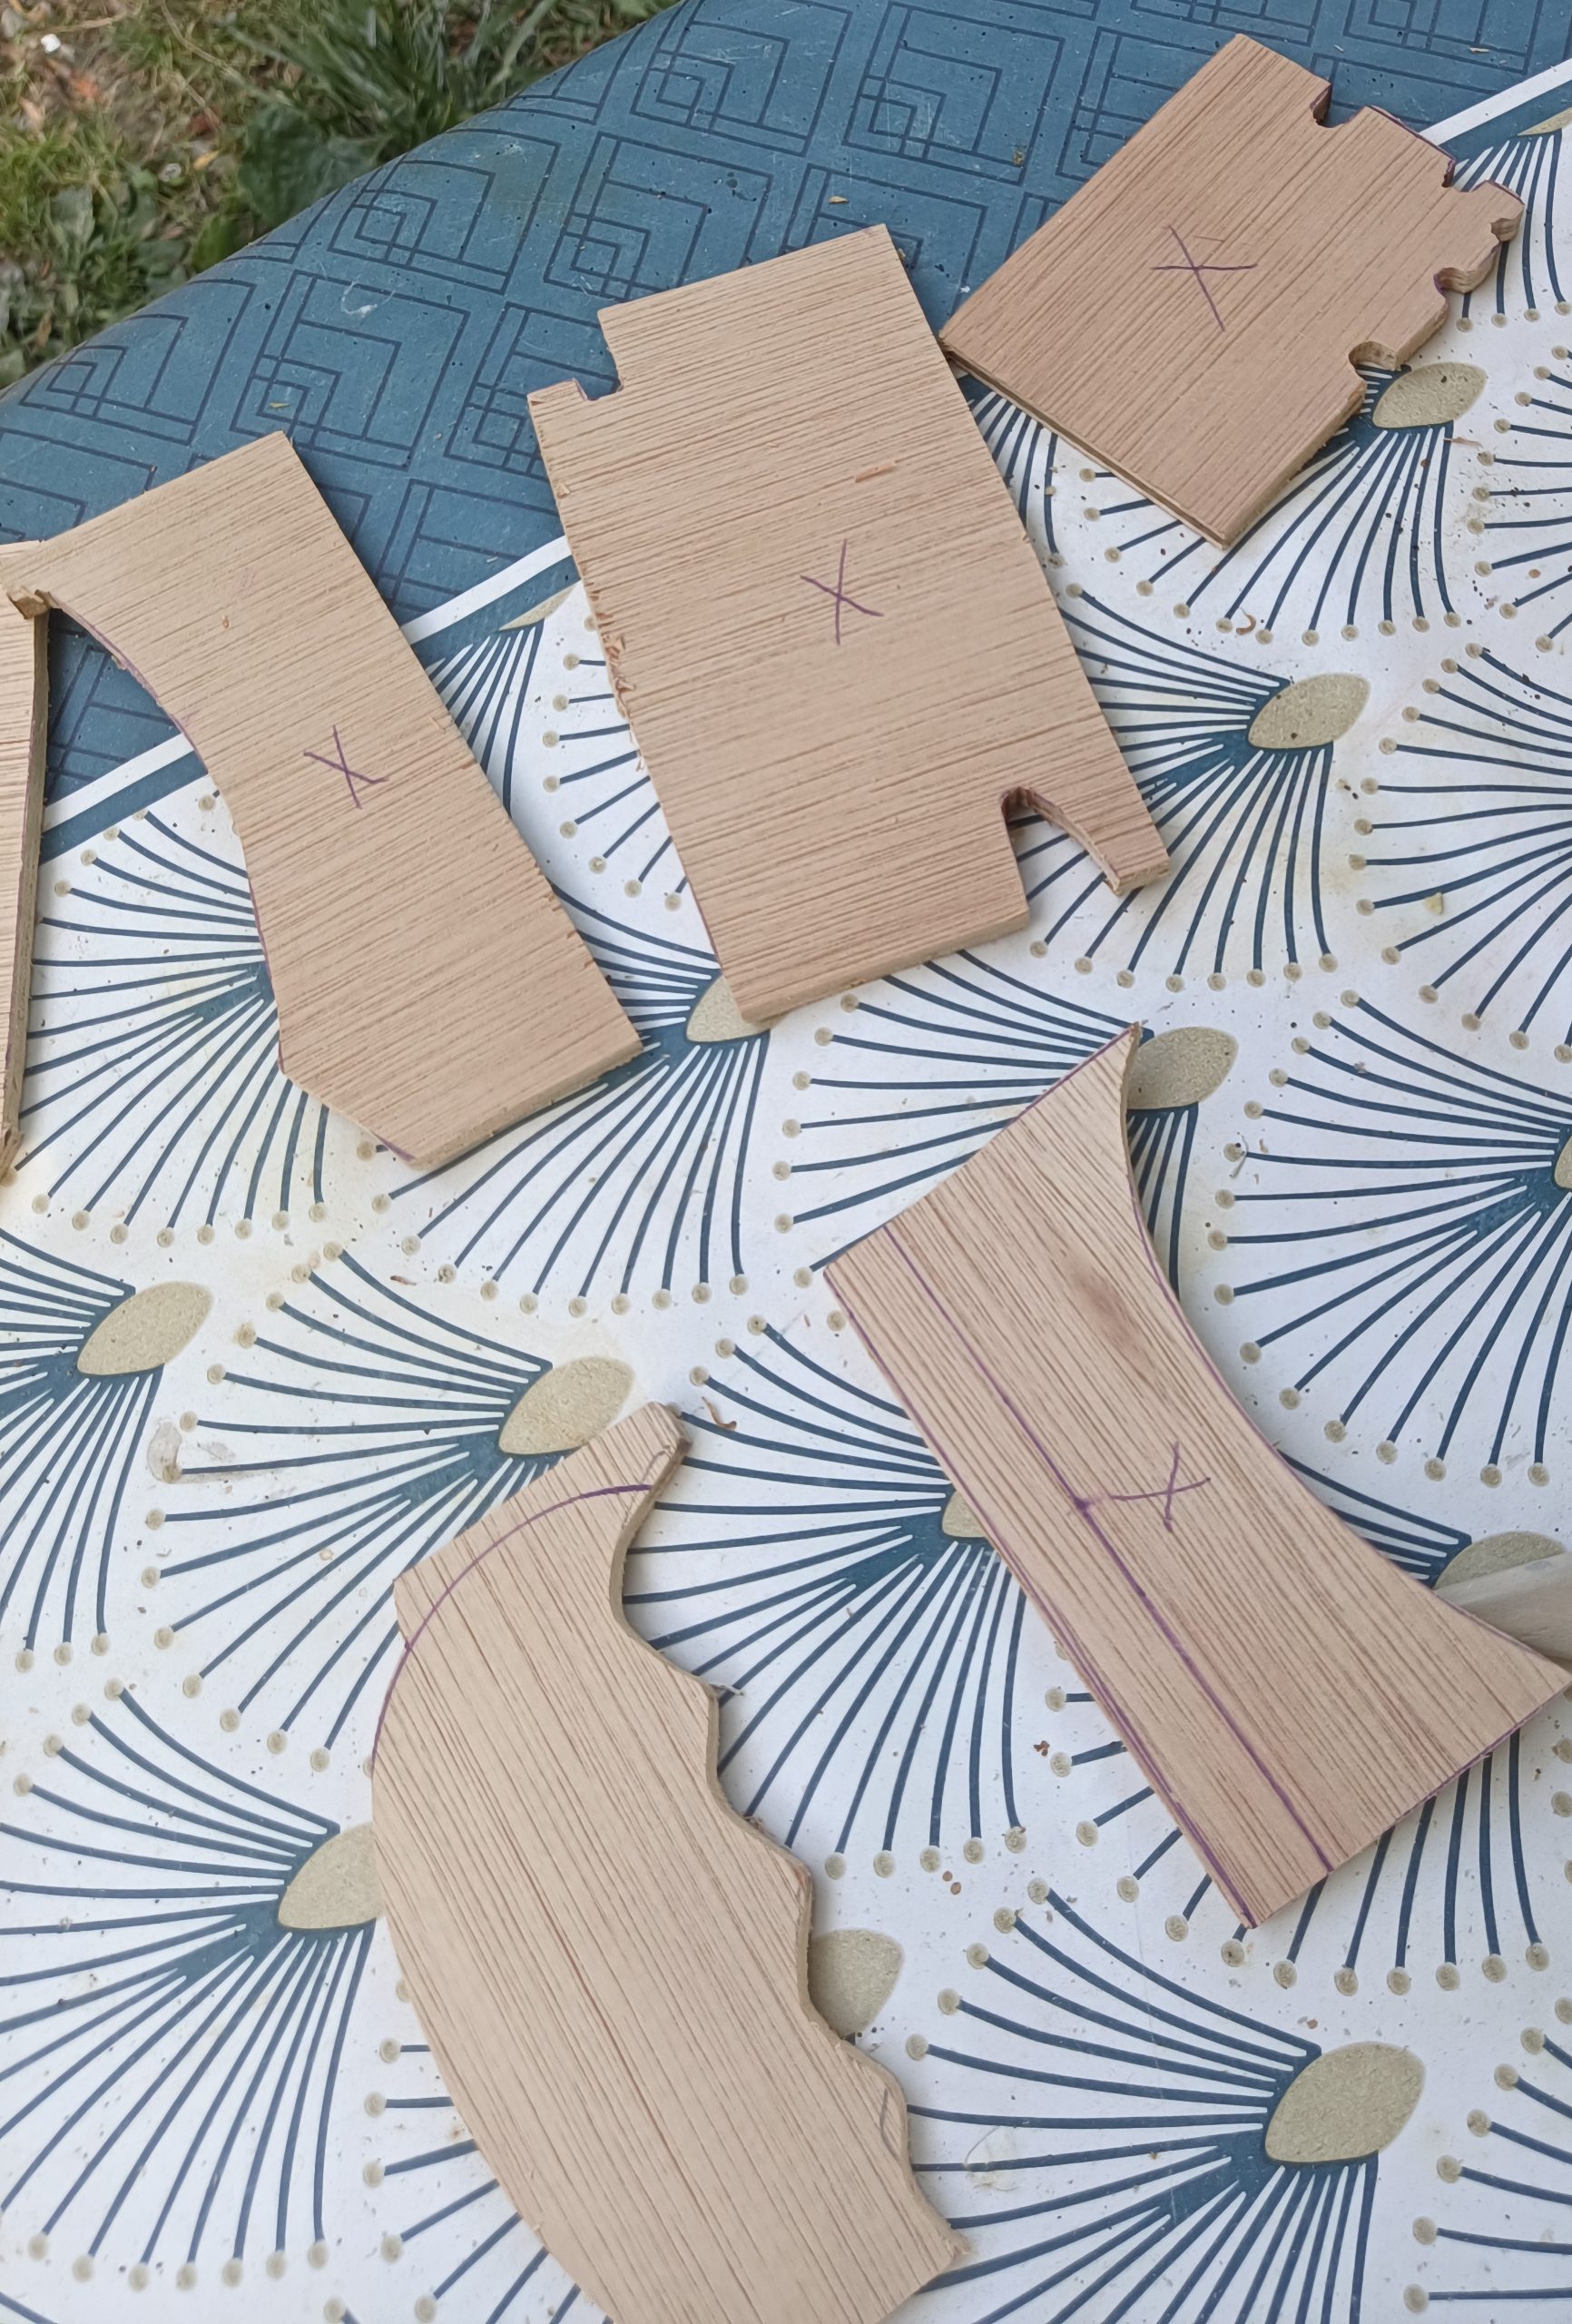
During the last day of classes at Créamik, we made a number of tools, in particular ribs from plywood boards:
The students first listed the tools they wanted to reproduce:
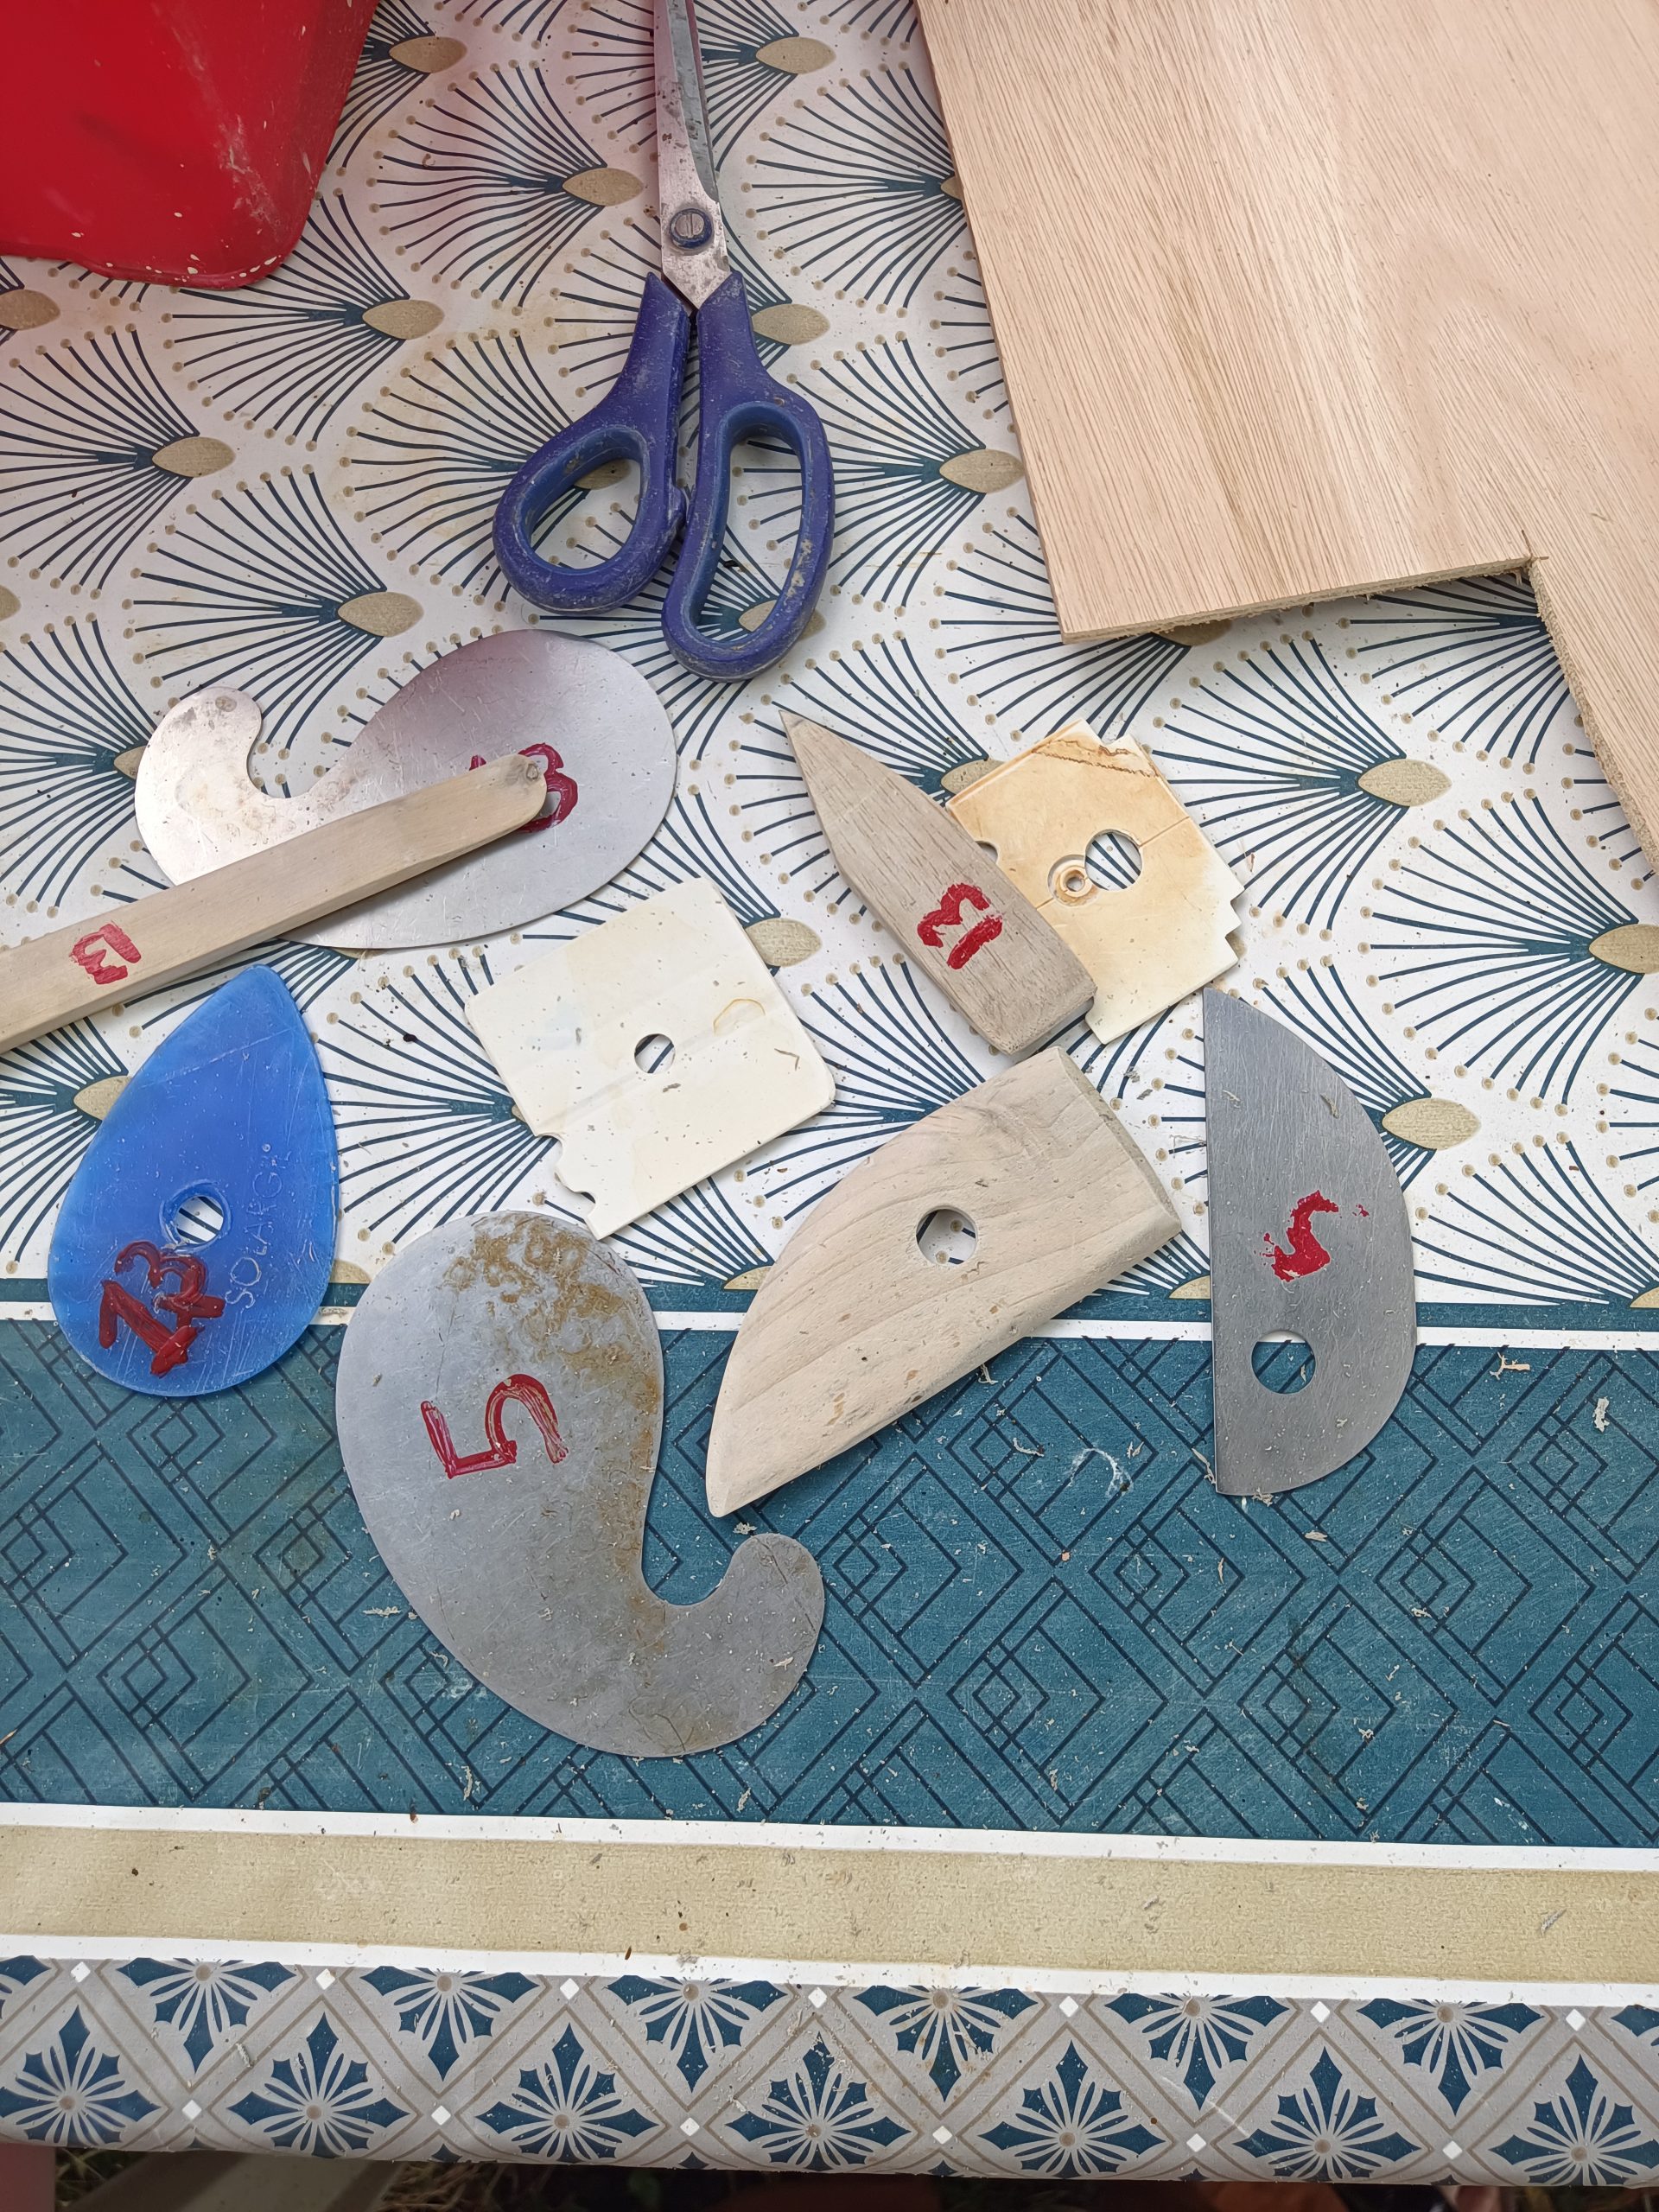
Some have created their own models:
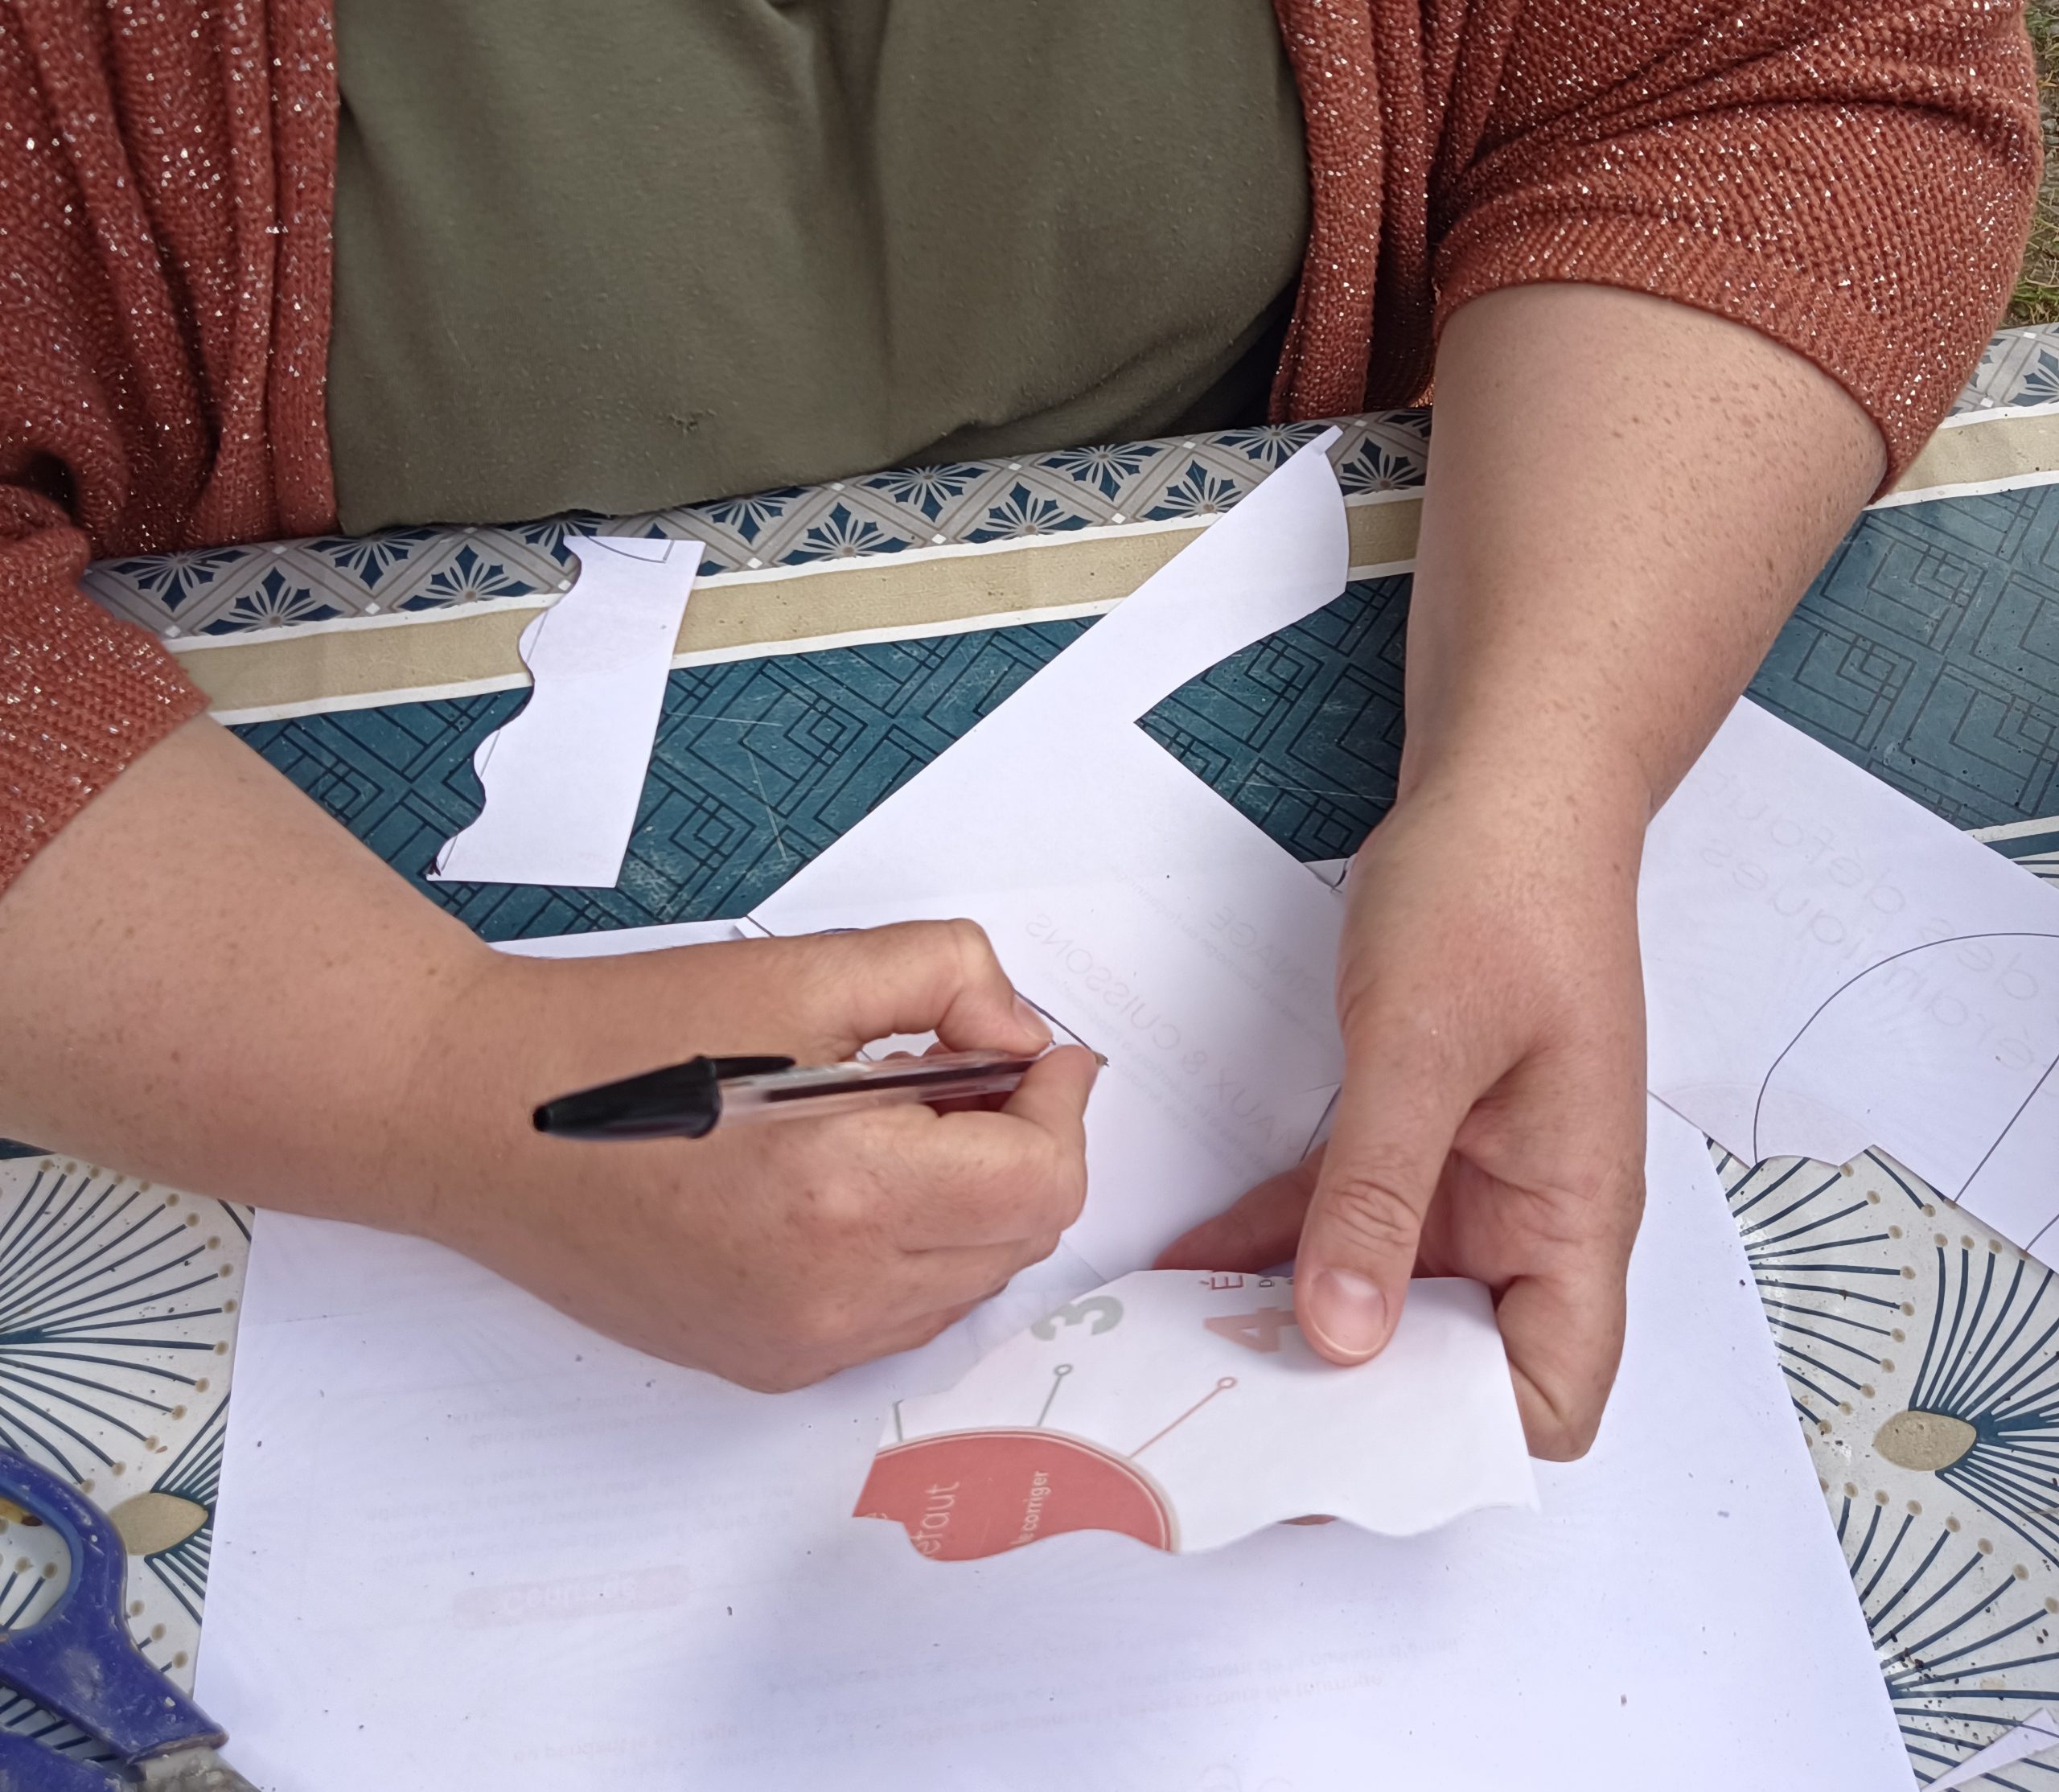
The models are then drawn on wood:
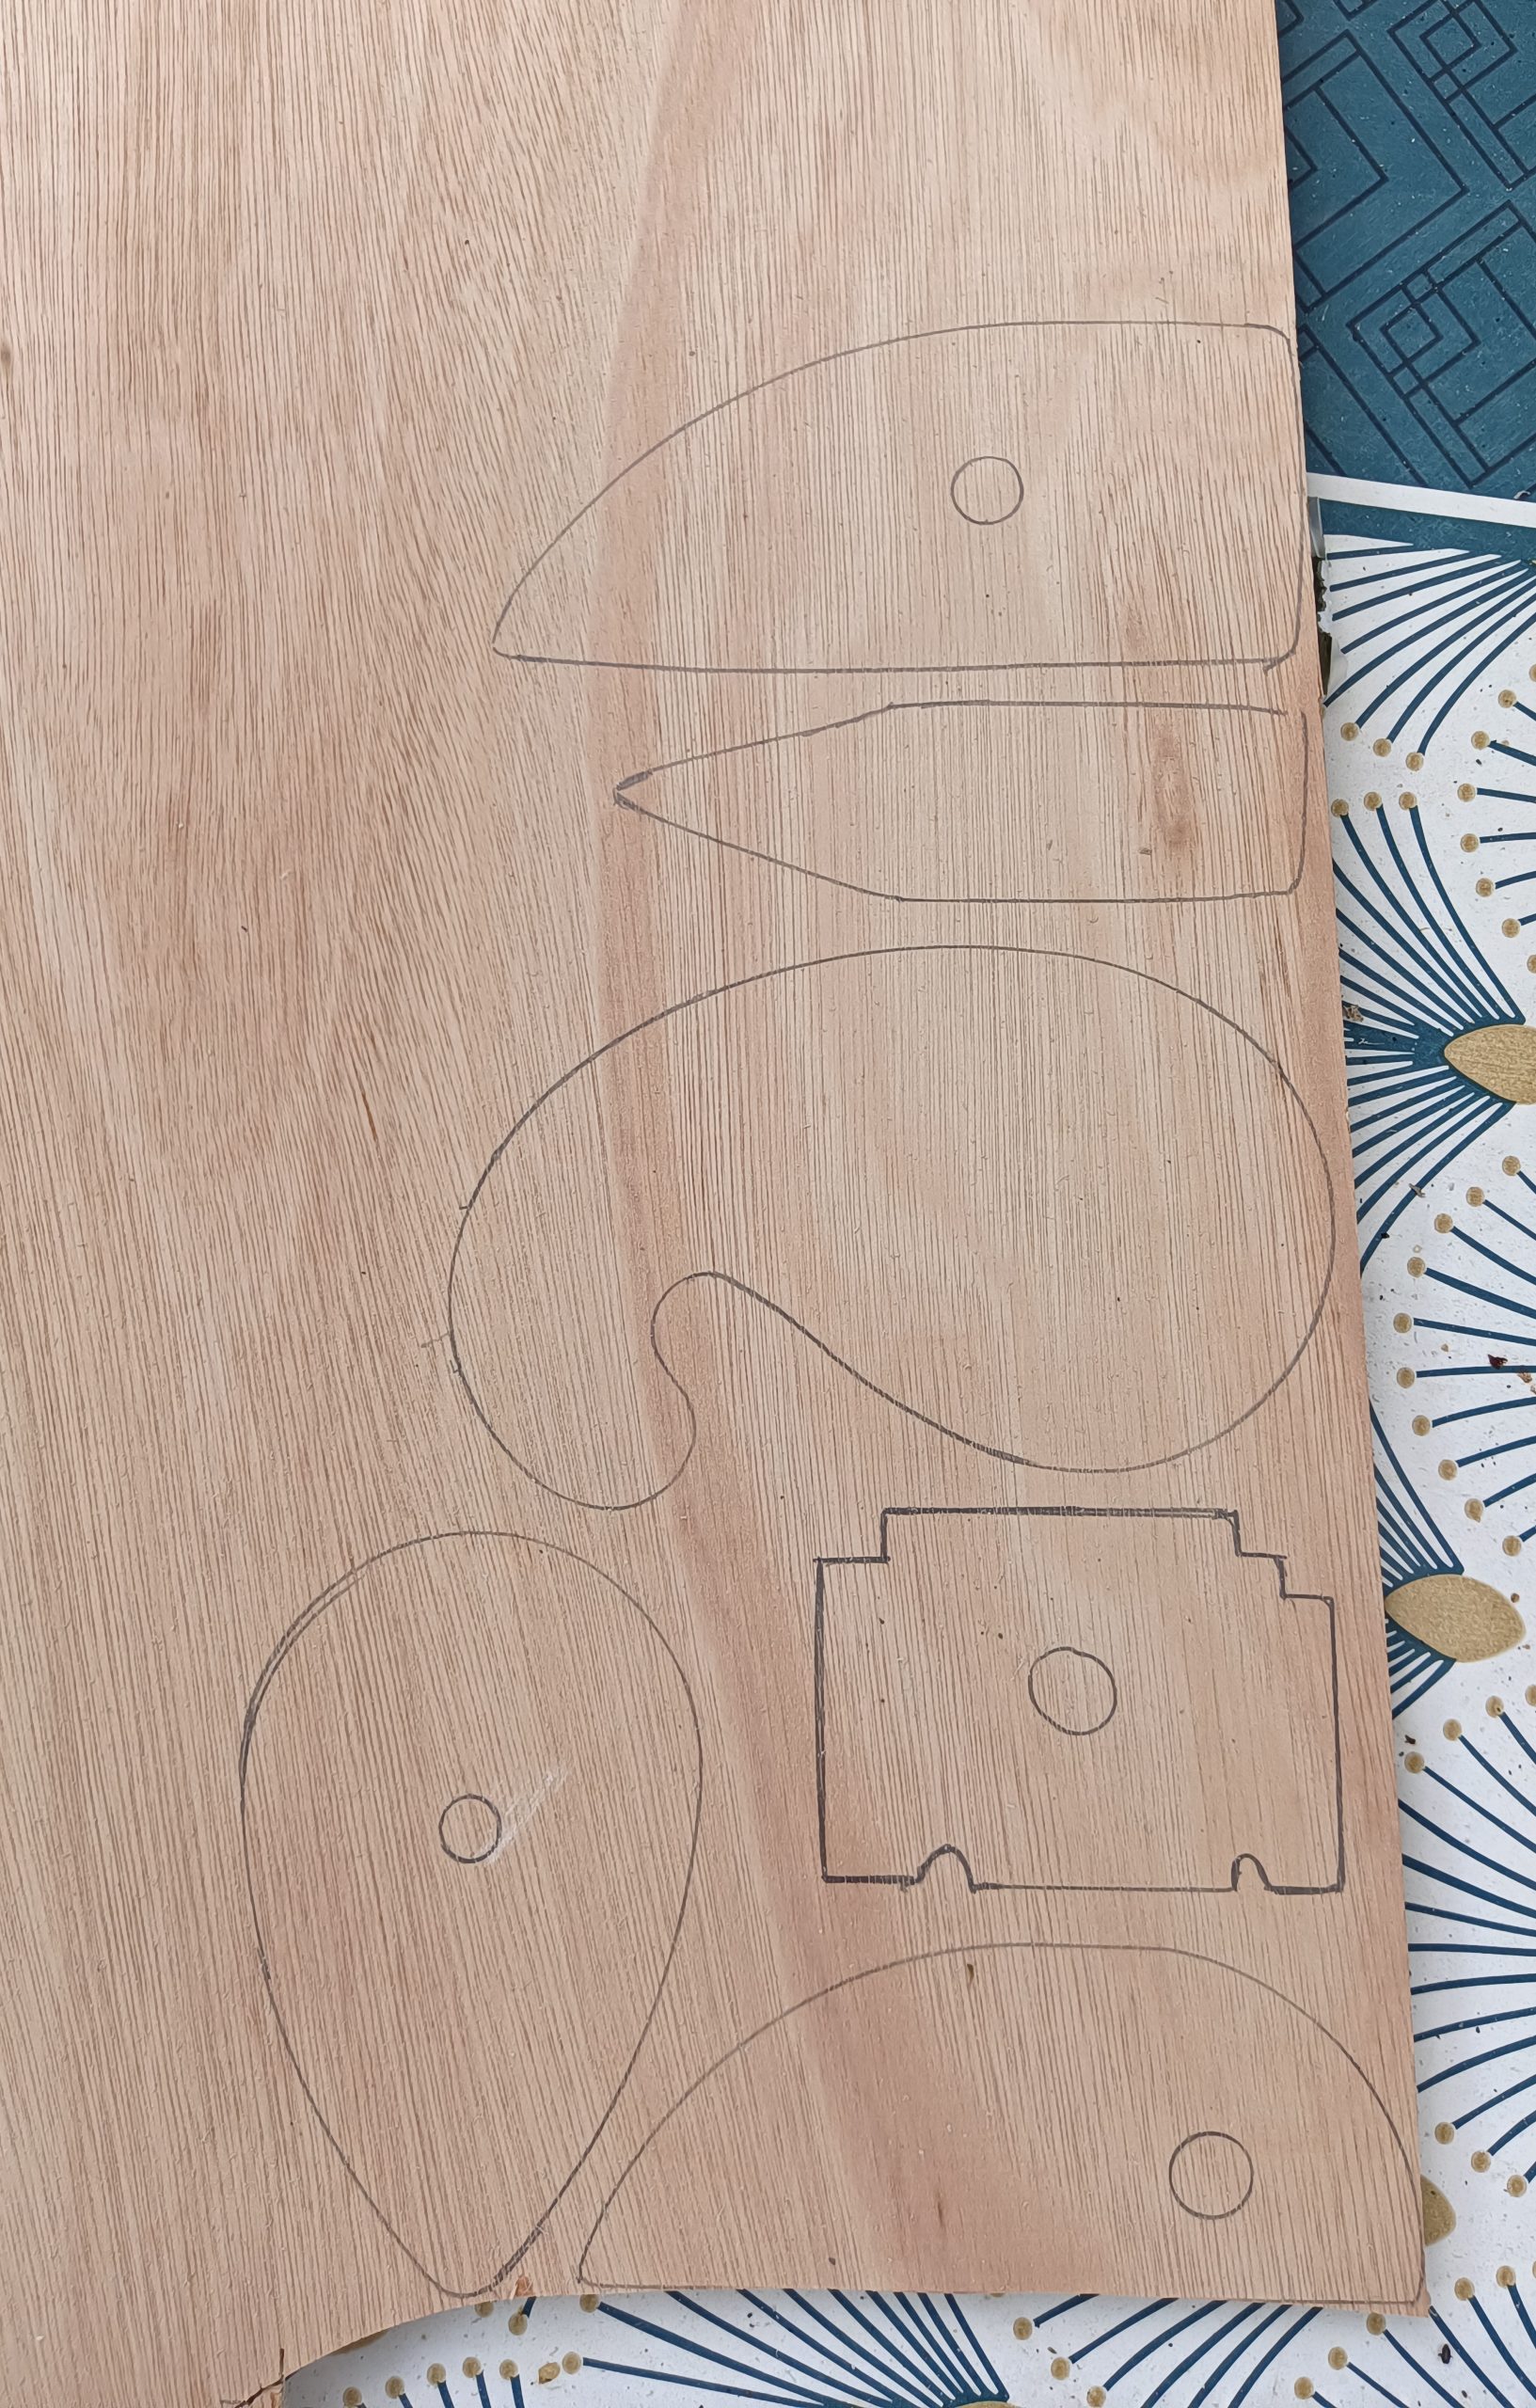
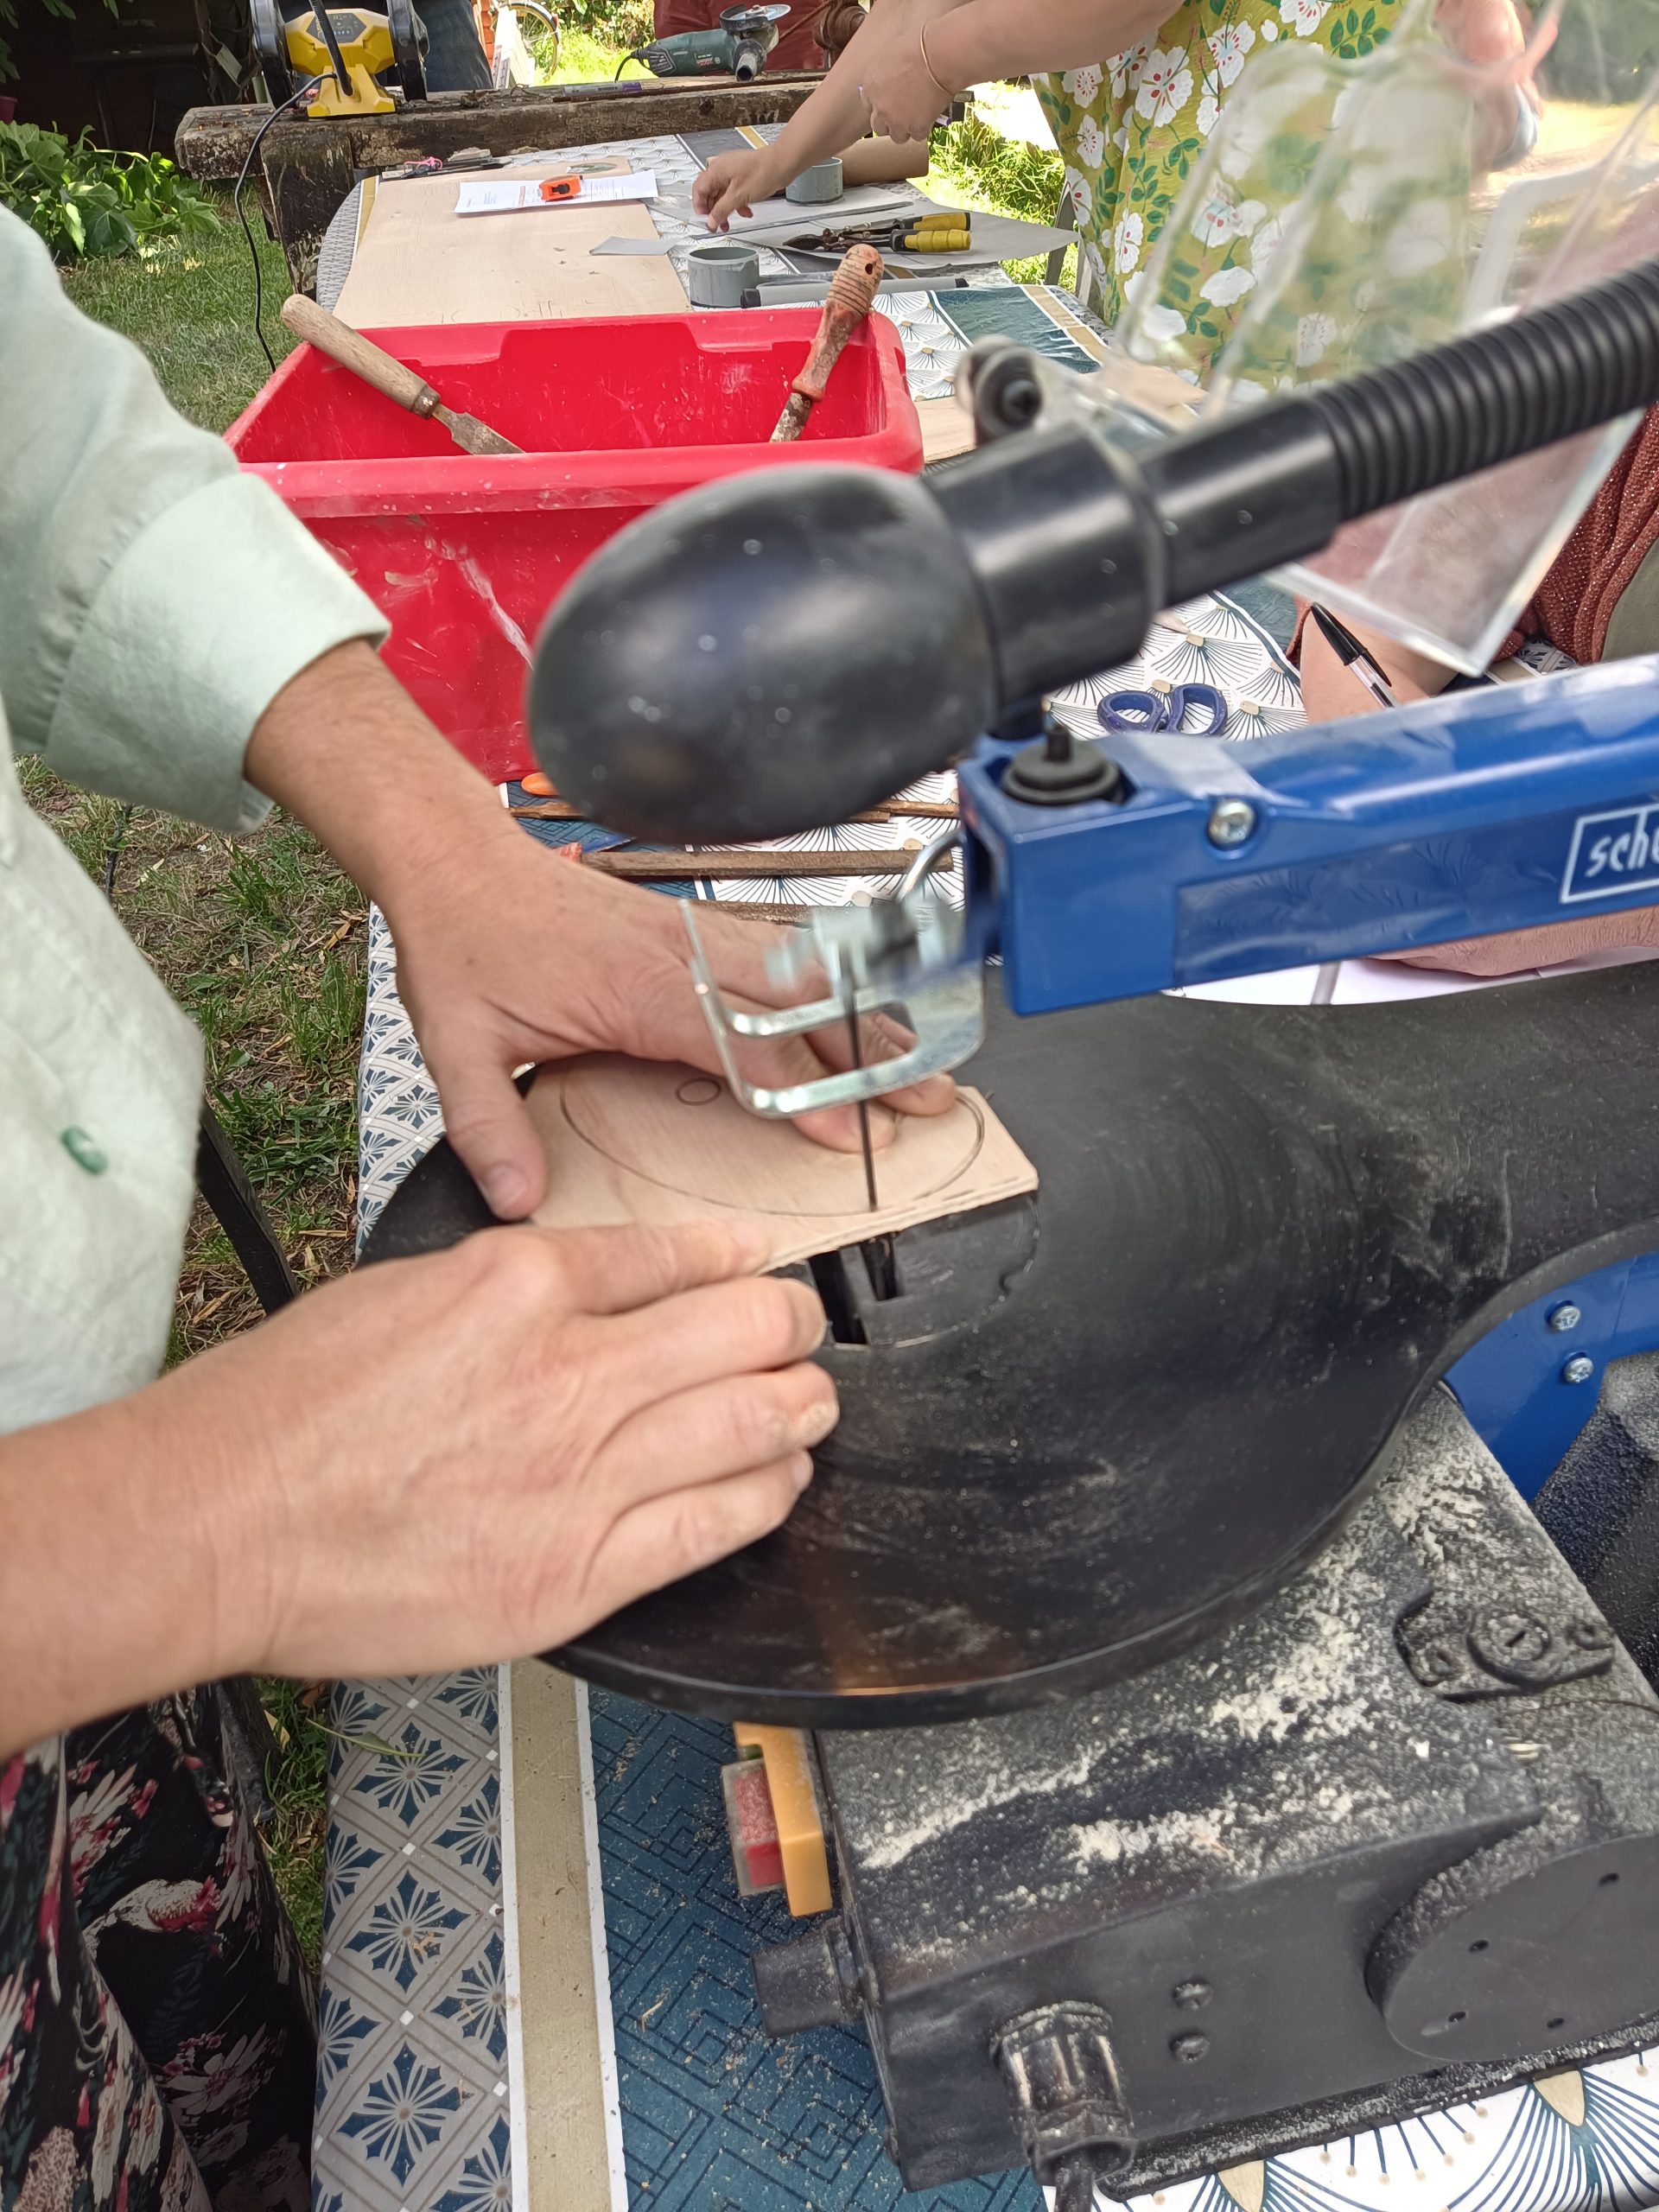
Then cut out:
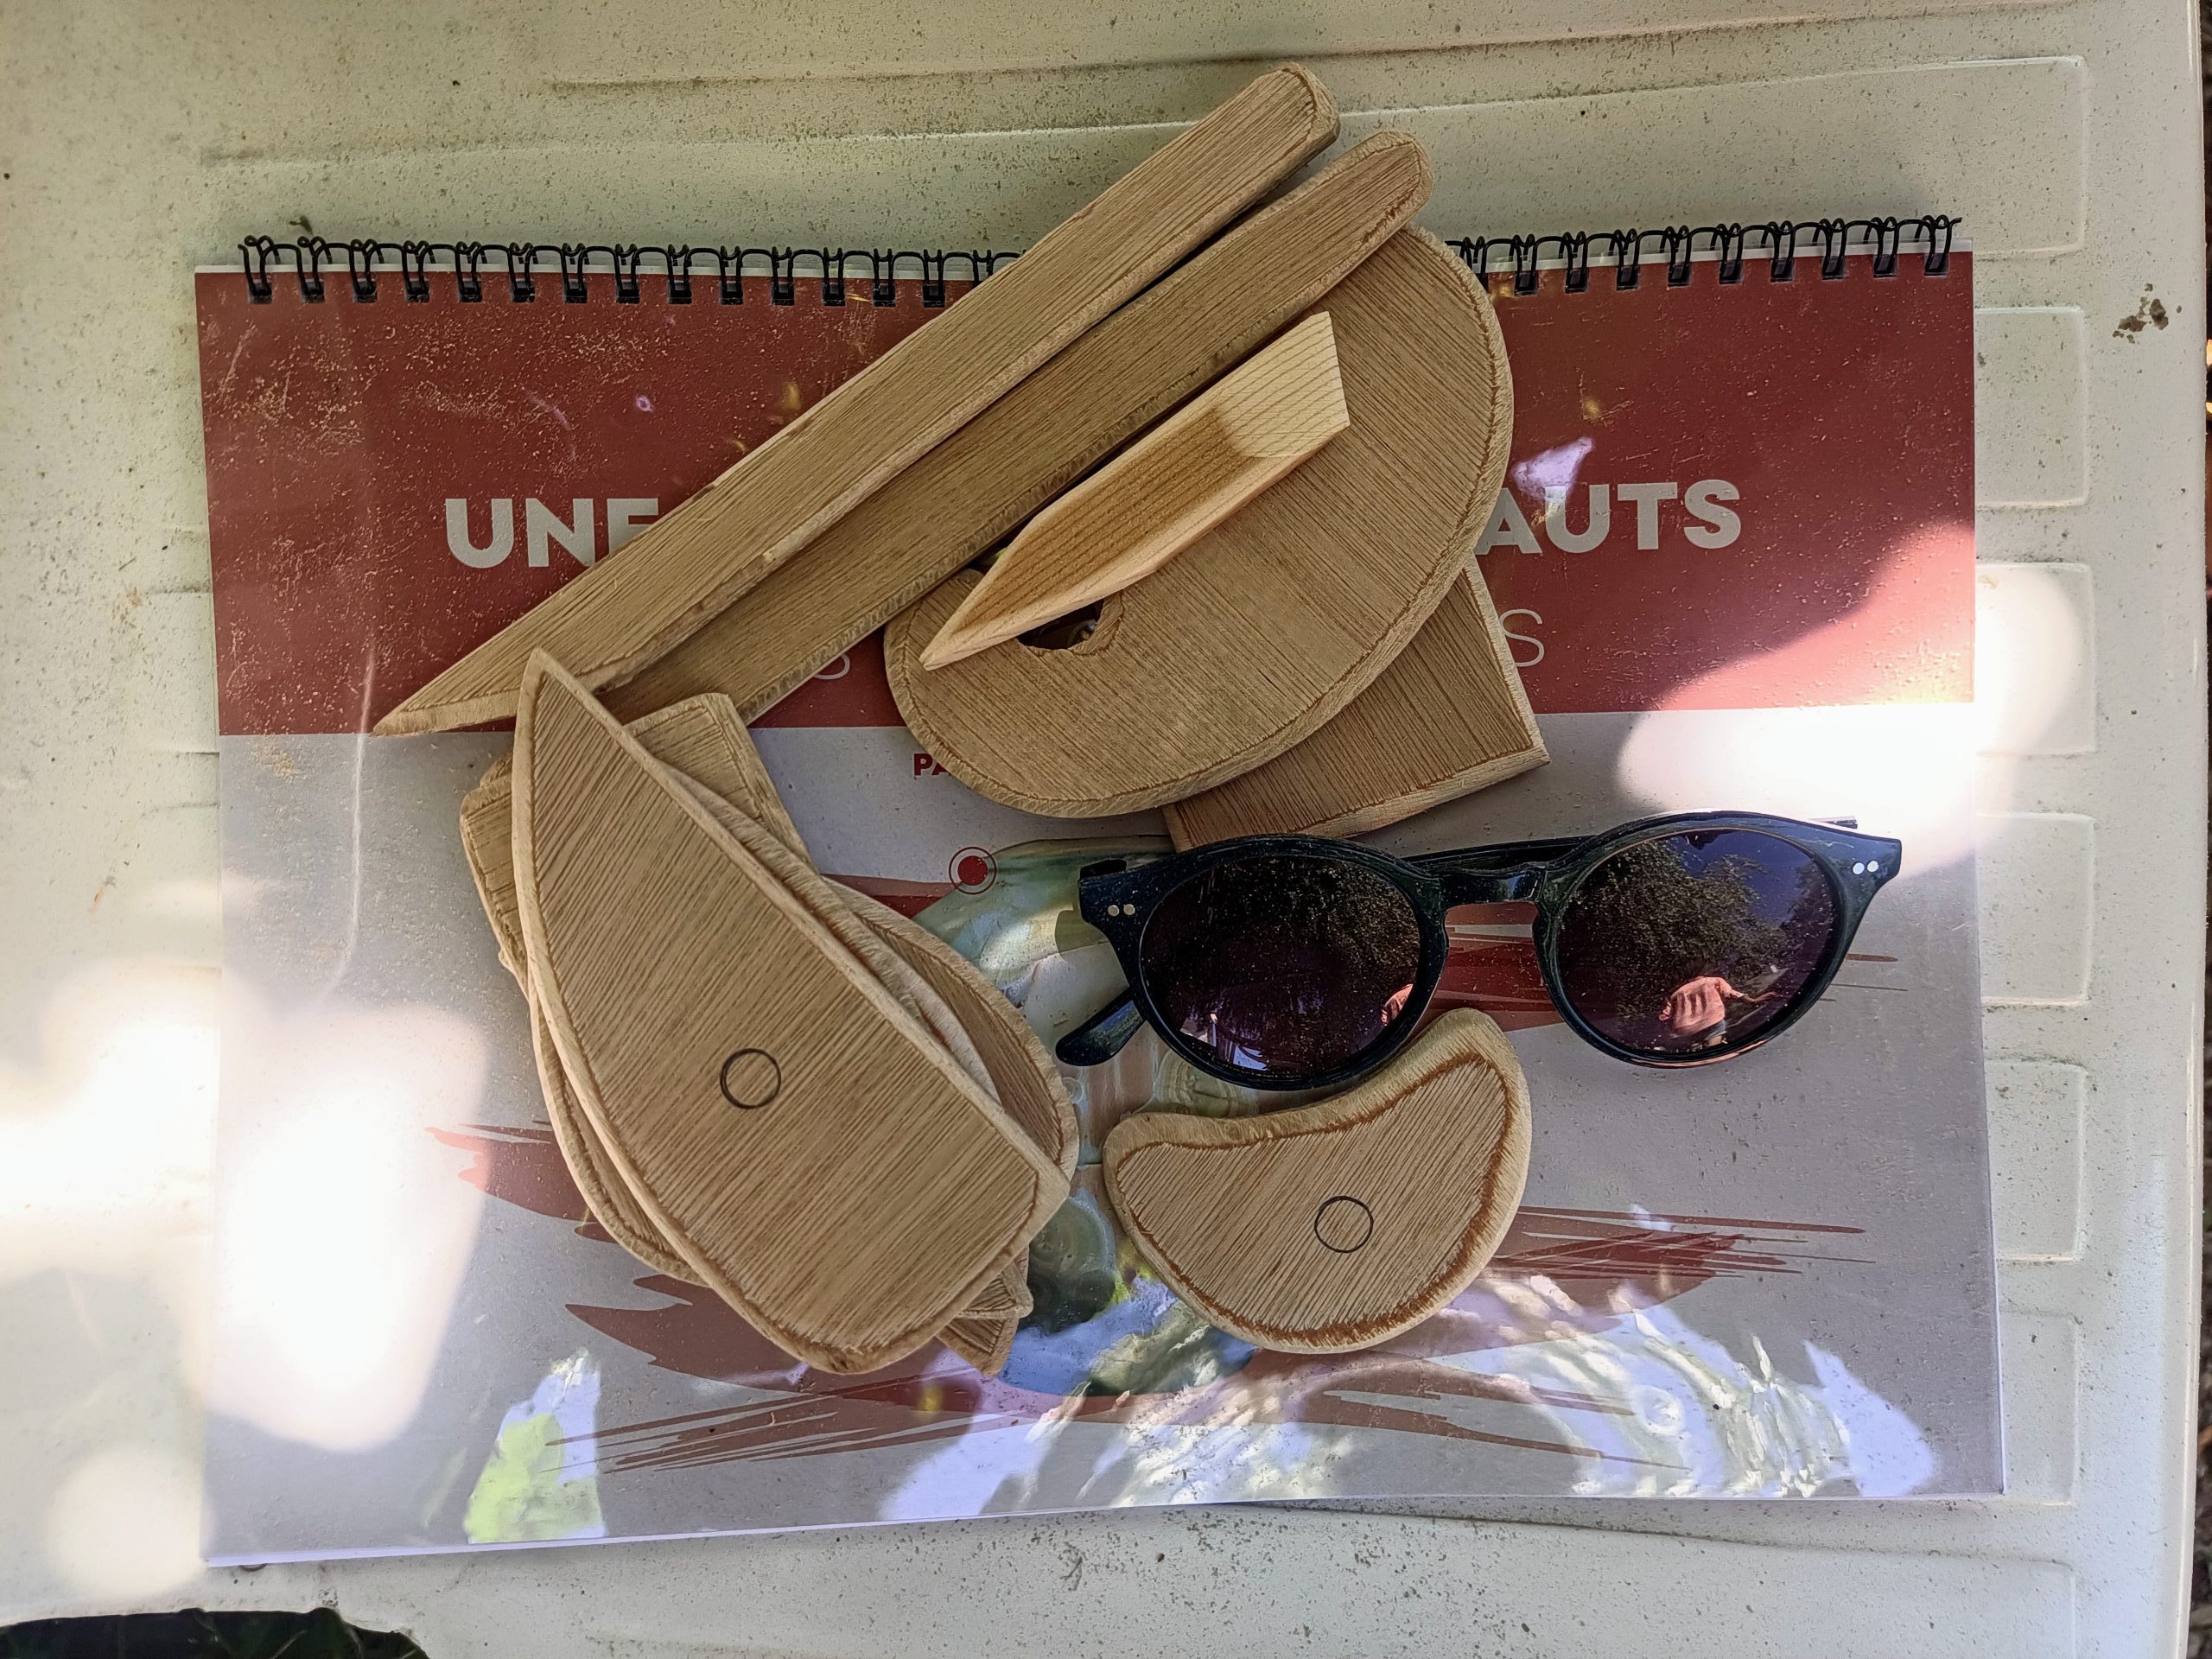
Here they are, cut out and sanded:
And here’s a nice set for leavers, starting to their studio!
III – An unexpected material
One of the characteristics of being a potter is the ability to transform any object or material into a personalised tool. As summer draws to a close, here is a pair of flippers worn out by many years of service at sea and in the pool.
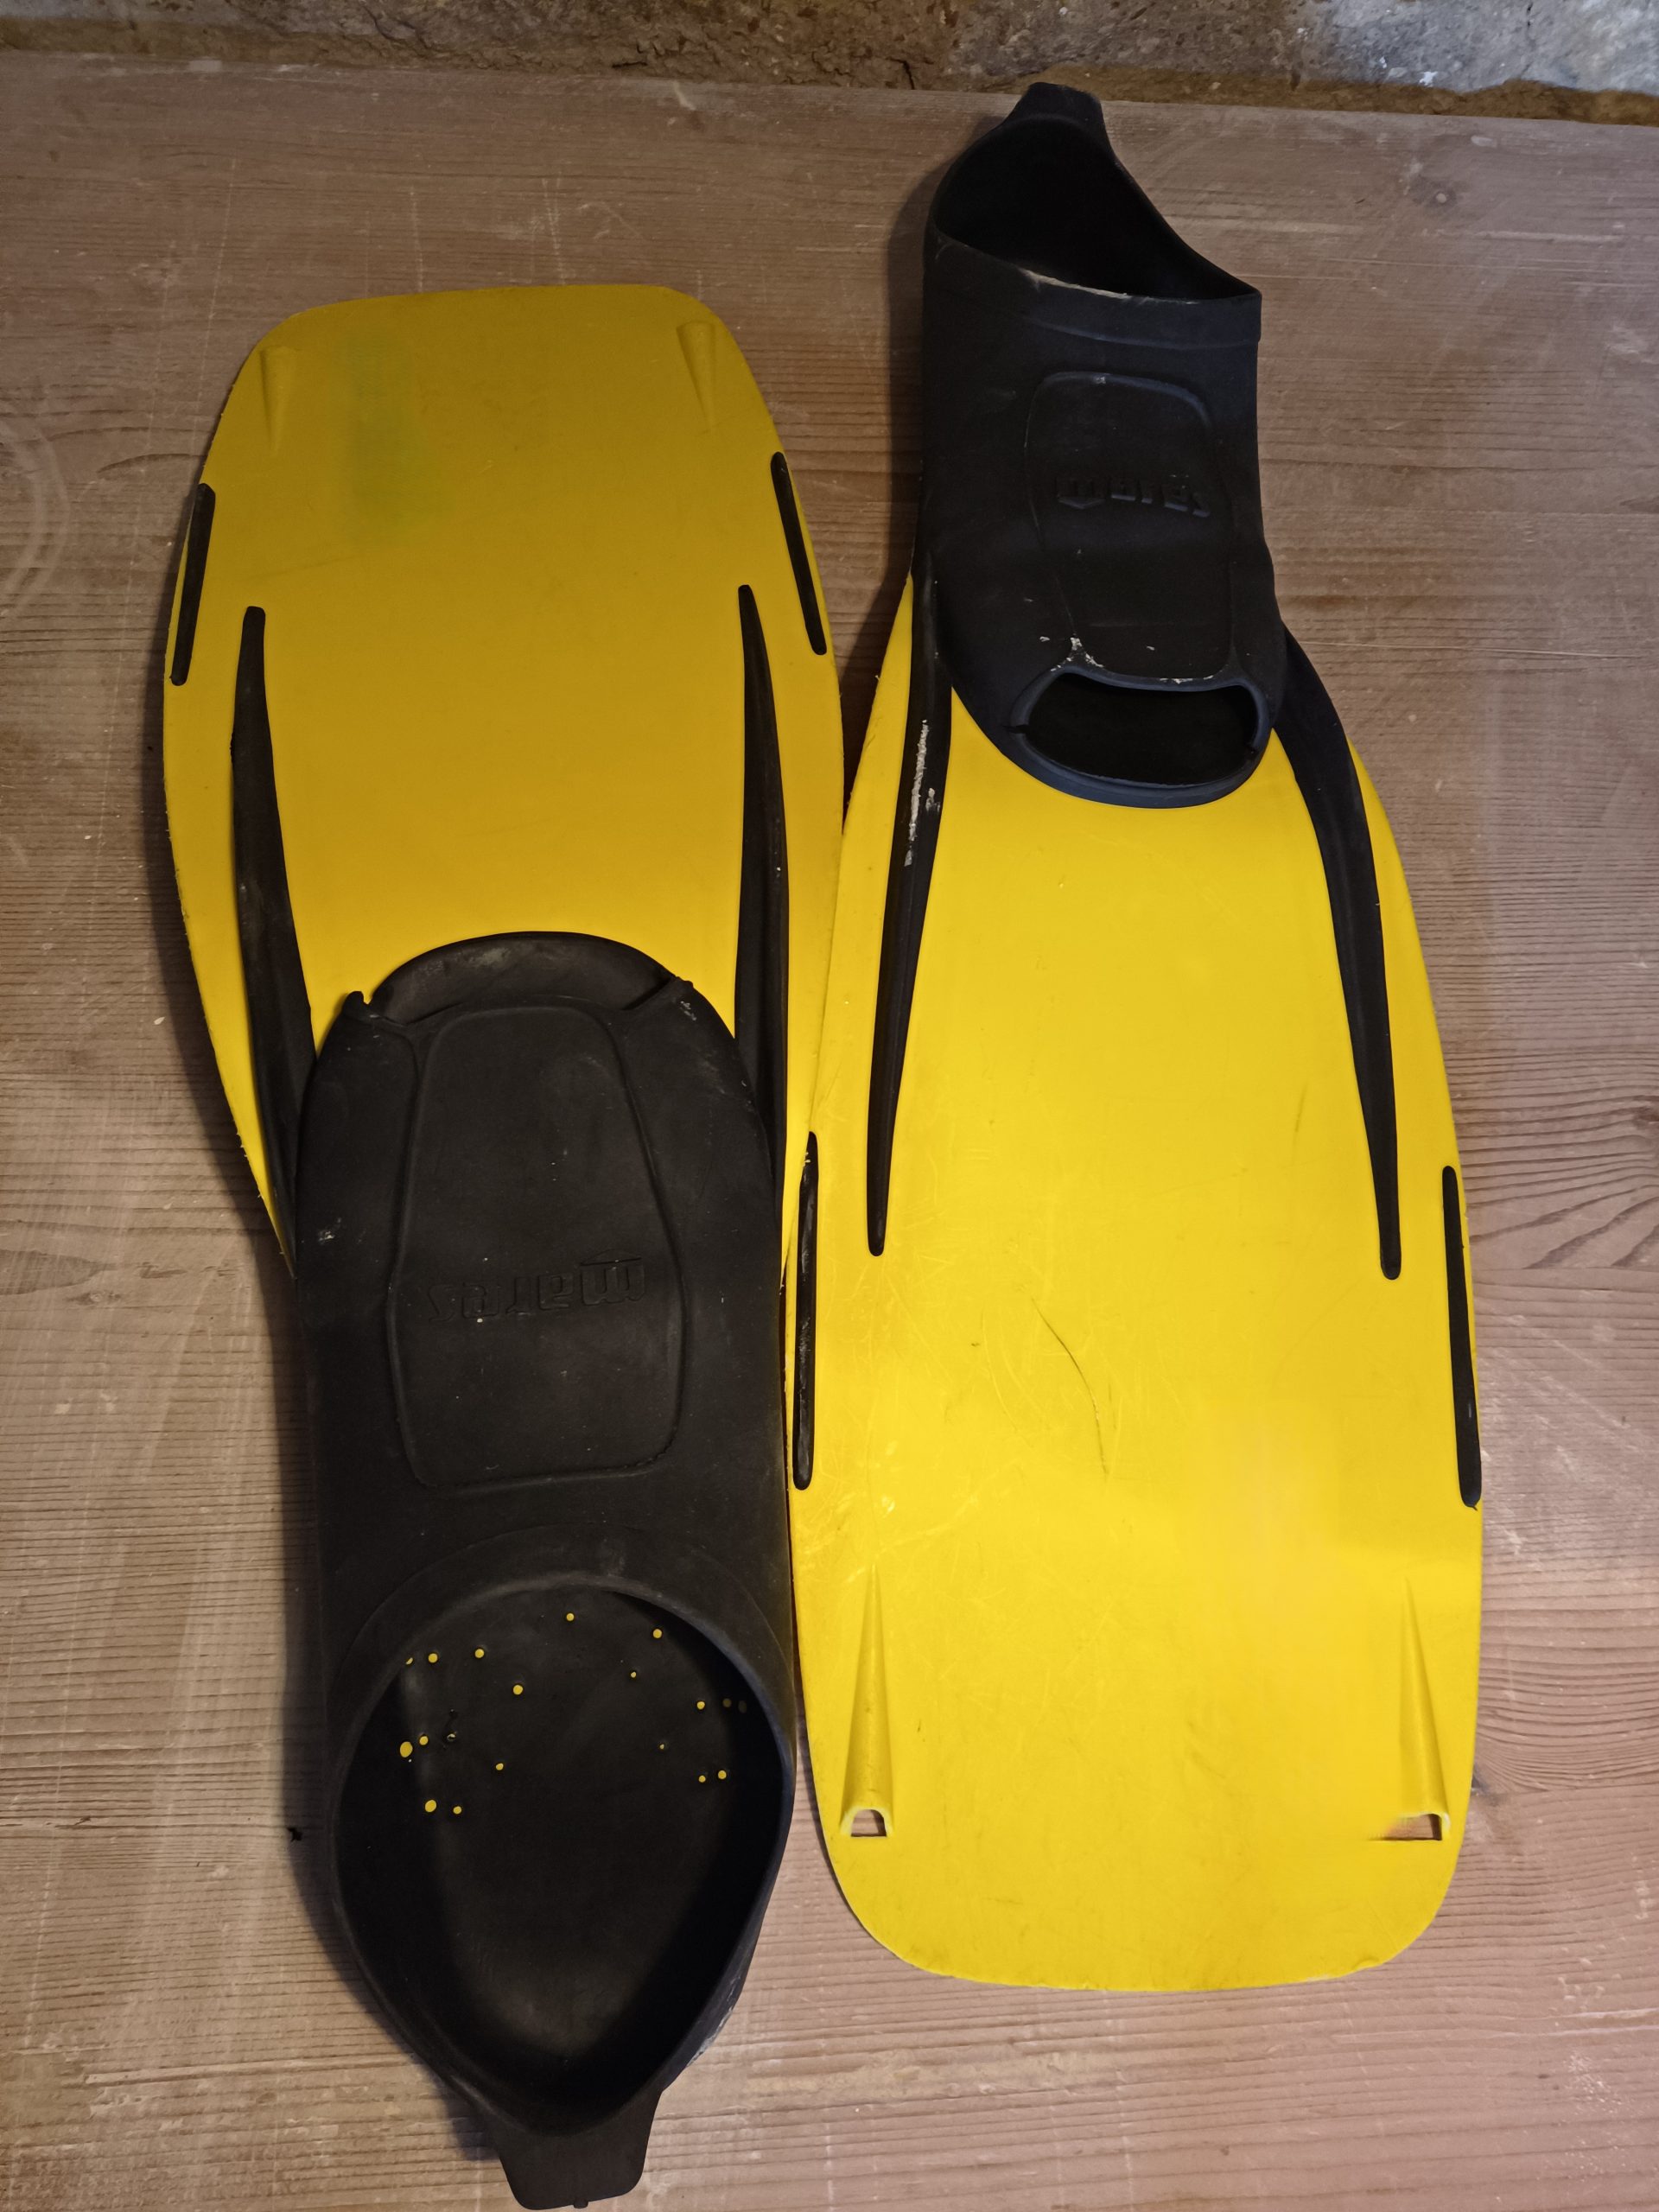
The yellow part seems an excellent material for making hard ribs. Let’s try to make a duplicate of your favourite tool.
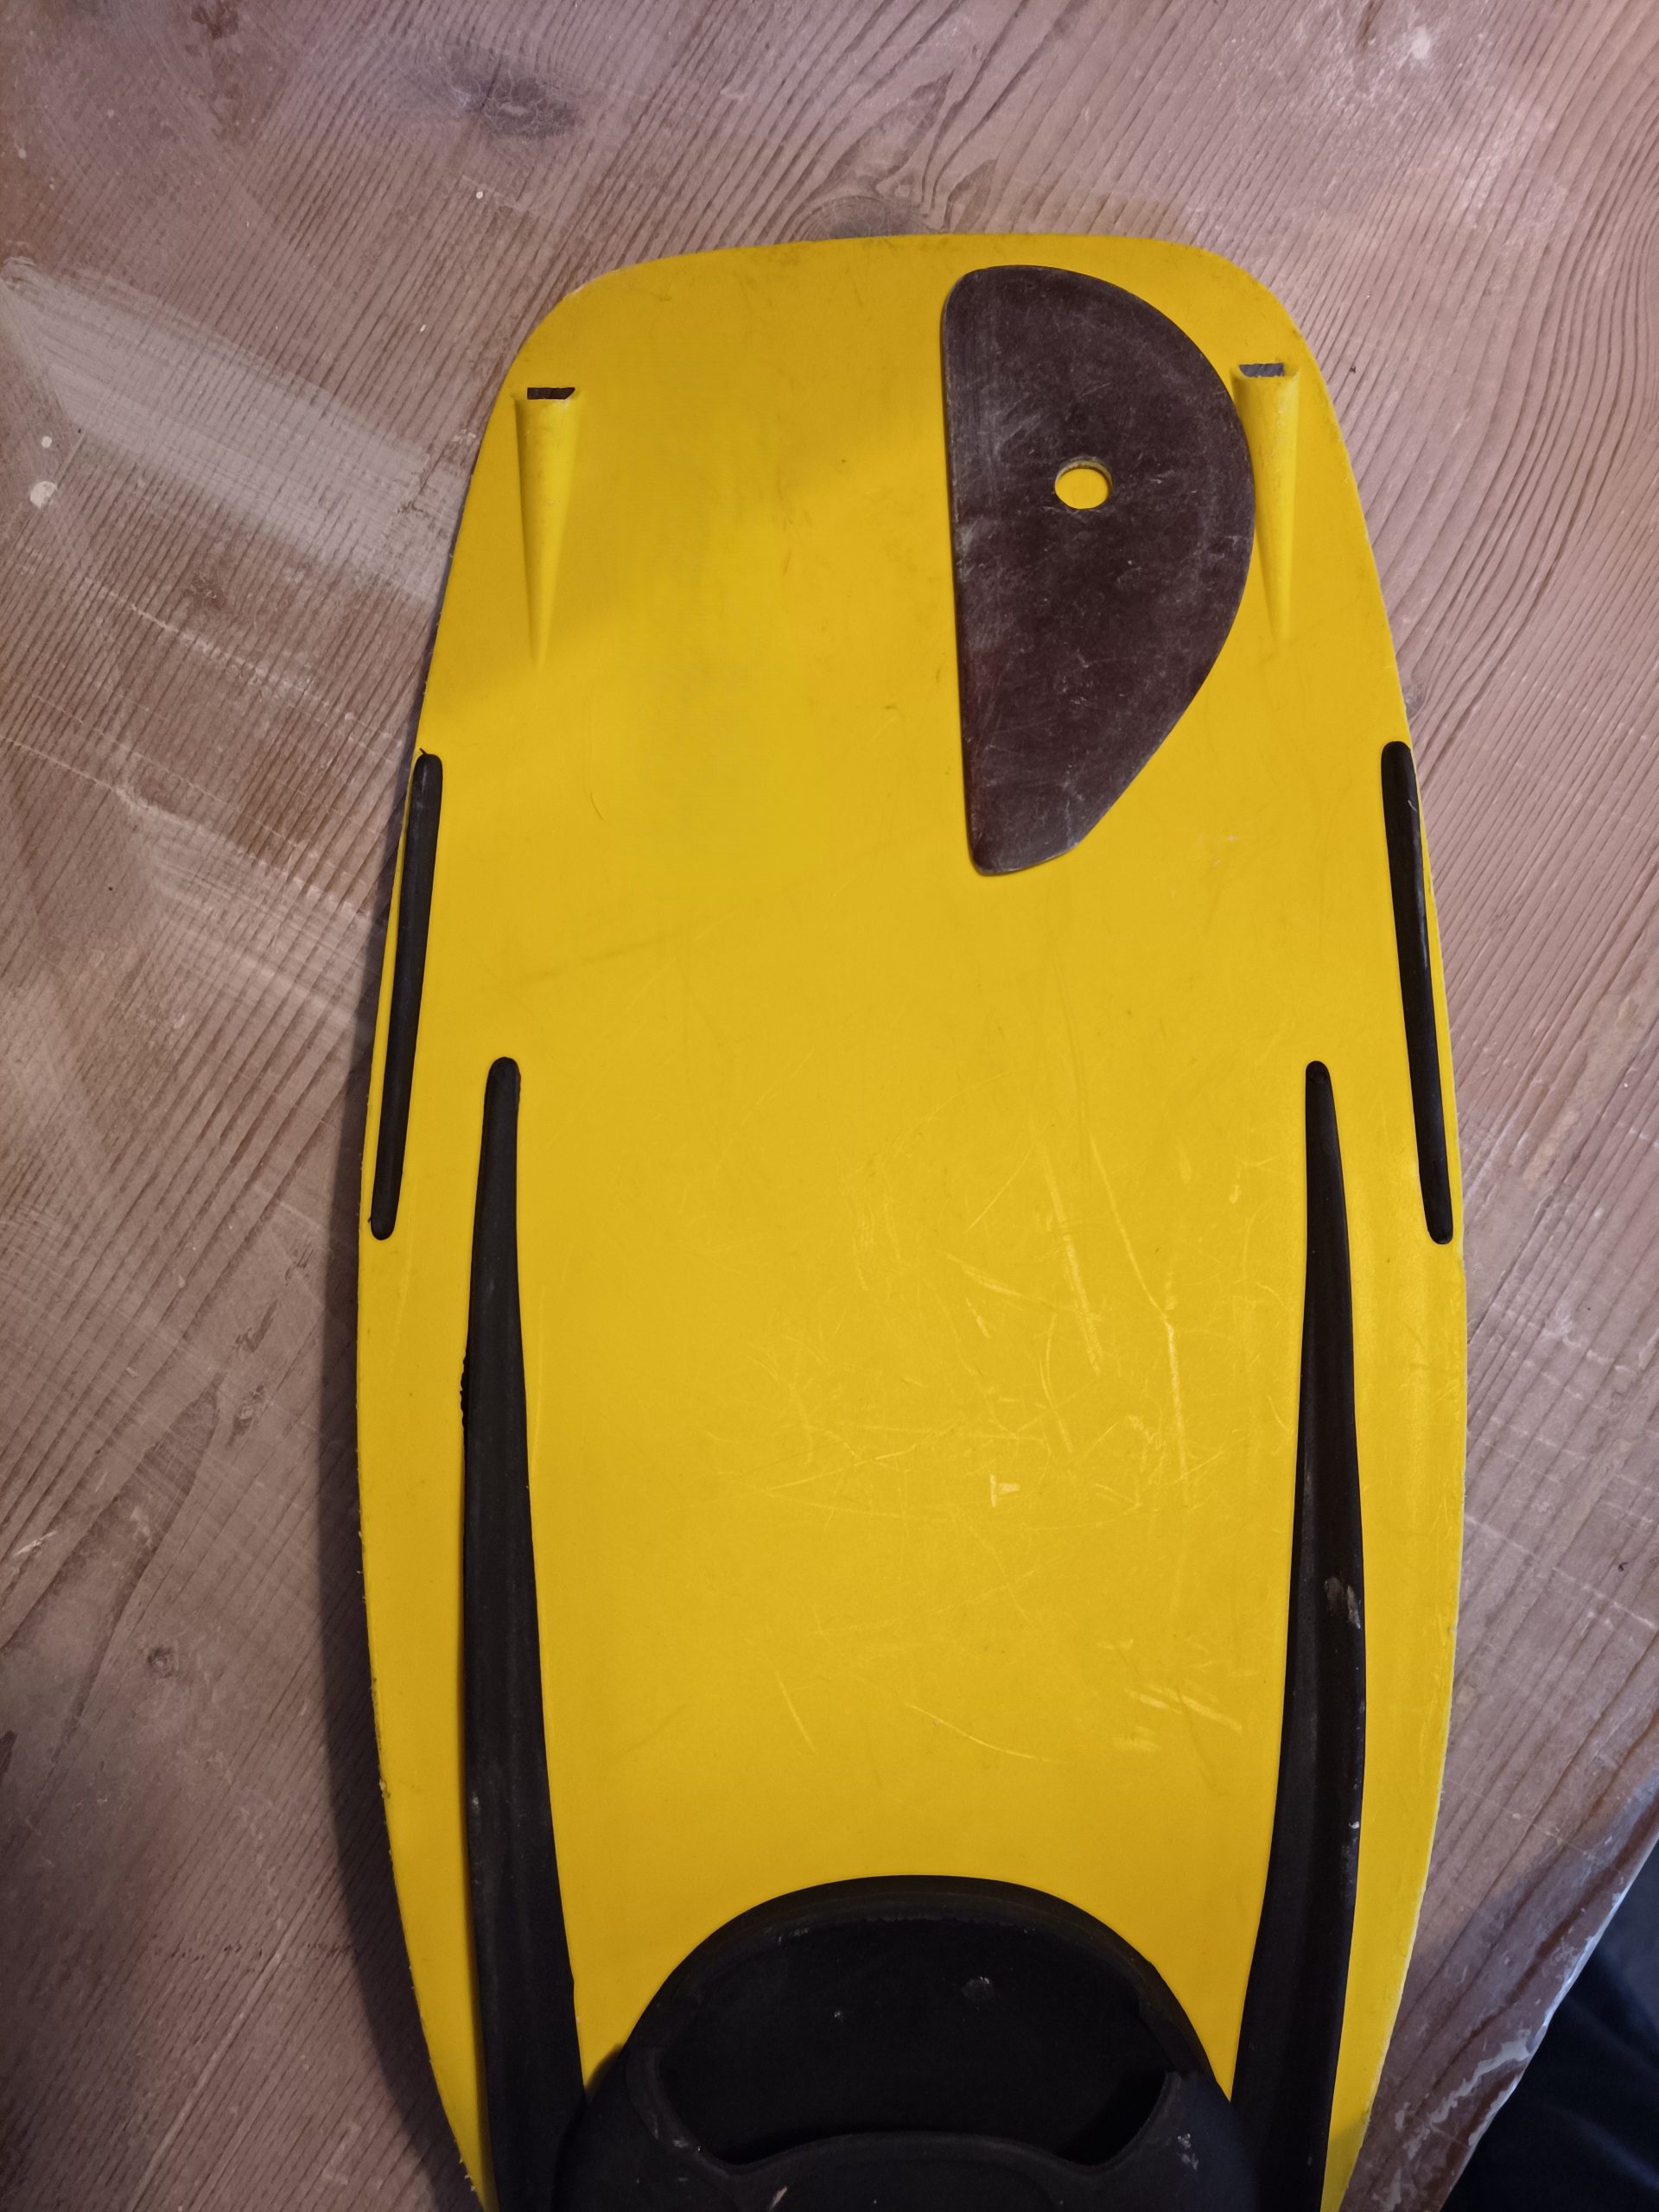
There is enough material to make a large rib or several little one in the yellow part.
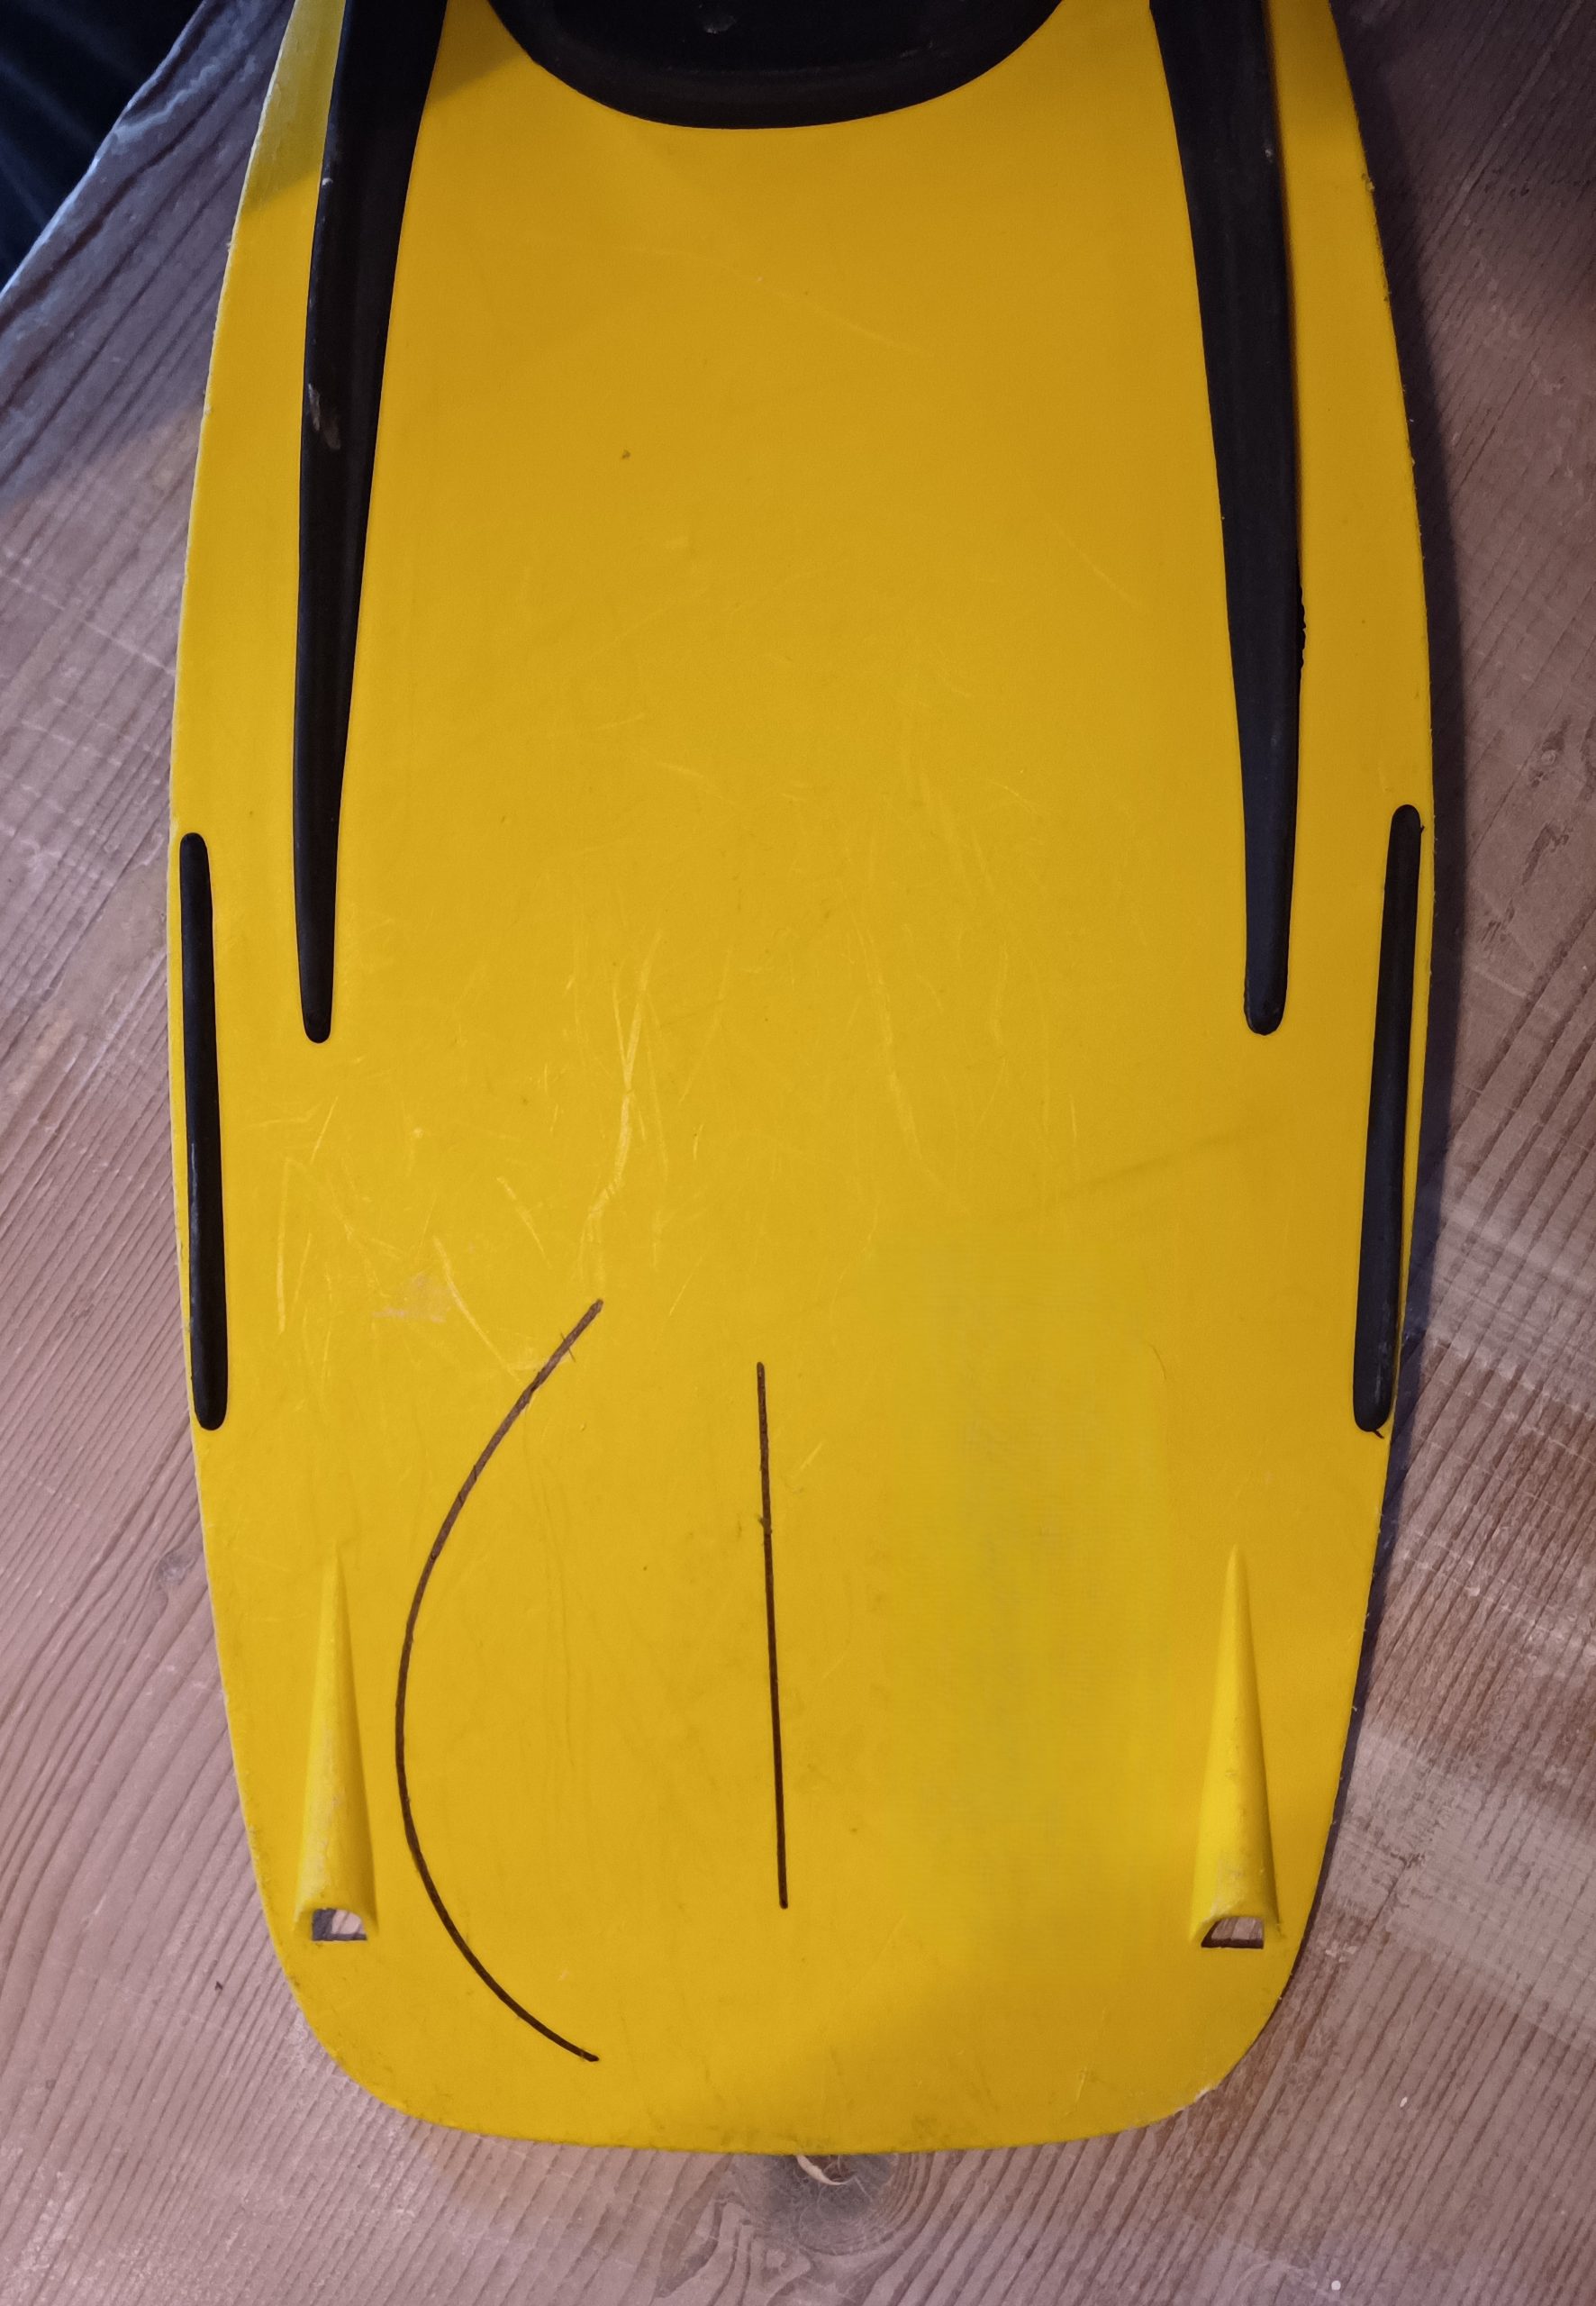
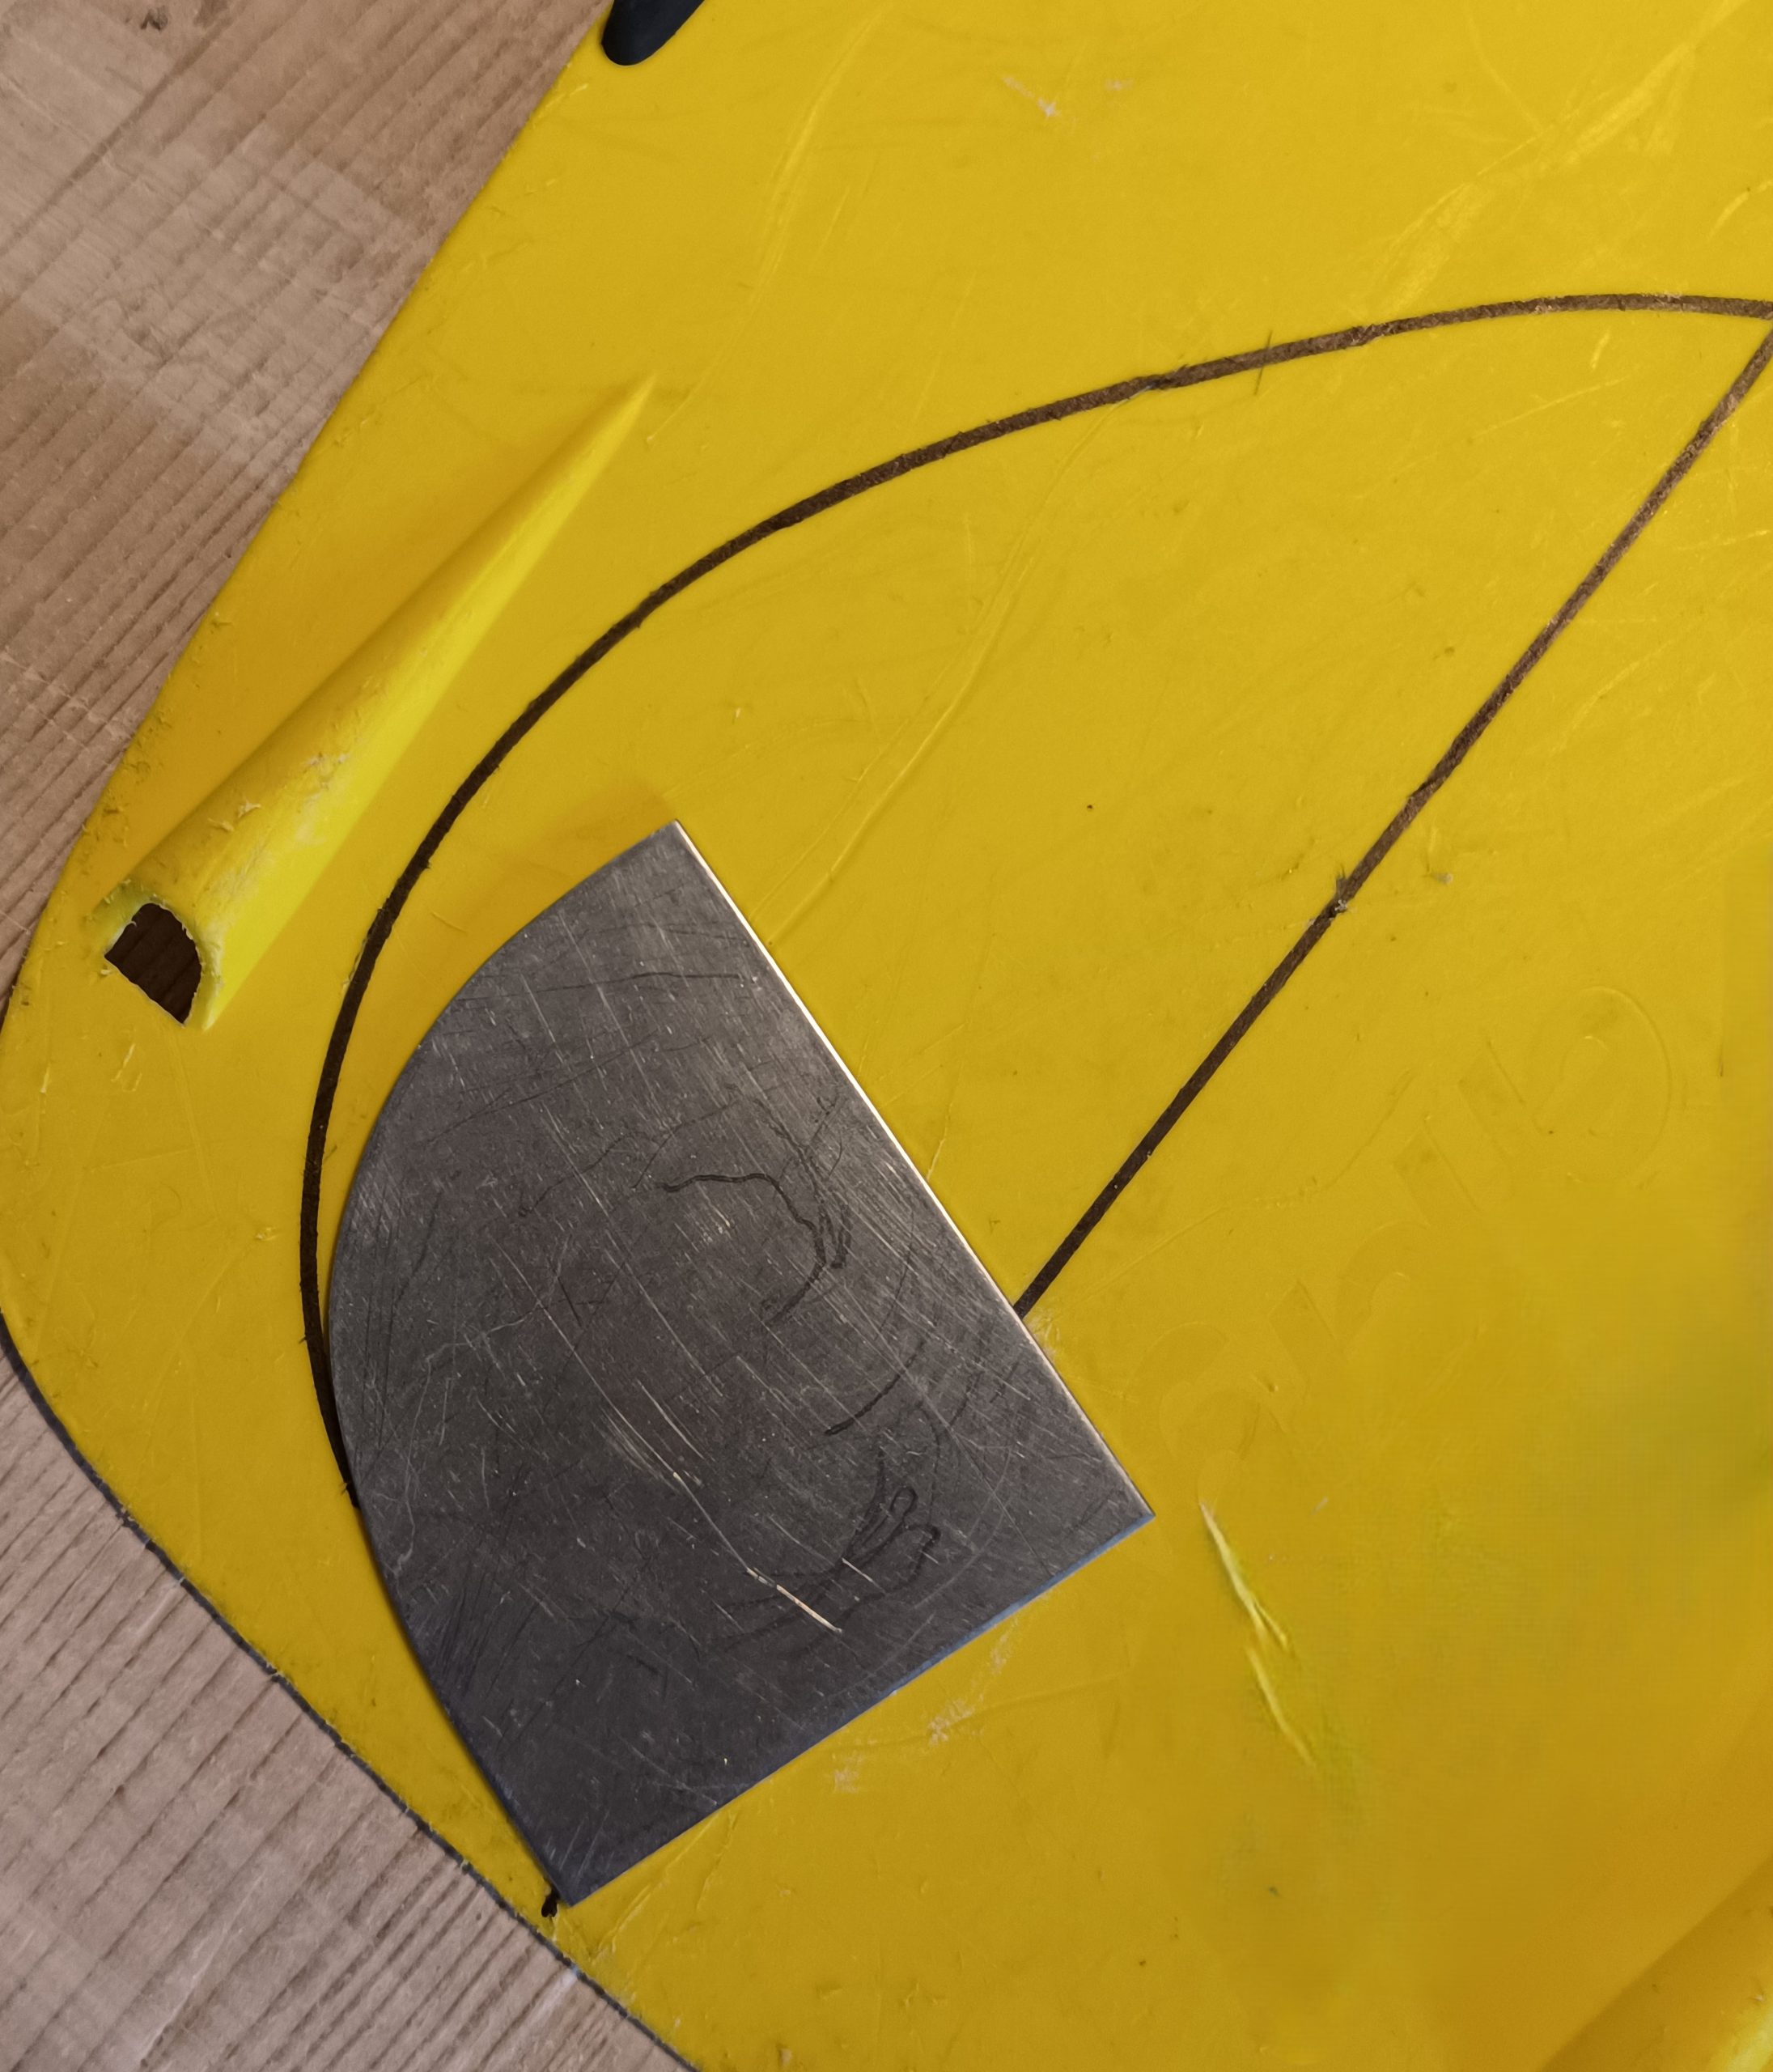
Draw your desired shape on the plastique (here the worn out part will be replaced by sharp ends on the drawing).
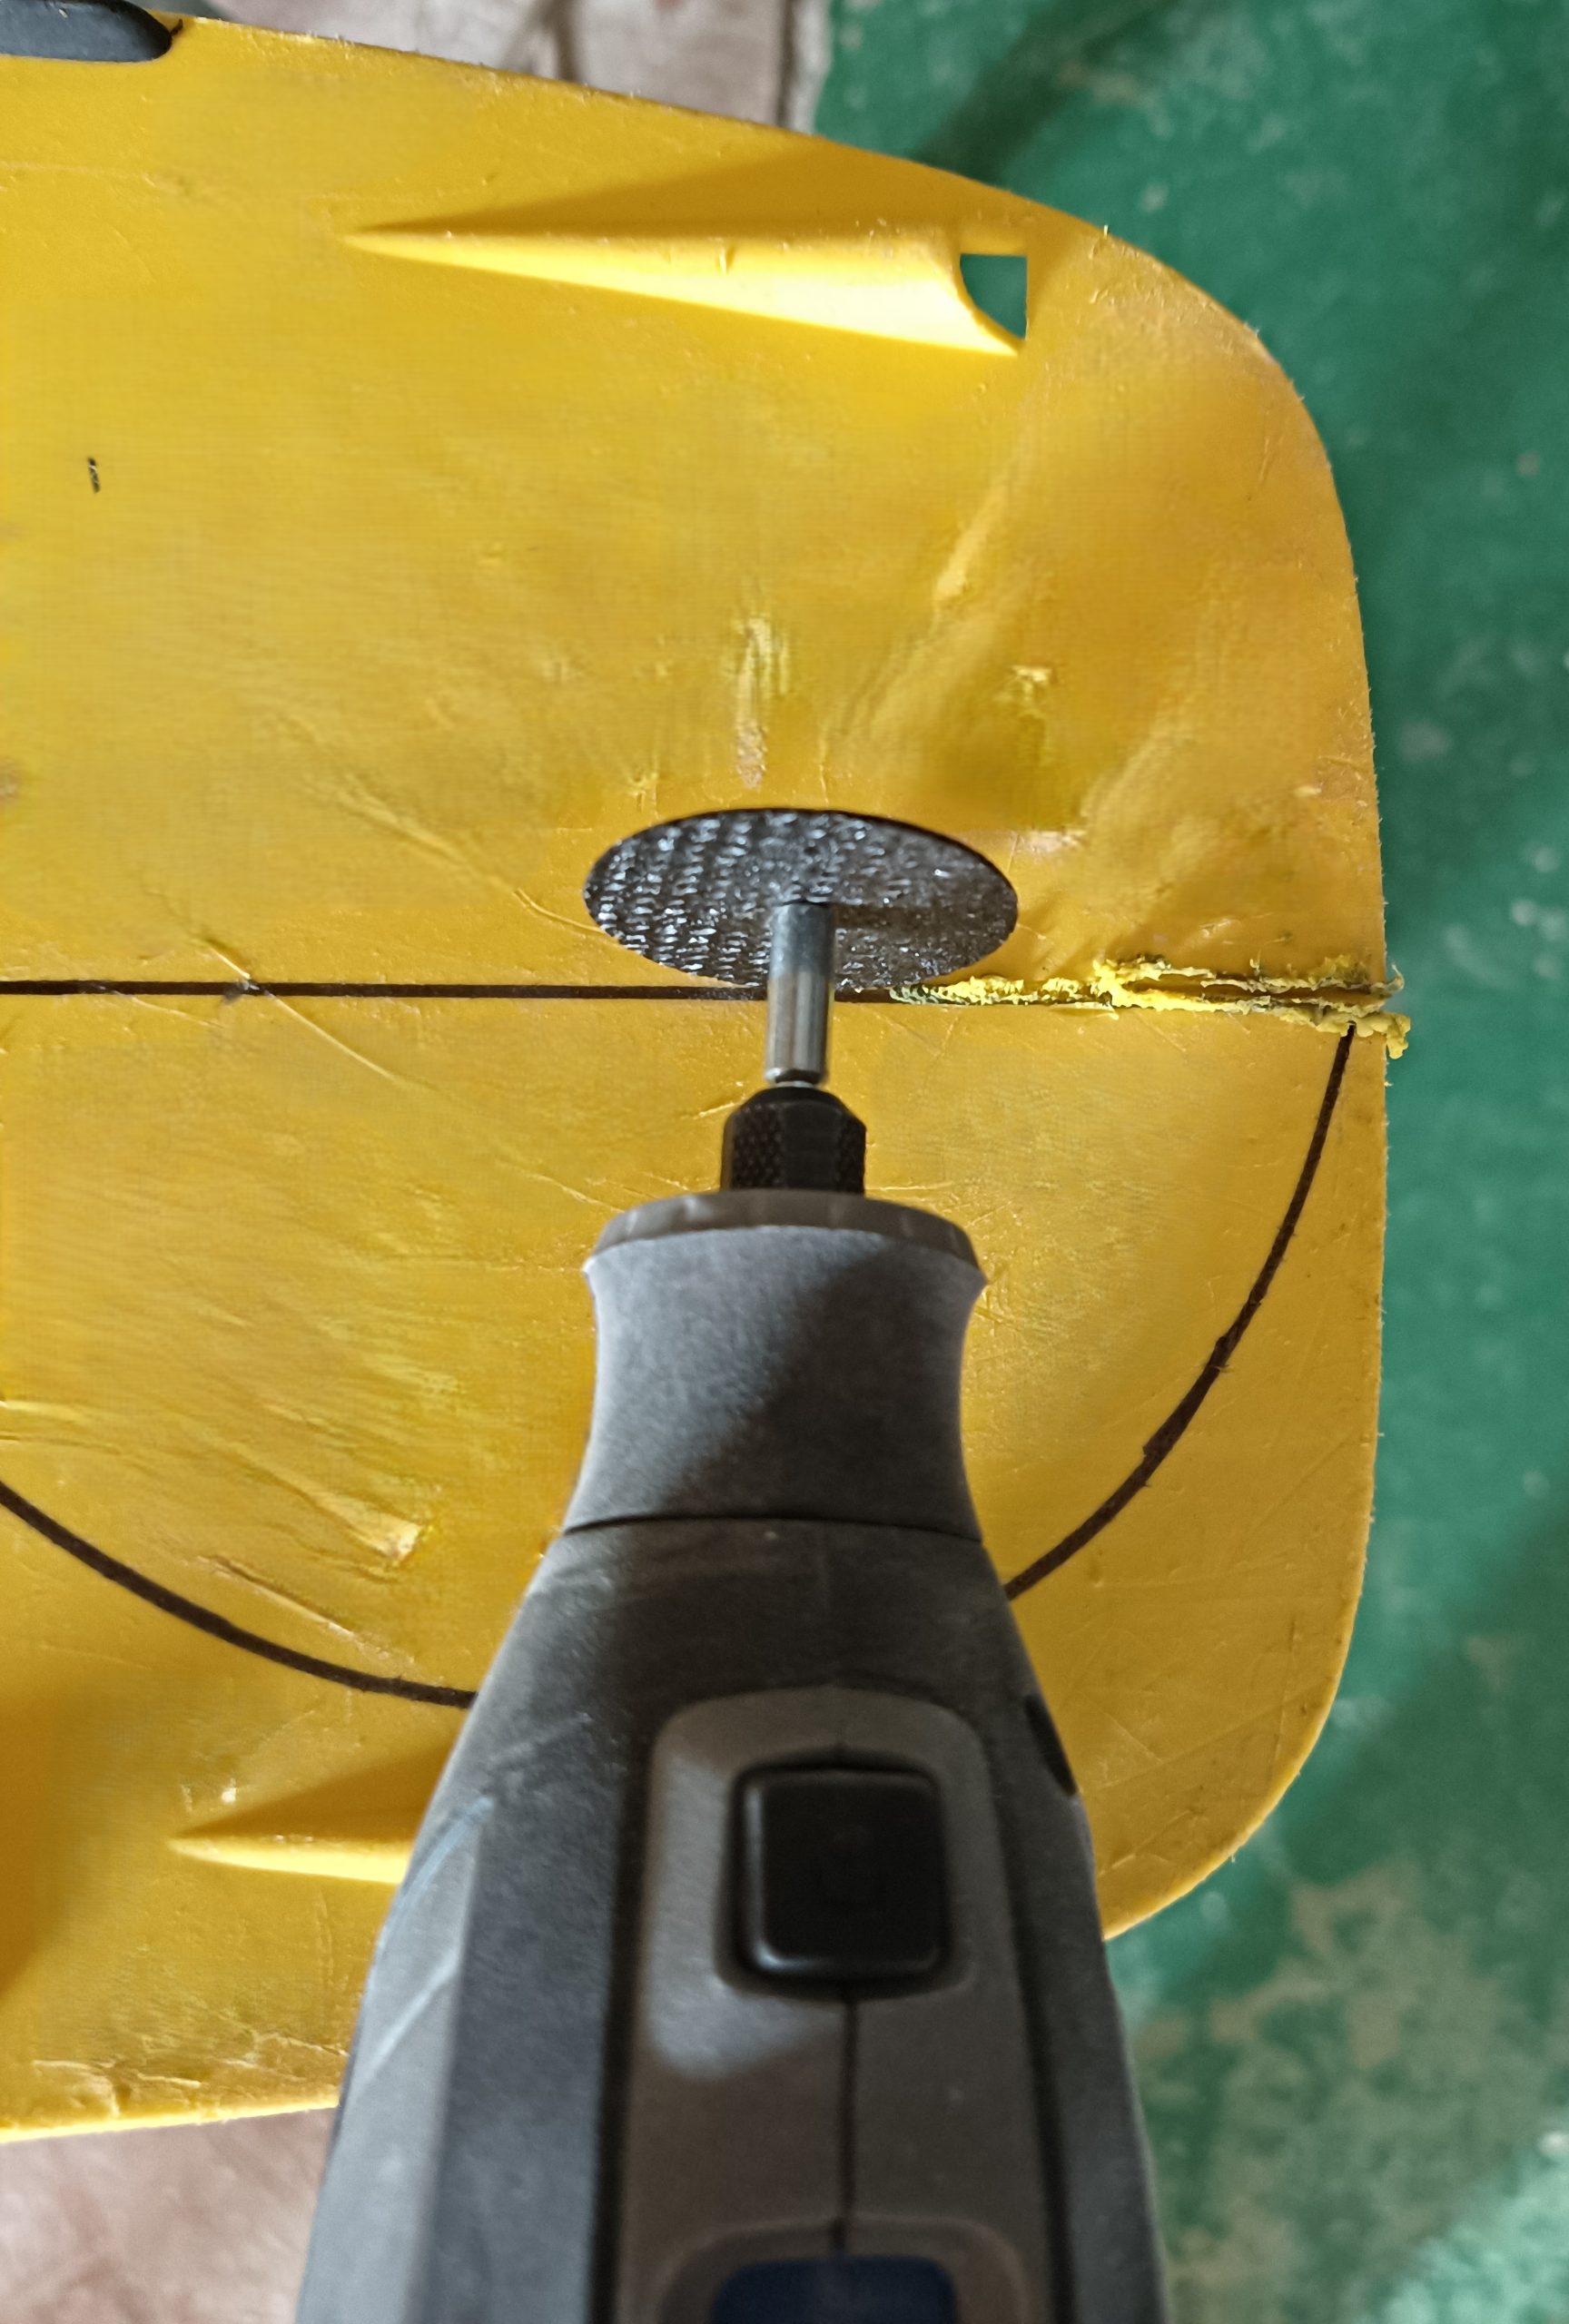
Use a Dremel to cut. If the plastic doesn’t melt during cutting it will confirm it’s a good material for a rib.
Sandpaper to smooth the edges, and there you have it:
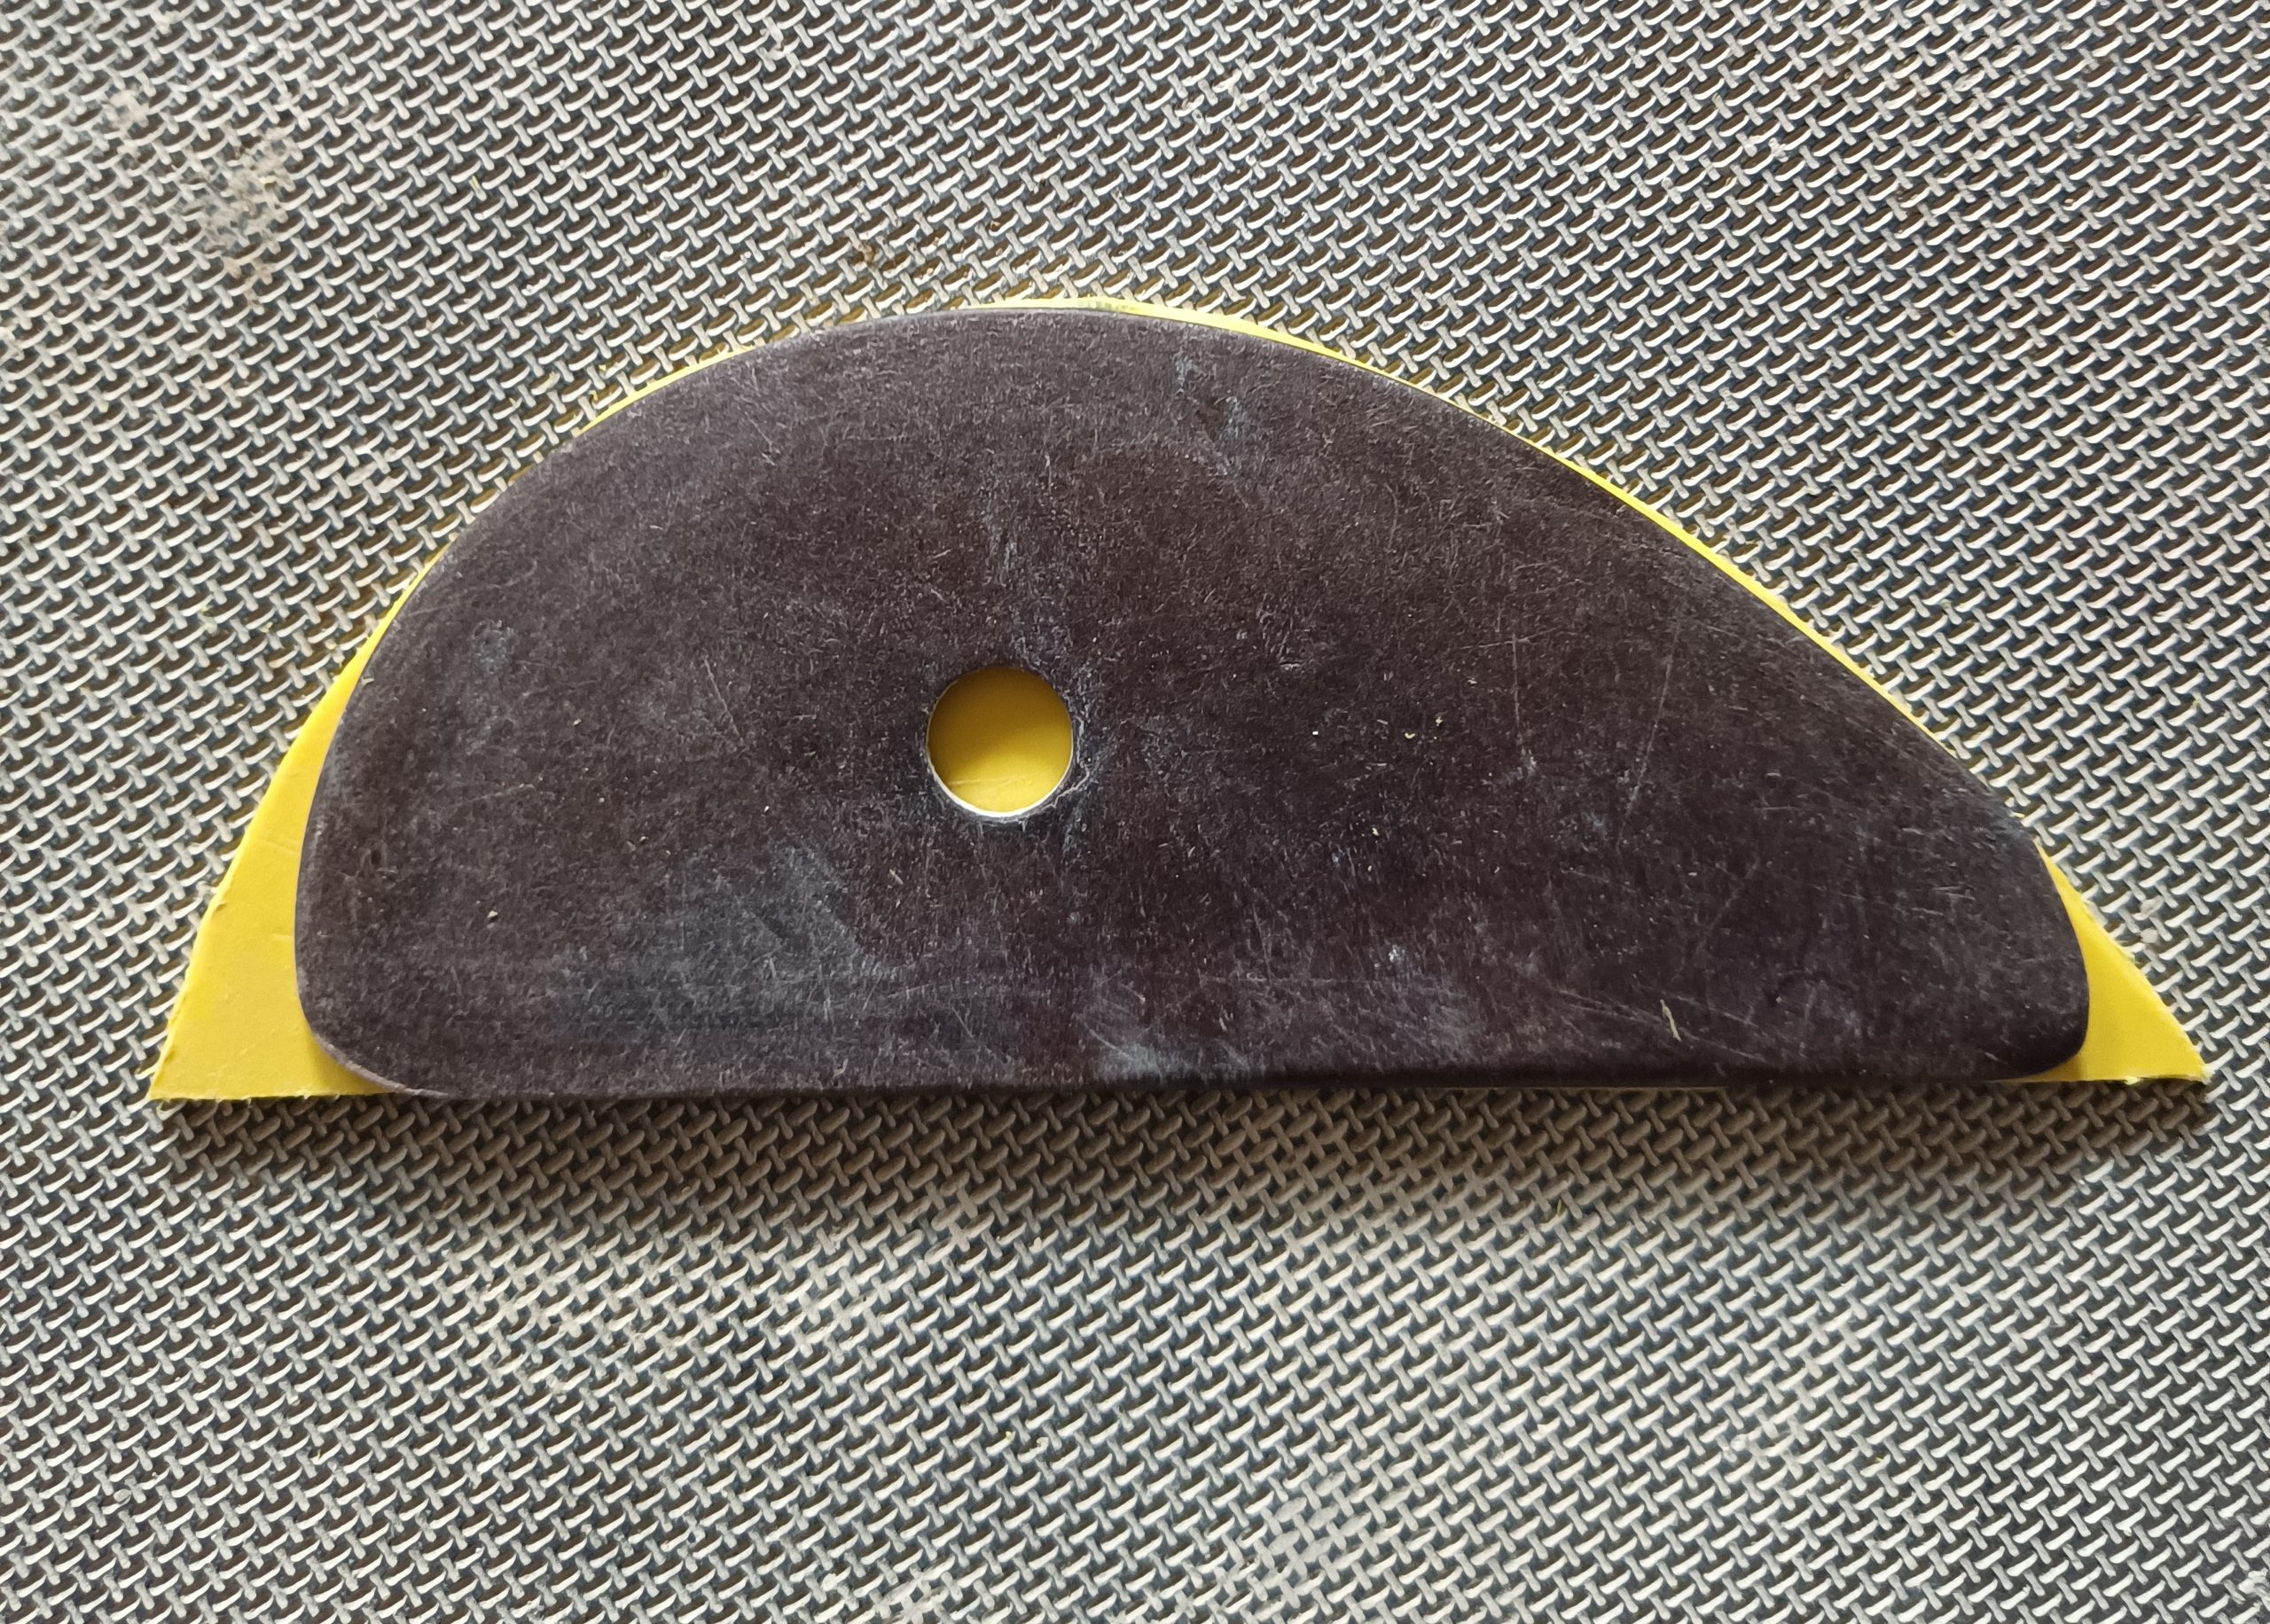
We created a new rib as hard as the original but with it’s initial shape, before it was worn out.
And in use?
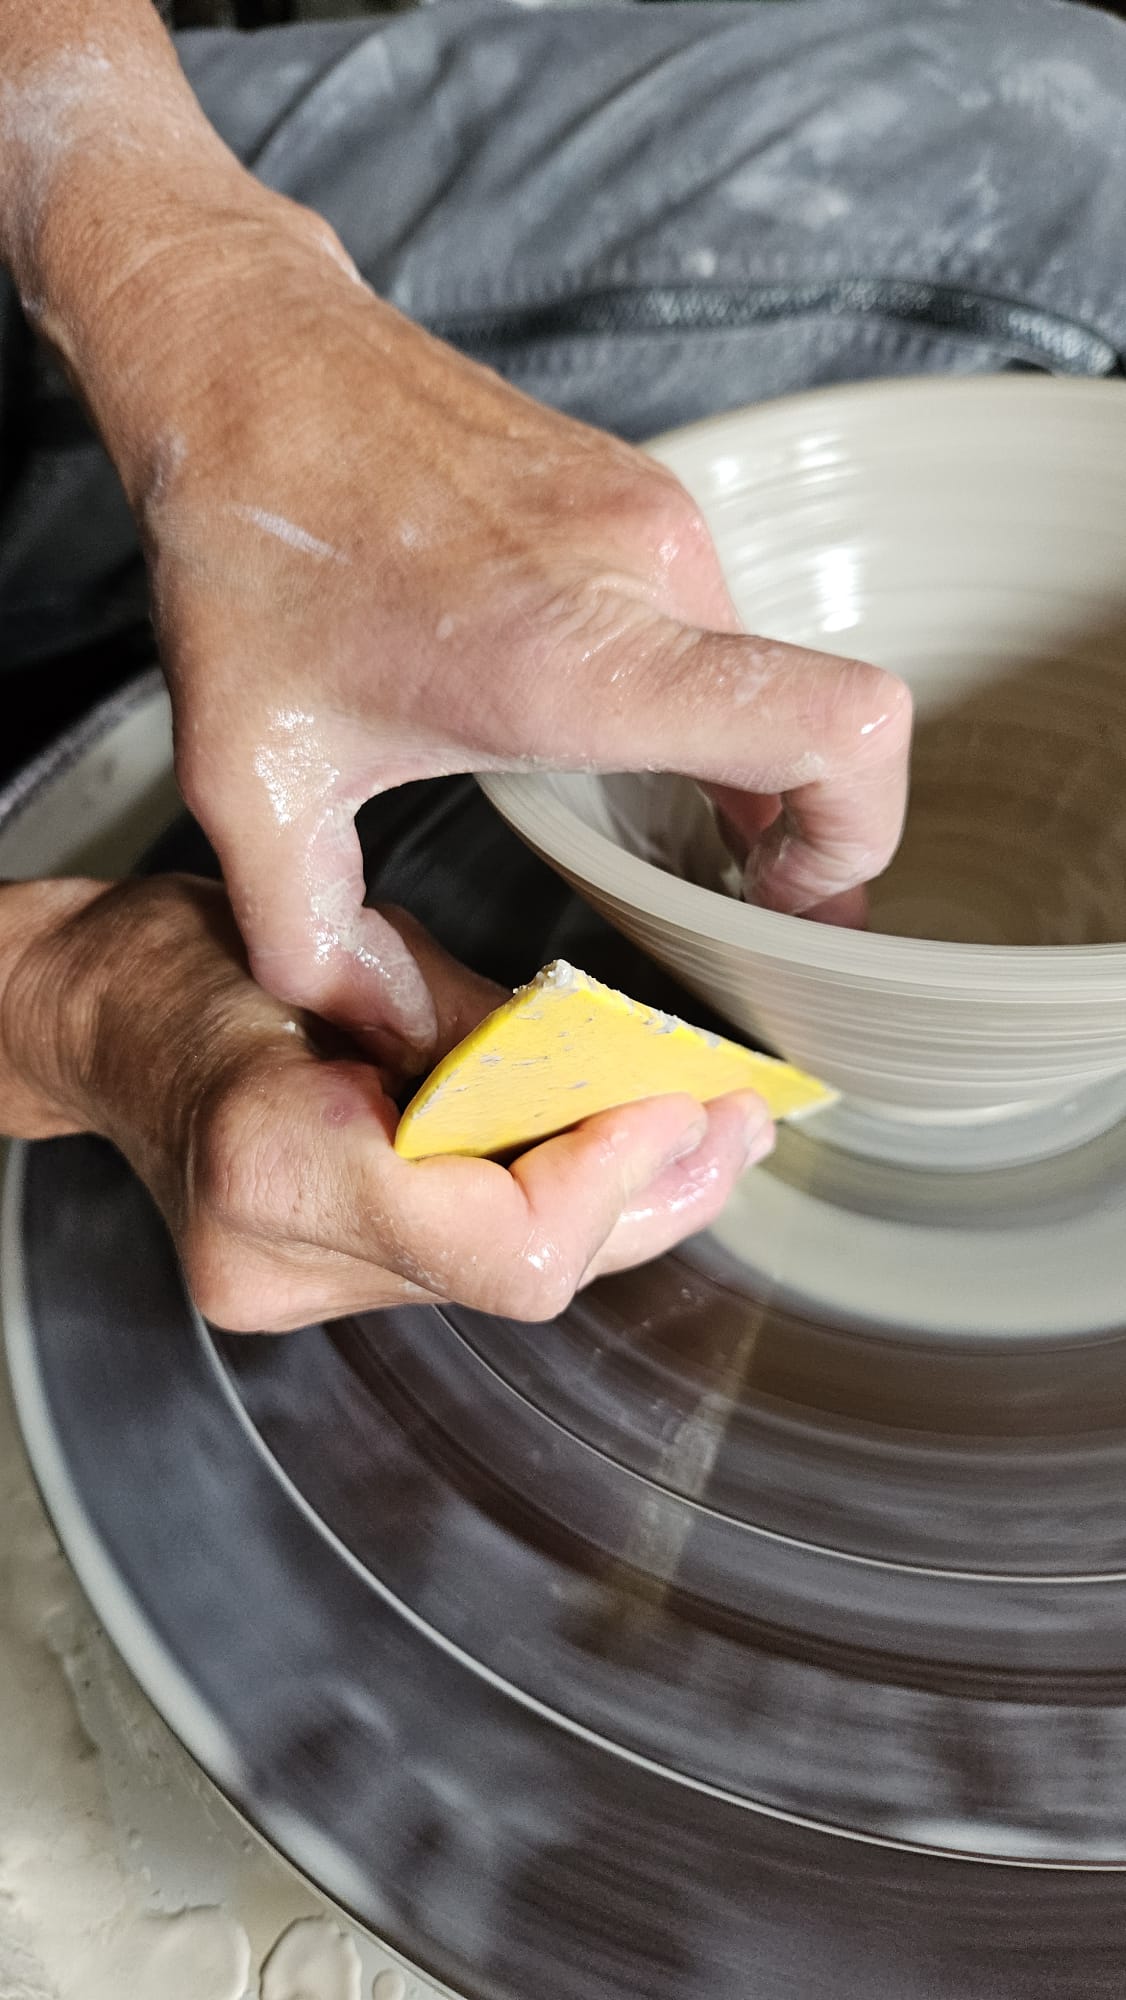
Perfect!
The rib is used to make a bowl by pressing the clay against the straight side of our new tool.
Conclusion:
These few exemples illustrate how a tool extend a potter’s hand. There is a reason why we don’t lend our favorite tools to another potter: in using them, our hands and the way we move will shape the tools and make it unique to our practice. In making our own tools, we develop further the symbiosis in between the potter, his tools and his craft.
")
Resource centre
animated by Matthieu Liévois,
potter-ceramist for over 40 years and founder of the Creamik School
Find all the courses
Keywords
Don’t miss any more news from the Créamik school!
Follow us on the networks
You can also discover…
Less math, better research: Generative Artificial Intelligence in the Ceramic Industry

Garance Lanfray, journey through Southeast Asia

From beginner to professional : choosing the right ceramic courses

Matthieu Liévois, The search for crystals
Can ceramics be fired in a microwave?
Discovering the Art of Japanese Ceramic Masters
Instructions for making your own sieve