

How to decorate your ceramics using slip: recipes, application and advanced techniques
There are many techniques to add colour to your ceramics, but when you want to do a detailed decoration with a brush or scratching (sgraffito), slip is the ideal solution.
Made from clay to which colourants are added, slip is applied on raw clay with a leathery consistency or on dry clay, giving free rein to your creativity. While simple slip does not require any special technical knowledge, it is better suited to decorative ceramics. However, if you want to make more durable pieces, it is a bit more complicated. So to learn all about using slip, read the rest of this article which features recipes, techniques and little tips to do it right!
Summary
What is the difference between a slip and a glaze?
Everything you need to know to prepare your slip
Step by step preparation technique
Applying slip using a paintbrush or slip trailer
Creating a transparent glaze finish
How to make complex slips (or engobe)
Composition and firing temperature
What is the difference between a slip and a glaze?
Decorating ceramics with slip is generally much easier as it doesn’t run, bubble or give you any unpleasant surprises once it is fired as is sometimes the case with glaze. In fact, as slip does not need to melt to reveal its colours, it allows you to create detailed decorations with clear outlines, such as floral or abstract designs.
However, while slip opens up a huge range of creative options, it does not give the bright colours that glaze provides. In addition, while it is decorative, the ceramic piece remains porous. So if you want to make ceramic tableware, you need to add a clear glaze on top.
Everything you need to know to prepare your slip
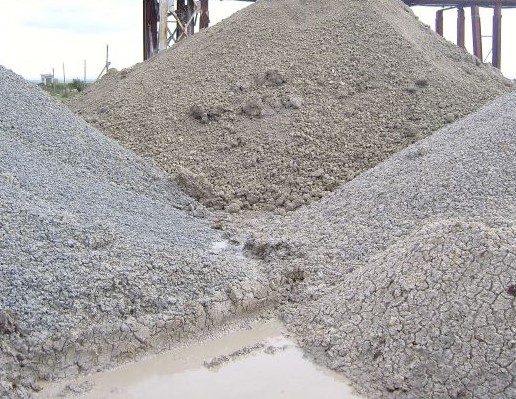
The slip recipe is fairly simple: it’s just clay and colourants. The secret is to make sure that you use the right clay to ensure that:
- The colour of the ceramic changes (Otherwise what is the point?)
- It doesn’t flake
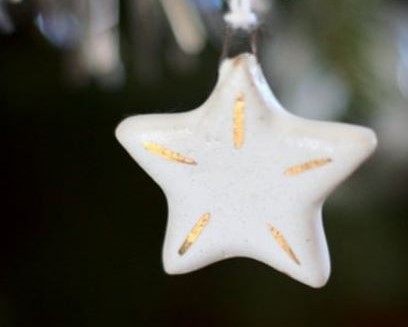
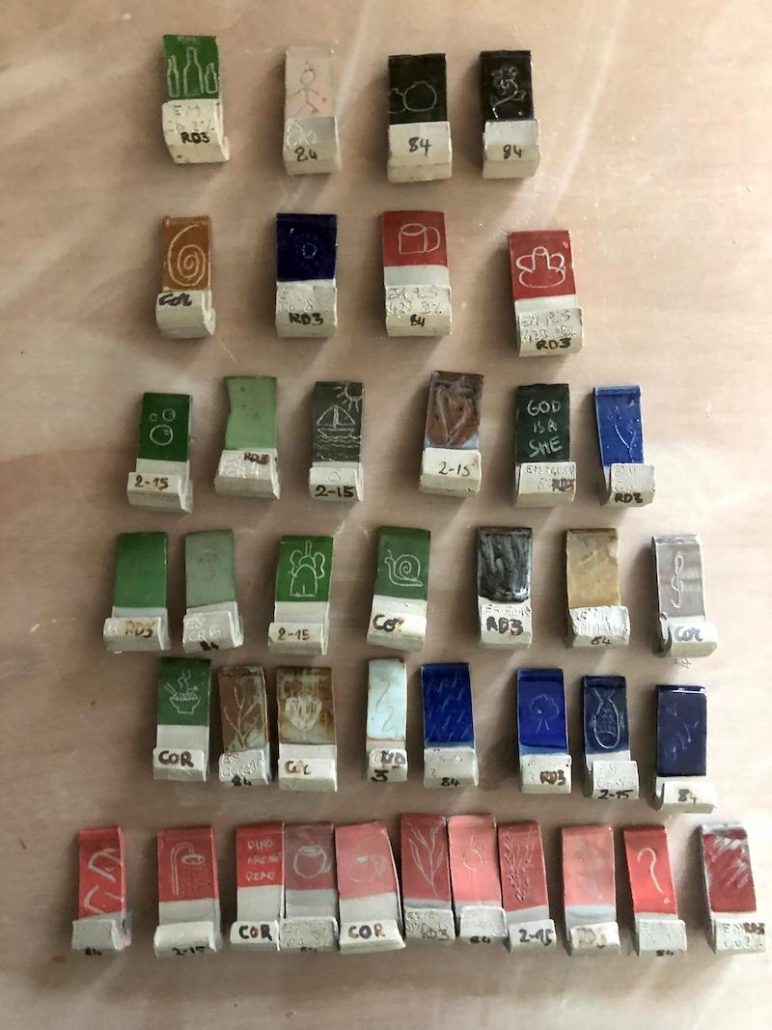
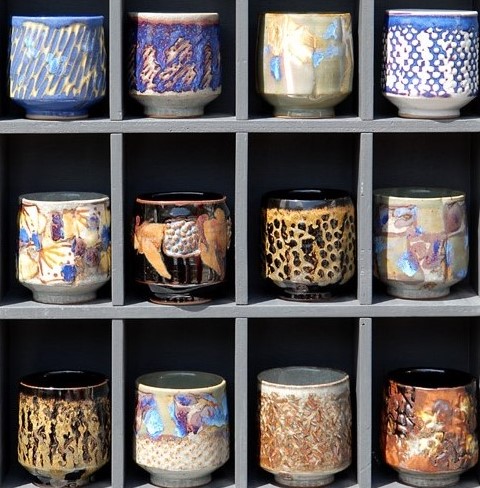
- It stays soft enough to be able to be scratched (sgraffito) or laminated to create decorations like on the pieces below
Easy slip recipe
White clay is usually used to create slip, simply so that the colours of the oxide colourants show up better:
- High temperature: porcelain or white stoneware (but white stoneware is less common)
- Low temperature: earthenware
So far, it’s fairly easy, but be careful, as slip is made of clay, it will shrink during firing. So if the clay used for the slip is different from that used for the ceramic, each may have very different shrinkage rates. If you use the same clay for your ceramic and your slip you can avoid this problem. However, you then need to know how to throw porcelain or find white stoneware.
In general stoneware clay is used for the ceramic piece (as it is easier to throw than porcelain) and porcelain is used for the slip (as the white will make the colours stand out). Unfortunately, if there is a difference of more than 5% in the shrinkage rate between the ceramic piece and the slip, the porcelain slip will flake and fall off.
To calculate the shrinkage differences, consider the following shrinkage rate percentages:
- Porcelain >15%
- Stoneware: 12%
- Earthenware: 10%
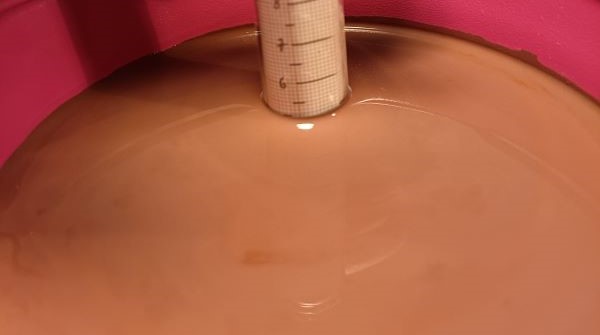
To prevent this issue, the clay should be mixed with enough water (50% clay for 50% water) so that the slip is diluted well and then apply it in a very thin layer. The thinner the layer, the less chance that the slip will flake.
Where to find the clay?
To make slip, dry waste from throwing clay is generally crumbled and mixed with water. If you want to use porcelain for its unmatched whiteness but you don’t throw any, you can simply buy a porcelain block, cut it into small pieces and sun dry them to obtain the equivalent of dry throwing waste.
Be careful: You may be tempted to buy casting clay which is already liquid. This is a bad idea, as it contains a lot of degreasing agent (such as grog powder) which will enable it to shrink before firing, unlike your clay which will shrink during firing. Your slip will then inevitably flake.
Step-by-step preparation technique
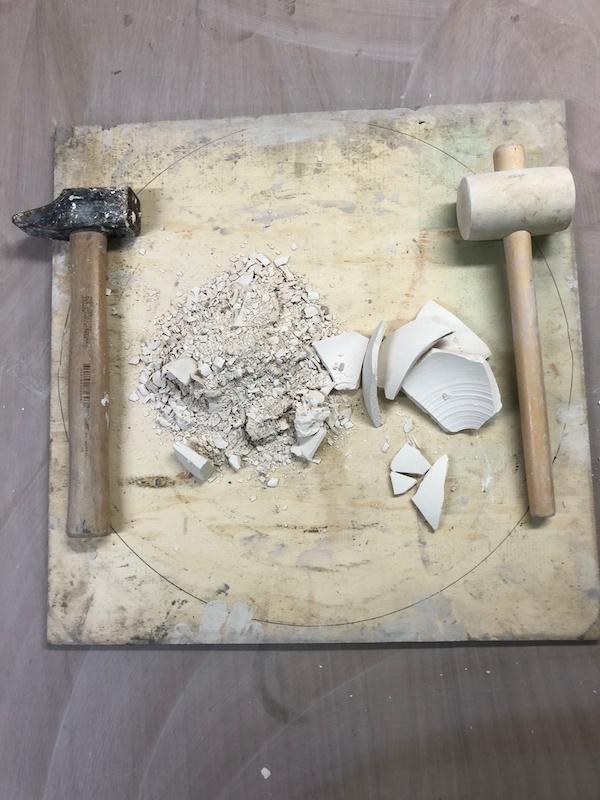
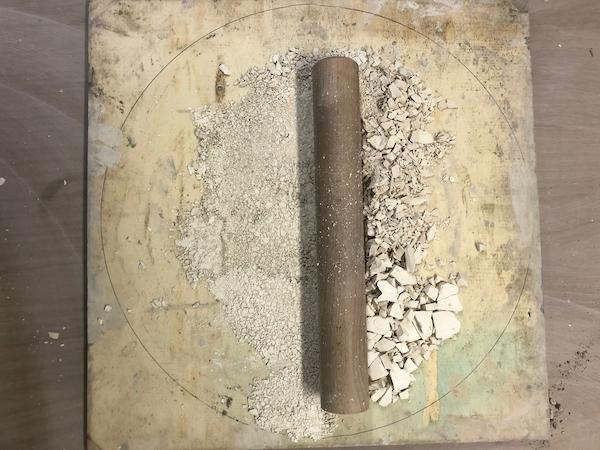
1. Crush your throwing clay waste using a hammer, then finish crushing it with a roller to make a coarse powder (the size of rice grains).

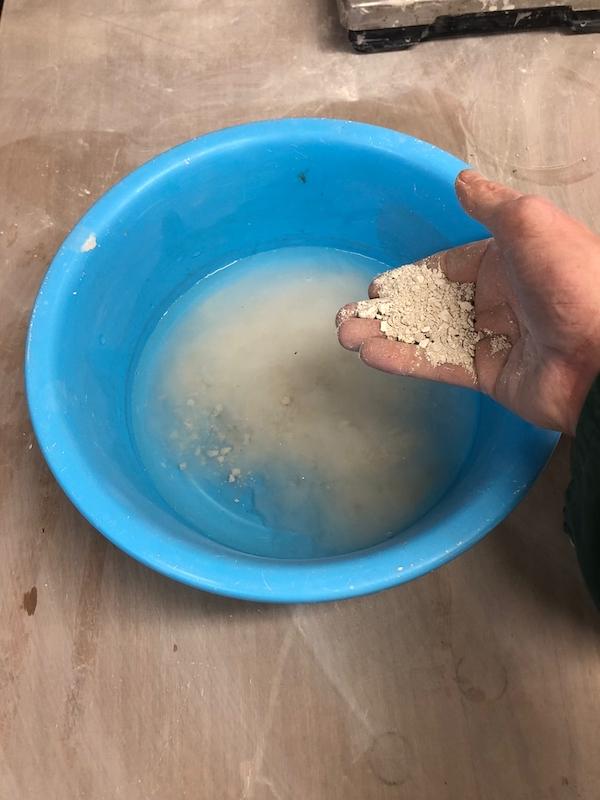
2. Shake it into a container of water then wait at least half an hour before stirring.
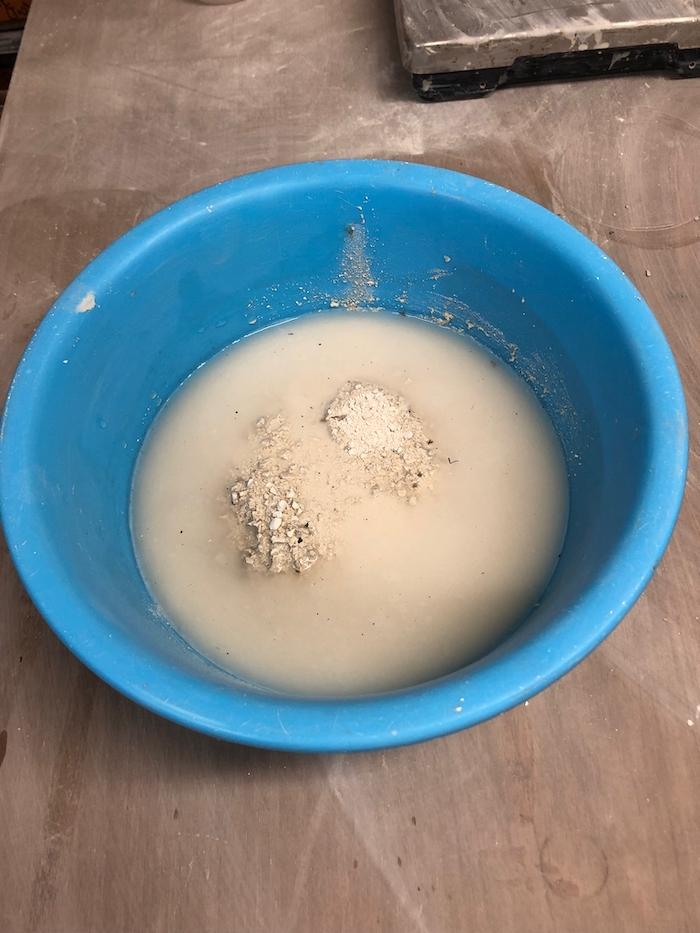
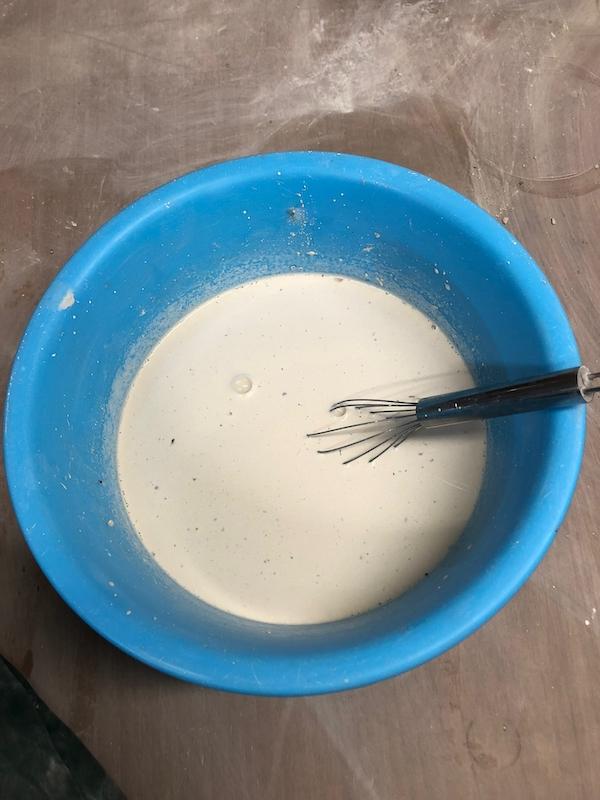
3. Sift the mixture to prevent lumps (a simple sieve should work).
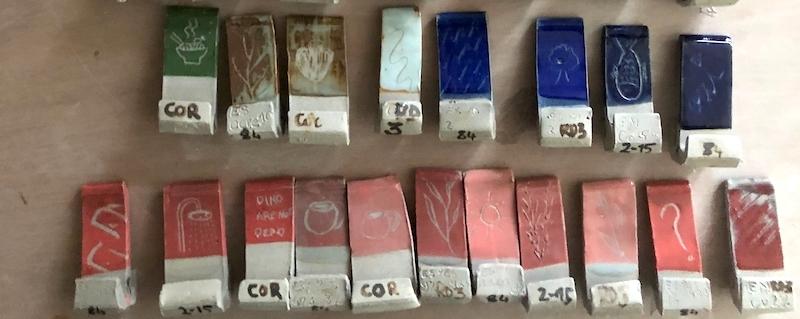
4. Add your colouring oxides (cobalt, copper, iron, manganese, chrome or mass colouring agents available at pottery supply stores).
The percentage of colourant added depends on the intensity of the colour you want to obtain:
- < 5 % for pastels
- 5 – 10 % for strong colours
- > 10 % for intense colours
Techniques for applying slip
Once the slip is prepared, you can apply it on the raw clay (leathery or dry consistency) using the same techniques as for glaze: brush, dipping, ladle or with a spray gun.
A slip does not need to be thick to be visible, as unlike glaze it remains opaque and gives exactly the same colour no matter what happens. But keep in mind that it is clay, it does not melt and the surface does not become smoother during firing, so any visible trace before firing (a brush stroke, excess thickness or shrinkage) will also be visible after firing.
Brush application
Slip remains as you have applied it. That is why if you apply it with a brush on the wheel, it is recommended to then smooth it with a flexible metallic tool to remove any possible traces. This is also possible when applying it with a spray gun, dip or ladle.
Dipping
You apply your slip on a ceramic piece that has not yet been fired, hence it contains quite a bit of water. For this reason, the water in the slip will be absorbed more slowly than for bisqueware. So you need to dip the ceramic piece longer in the slip, otherwise it might not be perfectly coated.
Recommended dipping time:
- Slip on raw clay: 6-7 seconds
- Glaze on bisque-fired clay: 2-3 seconds
Applying slip using a paintbrush or slip trailer
If you want to make designs on your ceramic, your slip should be a bit thicker. In this case, reduce the amount of water. You can use up to 75% clay and 25% water if you are not applying it on large surfaces.
Finishing with a clear glaze
If you want to protect your slip decoration or make your ceramic piece non-porous, you need to add a clear glaze. Keep in mind that while firing does not change the colour of the slip, the clear glaze recipe does. The shinier the glaze you apply, the brighter it will be, the more it will allow the slip colour to show through.
Be careful: it is always better to bisque fire your already decorated ceramic piece before glazing, because if by chance it should explode during firing, the molten glaze will cause serious damage in your kiln.
How to make complex slips
Sometimes you may need a complex slip (also called engobe). This is the case if you want to:
- Do a single firing (skip the bisque step)
- Obtain a satin result (satin glassy slip)
- Use different clay for the slip and ceramic without worrying about the proportion of water
- Apply a slip on bisqueware
In all these situations, you need to increase the meltability of your slip by adding ingredients that will enable you to melt it, by giving it qualities specific to a glaze, such as vitrification.
Slip on bisqueware
If you want to apply slip on an already bisque-fired ceramic piece, even if you then want to add a clear glaze, your slip must have the qualities of a glaze.
Why? Because when you want to apply the slip on the bisqueware (in other words an already fired ceramic piece, which has already shrunk), the raw clay of the slip is likely to shrink and flake. Consequently, it can’t be used as is, but mixed with “degreasing agents” such as quartz or feldspar which will decrease the percentage of clay and prevent any unpleasant surprises (percentages in the table below).
Composition and firing temperatures
To create a complex slip (or engobe) on a dry or leathery clay, you should use at least 50% clay to which must be added other ingredients (to vitrify the surface, to give the surface a more satin sheen or to make it more resistant and prevent any shrinkage problems). On bisqueware, the amount of clay used must be greatly reduced, while favouring ingredients that prevent the engobe from shrinking.
In your mixture, it is sometimes more practical to replace some of the dry clay with kaolin or ball clay (which are clay powders). But be careful, kaolin can’t be used in the simple slip recipe as its shrinkage rate is too high.
To make the process easier, below is a table that gives you the percentages you need to follow for the different ingredients depending on the firing temperature and the condition of the clay when the slip is applied (leathery, dry or bisque).
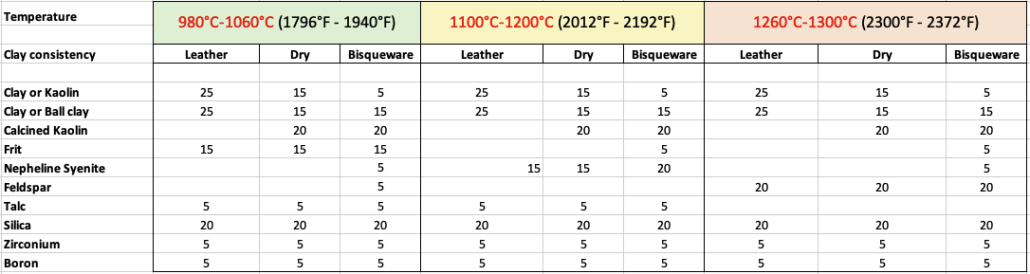
*There is a line for clay and Kaolin and one for ball clay but if you have both, you can use 50% of each.
* Calcined kaolin is a kaolin that has already shrunk. It can be safely used without causing the slip to shrink.
* You can choose any frit
To master all ceramic techniques, sign up for our online courses.
")
Resource centre
animated by Matthieu Liévois,
potter-ceramist for over 40 years and founder of the Creamik School
Find all the courses
Keywords
Don’t miss any more news from the Créamik school!
Follow us on the networks
You can also discover…
Tea and ceramics, a thousand-year-old story
The importance of deflocculants in pottery
Understanding Ceramic Glaze Density