
Photos and videos: how to create beautiful visuals of your ceramics?

Part 1: Tips for photographing your ceramics
2 – Choose the right background
3 – Highlight details and texture
4 – Edit photos for a professional result
Part 2: Making videos of your ceramic work
Introduction
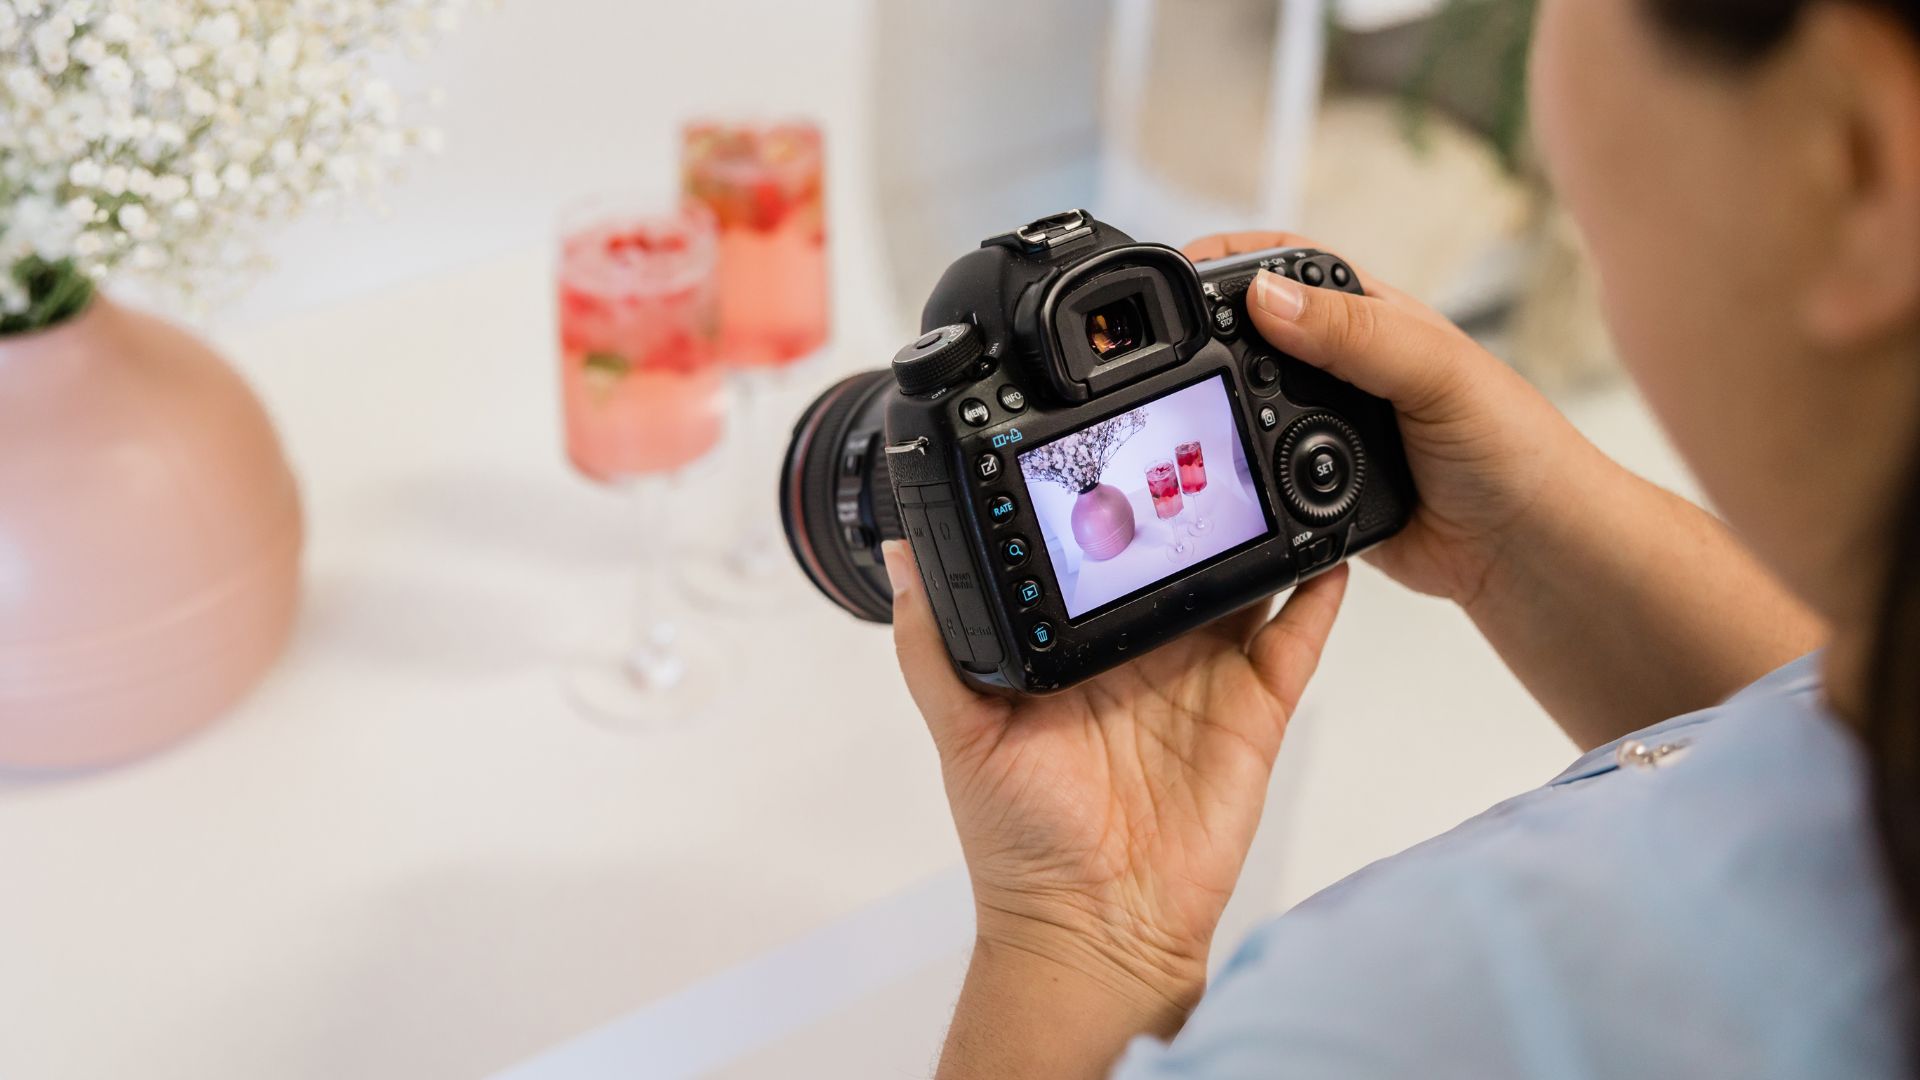
Immortalising your ceramic creations through the lens of a camera is like capturing a moment of your creativity in mid-flight. Each photo or video tells the story of your hands giving life to a unique object.
In today’s digital world, sharing your story visually, showing images of your pottery is more important than ever, whether for an online gallery, a portfolio or on social media. A well-executed design can capture attention, show the detail and texture of your work, and reveal the care you put into each piece. It not only shows the beauty of your work, it establishes an emotional connection between you, your viewers and, of course, potential customers. Photographs, videos or virtual tours of your studio offer varied ways to highlight your work.
Part 1: Tips for photographing your ceramics

You might think that photographing your work is a simple formality, but in reality, it requires careful consideration. Creamik gives you tips for successful photos.
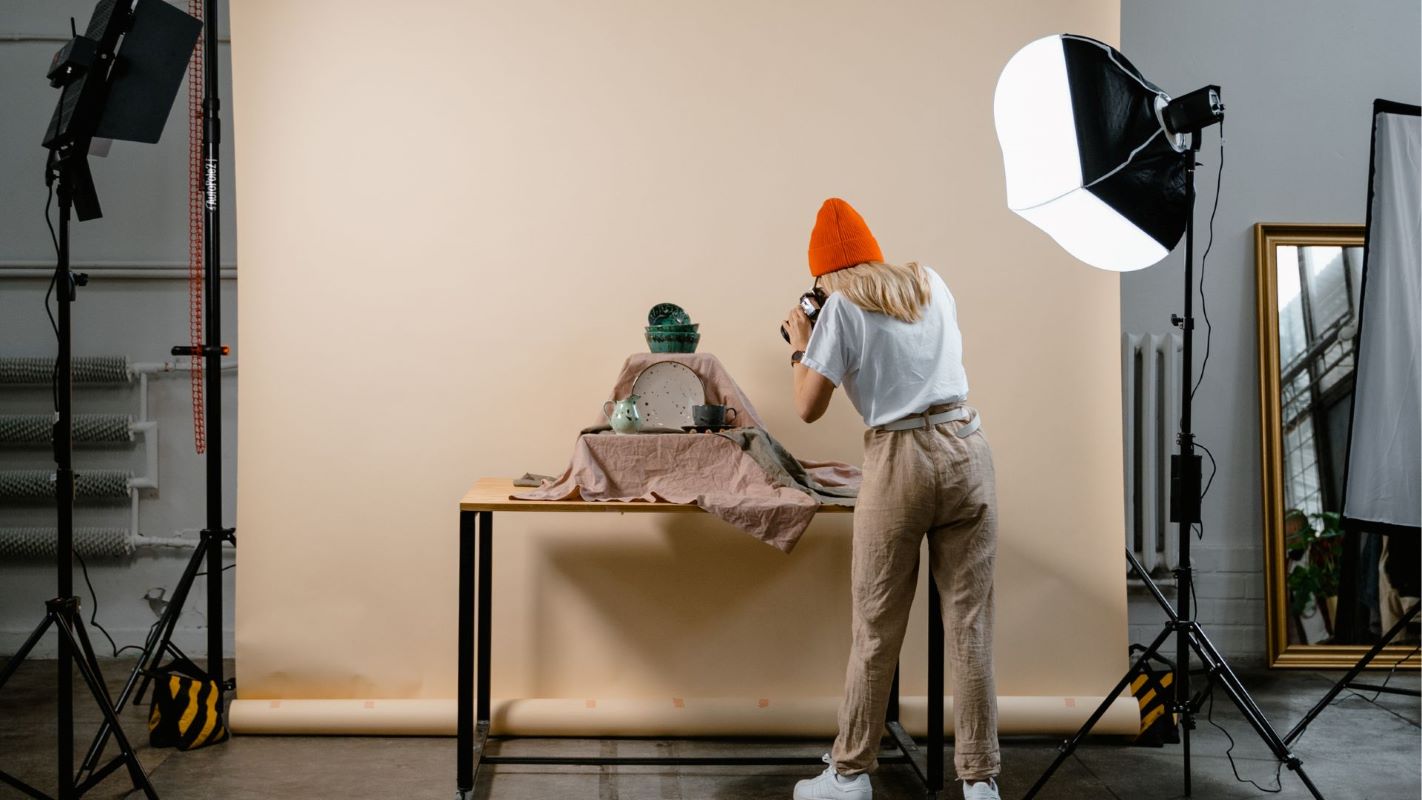
1 – Choose the right lighting
Lighting is the first point to consider in photography, especially if it involves highlighting a particular texture, colour, shine or, on the contrary, matte appearance. We may need to highlight subtleties, such as the transparency of porcelain. Here are some tips to ensure the best lighting.
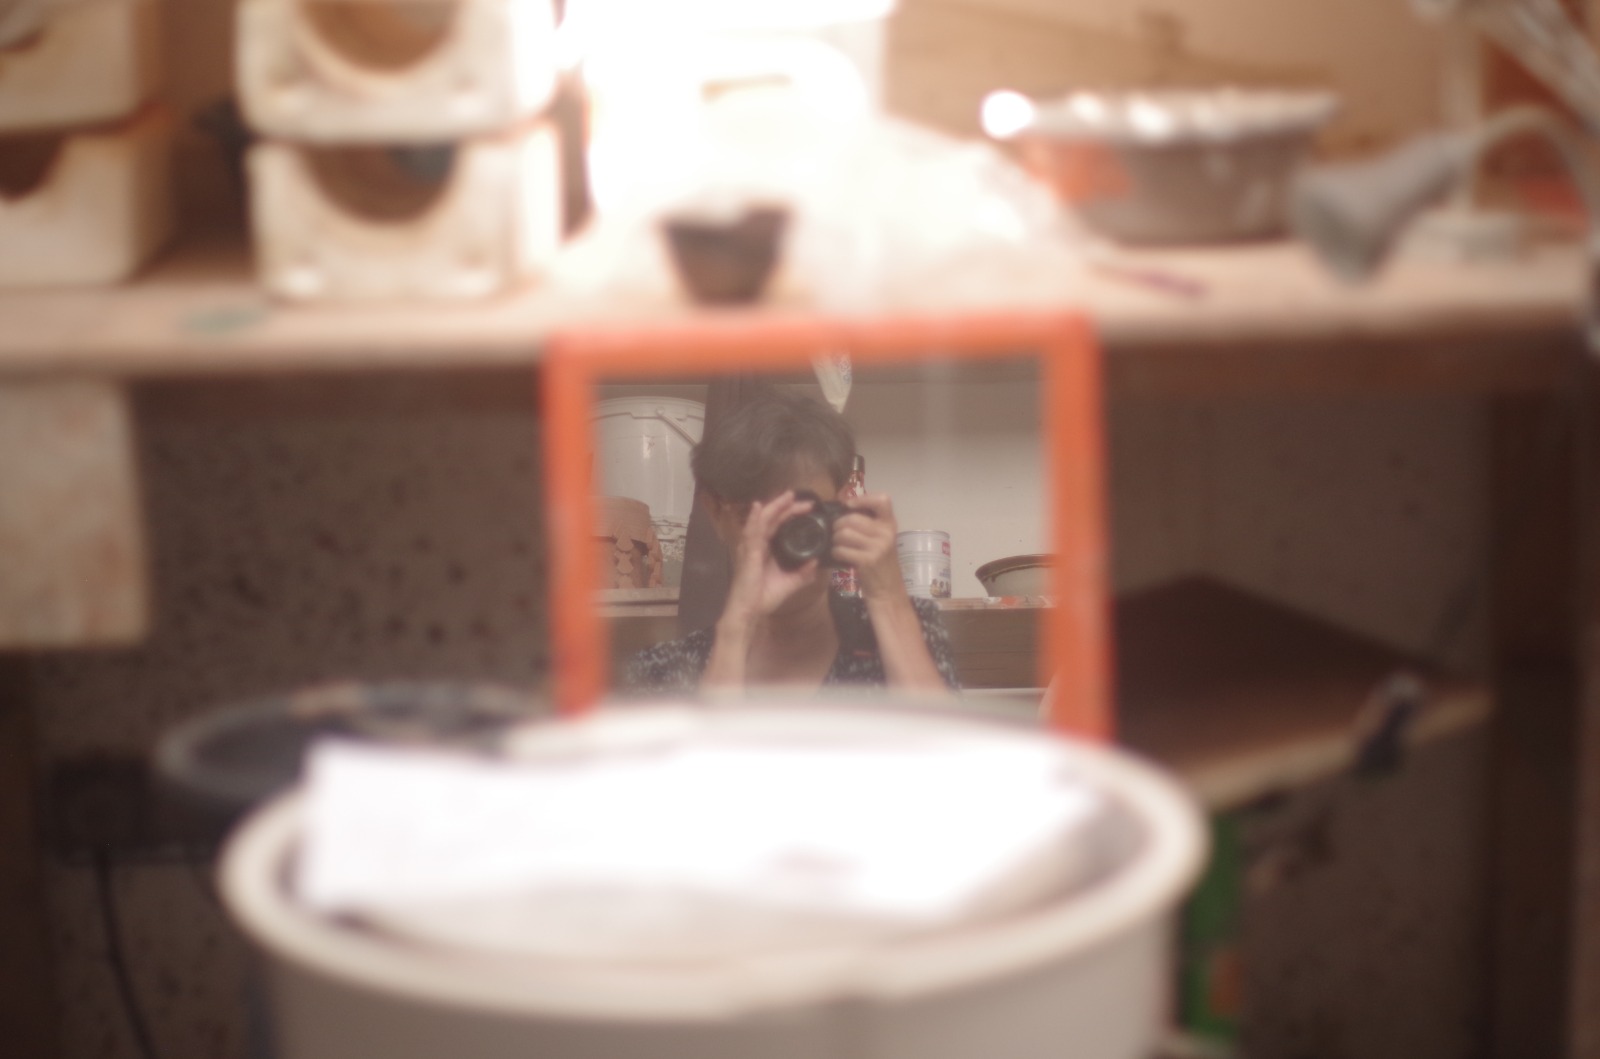
Natural light or artificial light?
Natural light:
Daylight is often preferable as it renders colours more faithfully. To make the most of natural light, place your piece near a window, avoiding direct sunlight which could create strong shadows.
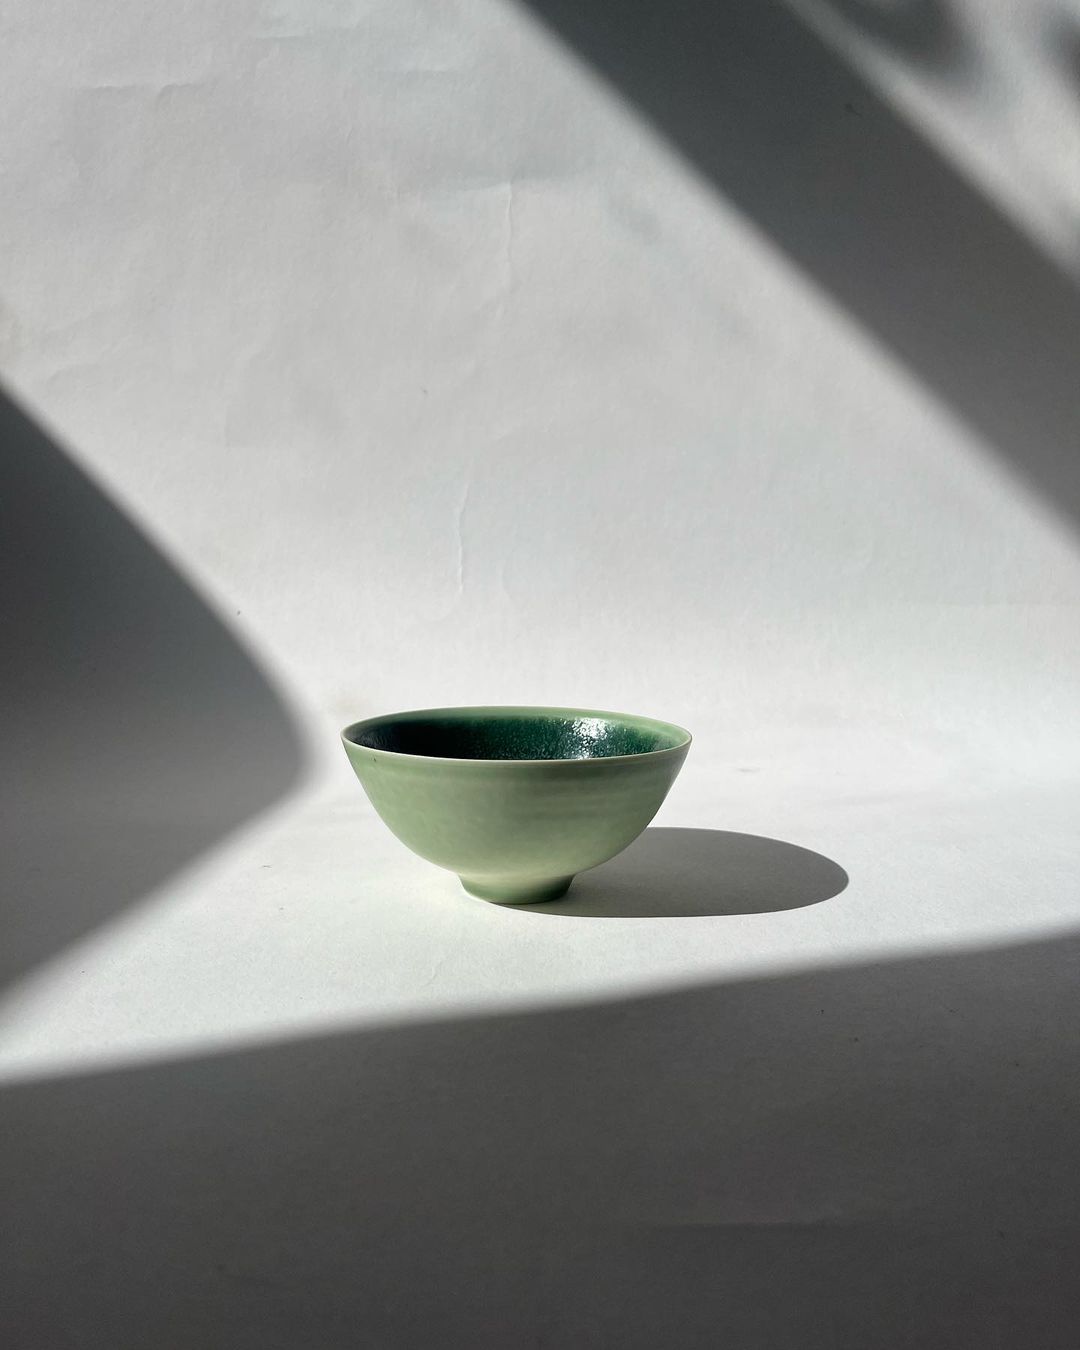
When photographing outdoors, a slightly cloudy sky provides better, softer and even light.
Artificial light:
If you do not have access to optimal natural light or want to photograph your works at night, artificial light is your ally.
Opt for LED light or daylight bulbs. These reproduce the natural light hues and avoid colour distortions. For direct light, you can use spotlights, but be careful of the shadows they can create.
Use of diffusers and reflectors:
Diffusers:
Diffusers allow you to disperse the light, making it softer and less direct. By placing a diffuser between your light source and your work, you will avoid harsh shadows with a soft and homogeneous light.
Reflectors:
Reflectors are used to redirect light onto your subject. They are used to eliminate unwanted shadows or add additional light.
Available in different colours (white, silver, gold, etc.), they can influence the colour temperature of your photos. This factor defines the hue of the image’s light (from red to blue). To ensure it is balanced, adjust the white balance before taking photos. Reflectors should be placed to reflect light onto the areas you want to illuminate more.
When you set up your lighting, always remember to do tests to see how it interacts with your ceramic piece.
2 – Choose the right background
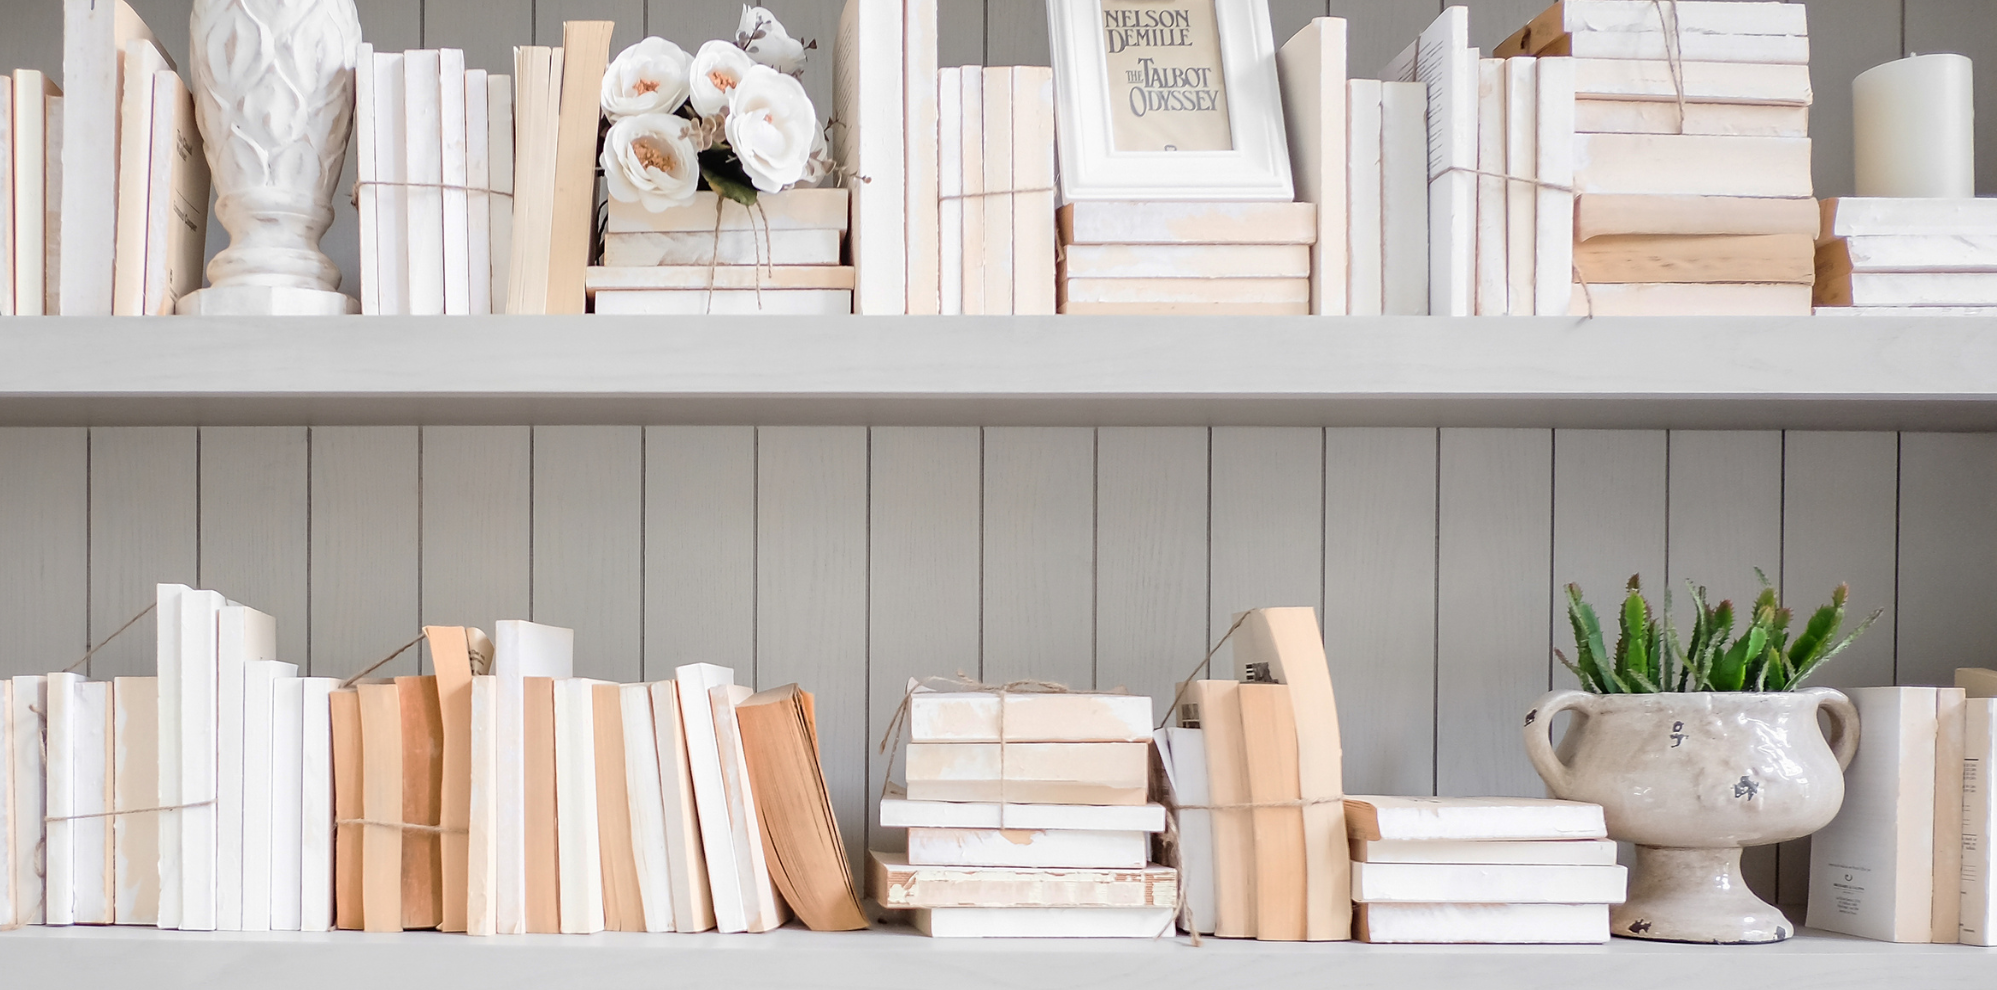
After considering the light, the choice of background plays the next major role in highlighting your piece. It must enhance your work without dominating it or distracting the viewer’s attention. Whether you make your own background or use a natural one, here are some valuable tips.
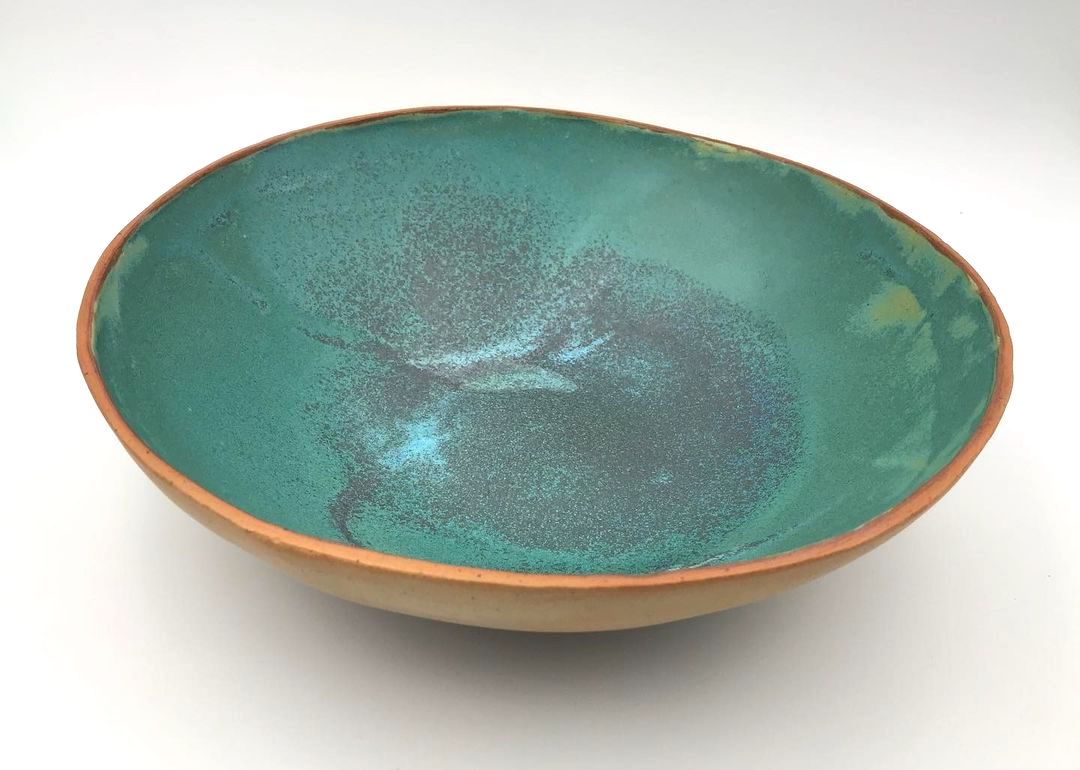
Importance of a neutral and plain background:
A neutral background allows your ceramic piece to stand out. The details, shapes and colours of your work become the centre of attention. Neutral colours like white, grey or black are most commonly used.

Using a uniform, neutral background gives the professional look you need to sell your pieces or feature them in a portfolio. It also ensures visual consistency if you’re promoting a series for a gallery or an online exhibition.
Typically, the neutral background of a lightbox is suitable for shooting for a photo gallery. It is possible to make a lightbox from a cardboard box: cutting out the sides and replacing them with tracing paper. Lighting is then done from the sides – which avoids the shadows cast by lighting coming from above.
Avoid distractions: simplicity above all.
Unnecessary elements in the background can distract attention from your work. Make sure the background is free of unneeded objects. To highlight your piece: your work should be in focus while the background is blurry. Although neutral backgrounds are often recommended, it can also be a good idea to choose ones which are slightly textured, such as handmade paper or coarse fabric. However, make sure the texture complements your piece and doesn’t compete with it.
When choosing a background, always think about how it interacts with your artwork. The goal is to draw the attention to your piece and create a harmonious environment.
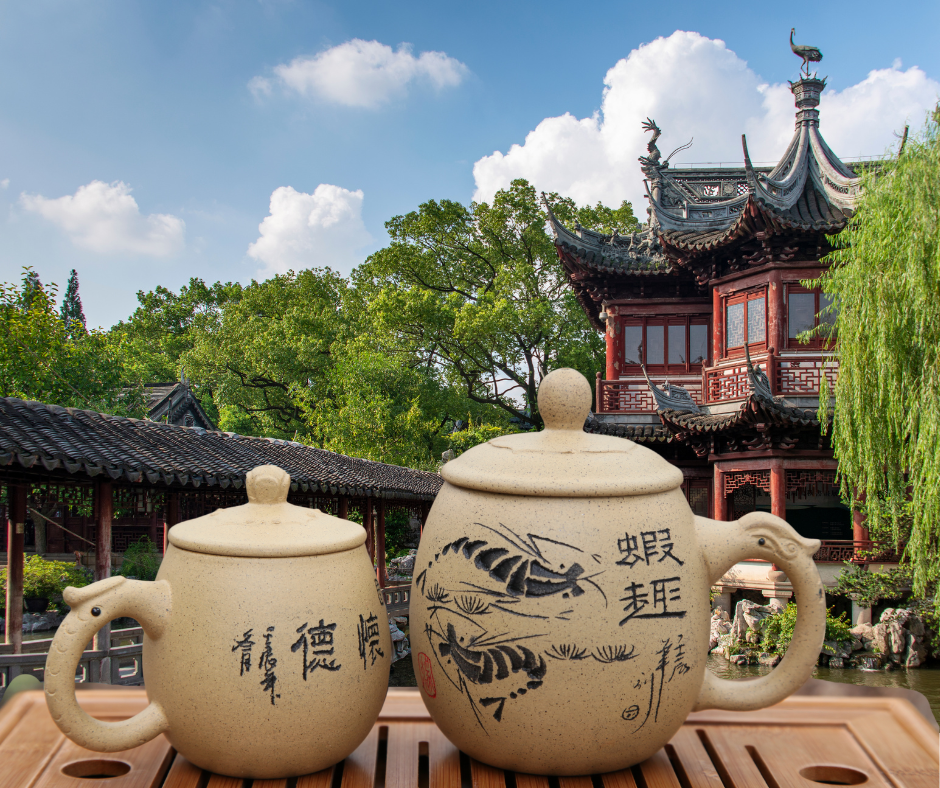
From time to time, an outdoor photo is always possible to feed social media!
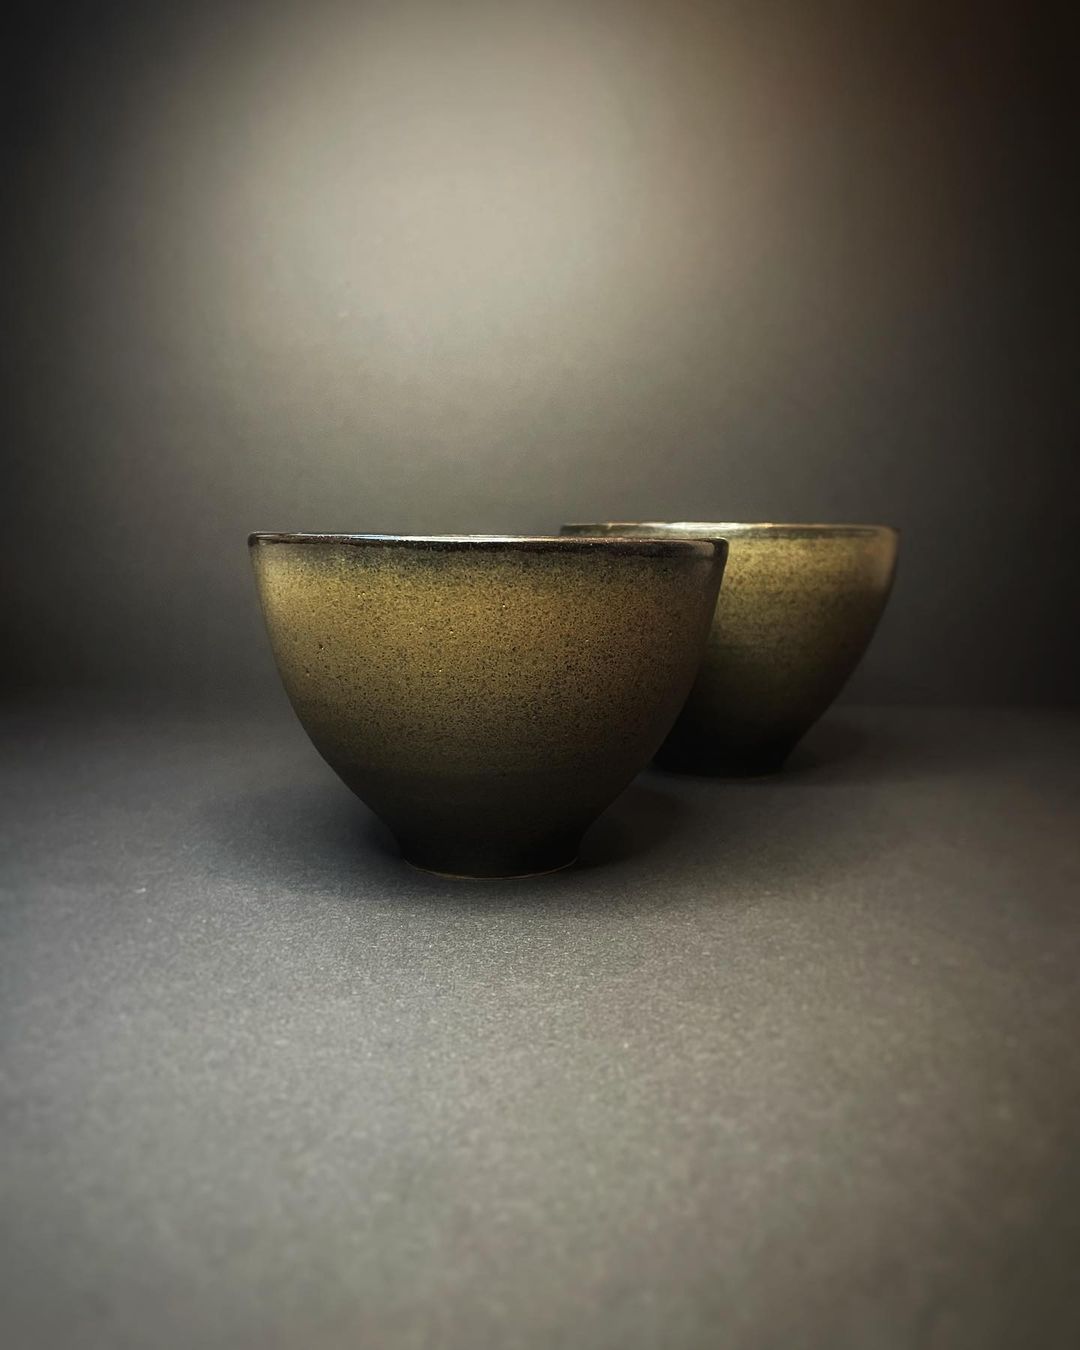
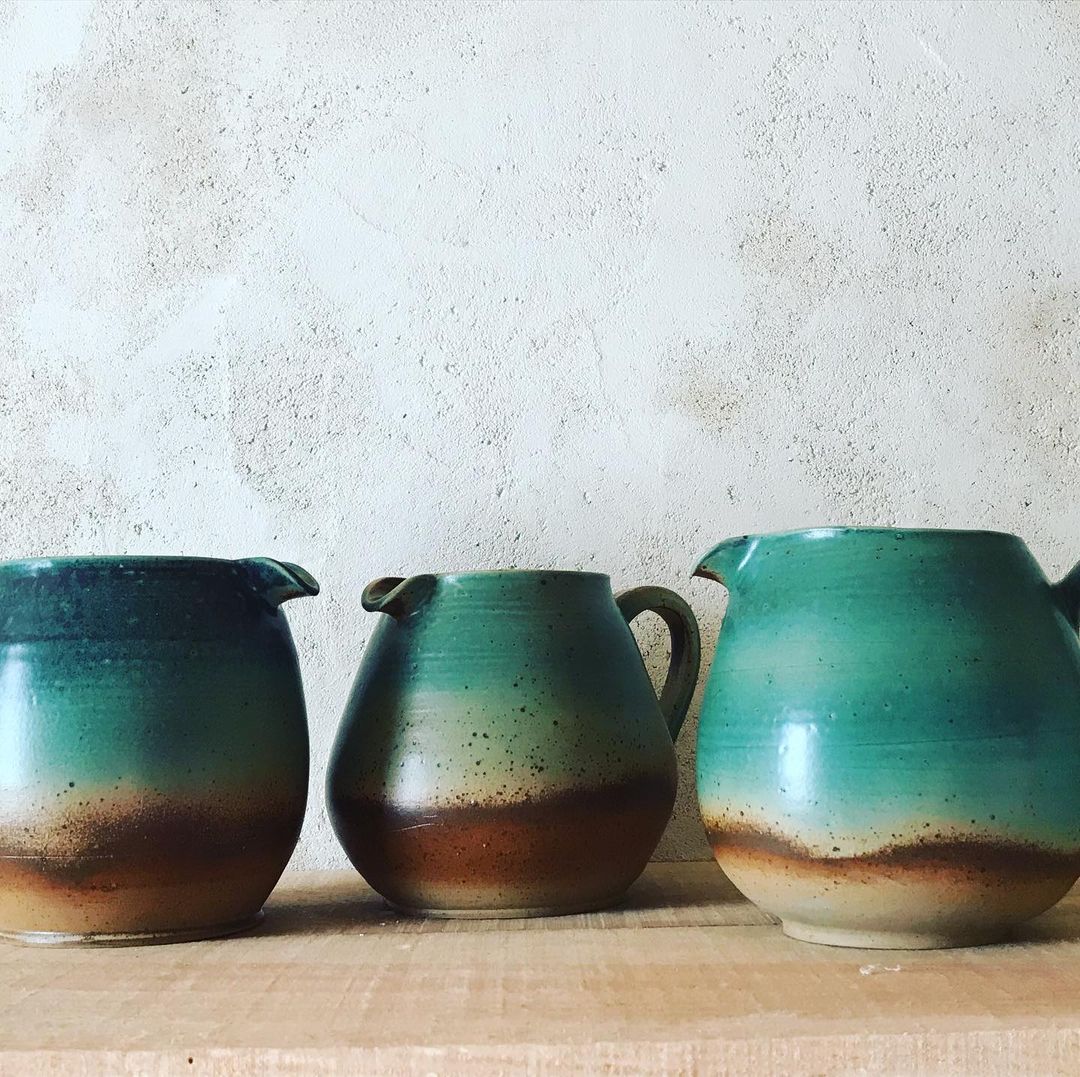
3 – Highlight details and texture
Ceramics is a tactile art where every detail embellishes the object, and any textural effect reinforces the character of the work. When photographing your work, it is essential to highlight these nuances so that the viewer can “feel” the work through the image.
Choice of shooting angle:
Don’t limit yourself to just one frontal view. Walk around your room and try different angles: top view, side view, overhead or low angle view. Every angle can reveal a detail or shape that was not previously visible.
The angle you choose can also influence the relationship between the work and the viewer. For example, a high-angle view can give a sense of dominance over the work, while a low-angle view can make the piece appear more imposing and majestic. If your piece has a special detail you want to highlight, such as a sculpted detail or an elegant handle, make it the focal point.
Using macro mode:
Macro mode is particularly useful for close-ups that show fine details or textures. Delicate patterns, throwing rings, or even the small imperfections that make each piece unique can be magnified with this function.
When using macro mode, you will notice that the depth of field is often very shallow, making a small portion of the image sharp and the rest blurry. This can be used to your advantage. Using a tripod or a stable surface when taking close-ups will prevent camera shake.
4 – Edit photos for a professional result
Capturing a beautiful photo of your work is the first step, but post-production editing is just as important to ensure your image is as professional and representative of your work as possible. Thanks to software, even amateur photographers can achieve gallery-worthy results.
Editing software:
- Adobe Photoshop is one of the most popular image editing software programmes. It offers a full range of tools for retouching, manipulating, and composing images as well as detailed retouching and in-depth editing.
- Adobe Lightroom is geared more towards photo editing than manipulation., It allows for bulk adjustment of photos, which is handy if you have multiple images to edit in a similar way.
- GIMP is a free alternative to Photoshop; it offers a wide range of editing tools.
Mobile apps:
Applications like Snapseed or VSCO are very interesting for quick editing on a smartphone. Both of these apps offer plenty of simple filters and editing tools.
When using editing software or a mobile application, do not hesitate to adjust the brightness, contrasts and white balance. The same goes for cropping: crop your image to eliminate any superfluous elements,. Make sure the piece is the focal point, with no distracting elements in the background.
Use the “rule of thirds in photography”: the positioning of your work in the frame. Imagine your image divided into nine equal segments by two vertical lines and two horizontal lines. Placing your artwork at the points where these lines intersect can help make the composition more balanced.
Careful editing can transform an ordinary photo into a work of art. By spending time on post-production, you ensure that each image is the best possible representation of your work.
5 – Smartphone or camera?
In today’s digital age, almost everyone has access to a camera through their smartphone. These increasingly powerful cameras often compete with traditional cameras. Each tool has its advantages and disadvantages.
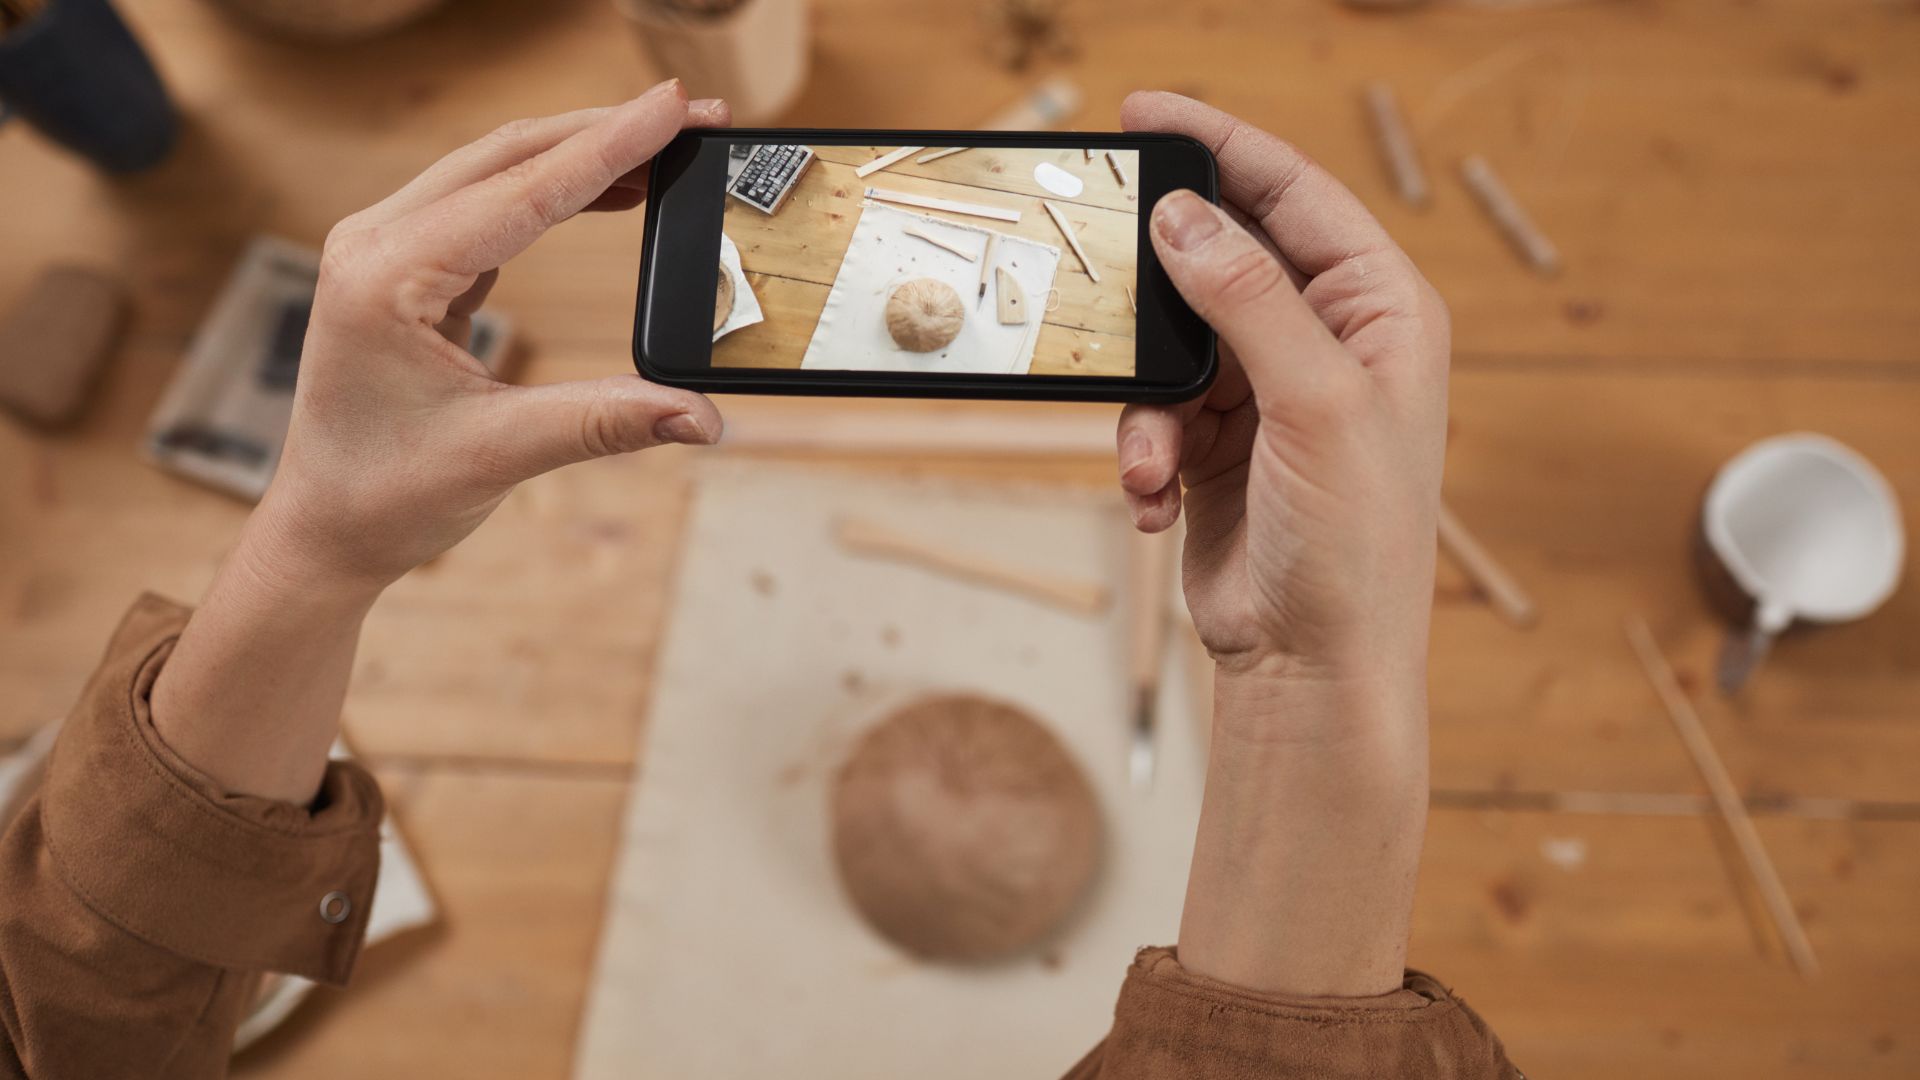
The smartphone:
The advantage of the smartphone is obviously its portability. It is user friendly for everyone, even without knowledge of photography. In addition, sharing is instant via social media.
The various editing applications are integrated: many applications allow quick and easy editing directly on the phone.
That said, even if smartphone cameras are advanced, they have limitations in terms of optical zoom, depth of field control, and low-light performance. Smartphone sensors are typically smaller than those in dedicated cameras, which can affect image quality, especially in harsh conditions. Avoid digital zoom: instead of zooming, get closer to the object for optimal quality.
Camera:
The camera offers superior image quality. It is better in low light conditions thanks to more efficient and larger sensors and a wider ISO range, producing sharp, detailed images.
The flexibility of the camera lies in its ability to change lenses, manual settings for controlling exposure, depth of field and shutter speed.
The downside is its size and weight. It is bulkier and heavier and less practical for spontaneous use. The camera is often more expensive, especially if you add lenses and accessories. It often requires some training or experience to fully know how to use it.
Whether you choose a smartphone or a traditional camera, the key is to understand the strengths and weaknesses of your tool and adjust your approach accordingly. Once mastered, each method can produce exceptional images of your work.
Part 2: Making videos of your ceramic work
Do you feel ready to start making videos to show your work? Follow Creamik’s guide to structure your project.
1 – Preparation and planning
Creating a quality video requires careful preparation. It’s not just a matter of placing the camera and pressing the record button. Good planning helps ensure that every second of your video is meaningful.
Before you start filming, develop a script: the storyline is the skeleton of your video, it details each scene, dialogue, or action you want to capture. The scenario could be the making of a piece, its firing or the final stage when it comes out of the kiln…
Tips for developing a scenario:
- Define the objective: what is your goal? What do you want to show? Highlight a specific collection? Tell a story around your work?
- Keep your video short or you will lose the viewer’s attention. Keep it concise while still being informative.
- Write detailed descriptions: Make sure each scene is detailed in the script.
- Plan highlights: think about the key moments that will capture your audience’s attention.
Choice of shots and camera angles:
The camera angle and type of shot you choose can greatly influence how the viewer perceives your work.
- The wide shot (or overall shot) shows the entire scene; it should be chosen to present the working environment or a collection of pieces.
- The medium shot focuses on an object or person, usually the size of a piece of pottery or a human head and shoulders.
- The close-up shows a specific part of an object or a person, it highlights details or textures.
- The cutaway is a shot that shows a secondary action or object, often used to add context or depth to the main scene.
Vary your angles: Use different angles to show your work from different perspectives. This can highlight the unique features of each piece.
Think about composition: make sure each shot is well balanced and aesthetically pleasing. Use the composition rules to position your ceramic interestingly in the frame.
Plan camera movements: Smooth movements can add dynamism to your video.
In short, prepare your video carefully to capture your work accurately. By investing time, you ensure that the filming process goes smoothly and that the result meets your expectations.
2 – Succeed in your video shoots
Here are some key elements for successful filming of your ceramic creations:
Just like in photography, lighting makes the difference between an amateur and a professional-looking production.
- Soft light: Soft, diffused light is often best. It will highlight textures and avoid harsh shadows that can hide details.
- Multiple Lights: Use multiple light sources to illuminate the object from different angles. This can include a main light, a fill light, and possibly a background light.
- Colour temperature: make sure that all your light sources have a similar colour temperature, to avoid colour imbalances on the screen.
Tips for smooth and professional production:
Making a video goes way beyond just recording. It’s about capturing a sequence of images that tells a story or demonstrates a process. Here are some tips to help you:
- Using a tripod or stabilizer can help achieve smooth, stable shots. Avoid sudden or jerky movements.
- Vary shots: alternate between wide, medium, and close-up shots to provide a complete view of your work. This helps keep the viewer interested and conveys a deeper understanding of your work.
- Think about sound: Sound is an often-overlooked element. Whether you use background music, studio noises or your own voice, make sure the audio is clear and well mixed.
- Shoot more than once: Always shoot more than you think you need. This gives you options during editing.
3 – Video editing
Editing is where your video really comes to life. Here are some elements to successfully edit your ceramic videos:
Video editing software:
There is a plethora of video editing software available, ranging from free options to professional solutions. Your choice will depend on your level of expertise, your specific needs and your budget.
Some popular options:
- iMovie (Mac): Free for Apple users, it’s easy for beginners with an intuitive interface.
- Adobe Premiere Pro: professional solution offering a wide range of tools and features. It is suitable for complex projects.
- DaVinci Resolve: Well known for its colour correction capabilities, it is also a powerful editing software. There is a free version with many features.
Cutting, adding music or text, transitions:
Cutting is the act of selecting the best bits from your shoot and putting them together in a logical way. Keep the pacing of your video in mind, don’t let shots go on too long, but give the viewer enough time to fully grasp the image. Avoid transition effects, it’s an outdated process that unnecessarily slows down videos.
Conclusion
Ceramics is an age-old art that is now part of a resolutely digital world. Each pot, whether modern or traditional, deserves a showcase adapted to our times. Photography and video are not simple documentation tools, they are bridges that connect the artist to a curious and sometimes knowledgeable public.

Creating quality visuals for your ceramic pieces is an invitation to observe and reflect. Each well-lit photo, each carefully edited video, reinforces the narrative around your work, enhances your expertise and helps build your identity as an artist.
Whether you grab a professional camera, a smartphone, or a video camera, remember that you are immortalising your passion and a particular moment of creativity. In this quest, every detail counts, and perfection often lies in subtlety. It’s up to each artist to find their angle, their light, their unique touch. By enriching your artistic approach with these visual techniques, you broaden the spectrum of your expression, touching the hearts and souls of those who come to admire your work through a simple screen.
")
Resource centre
animated by Matthieu Liévois,
potter-ceramist for over 40 years and founder of the Creamik School
Find all the courses

Keywords
Don’t miss any more news from the Créamik school!
Follow us on the networks
You can also discover…
Less math, better research: Generative Artificial Intelligence in the Ceramic Industry

Garance Lanfray, journey through Southeast Asia

From beginner to professional : choosing the right ceramic courses

Matthieu Liévois, The search for crystals
Can ceramics be fired in a microwave?
Discovering the Art of Japanese Ceramic Masters
Instructions for making your own sieve