Instructions for making your own sieve
1 — Materials required
1—1 –PVC tube for sieve body
1—2 – Stainless steel mesh
1—3 – Fixing the mesh
1—4 – Additional tools
2 — Sieve manufacture for 100g tests
2— 1- Cutting the tube
2—2 – Preparing and fitting stainless steel mesh
2—3 – Finishing
3 — Sieve manufacture for 10g tests
3—1 – Choice of container
3—2 – Cutting the tube
3—3 – Attaching the nylon mesh
3—4 – Finishing
When we launched our online glaze-making course in November 2024, the question of sieving quickly came to the fore. As you make glazes, you have to sieve small quantities of raw glaze materials (from 10g to 100g). One of our students couldn’t afford to buy a sieve adapted to her specific needs. With this in mind, we set out to find an affordable solution for her: to make her own sieve, inspired by the ones we use at Créamik.
In this article, we’ll take you step-by-step through two homemade sieve models, perfectly suited to small-scale glaze testing.
1 — Materials required
To design a sieve, here’s what you’ll need:
1—1 – PVC tube for sieve body
We have chosen two sizes of PVC tube:
- 80mm diameter → for tests using 50 to 100g of dry matter.
- 50mm diameter → for tests using 10g of dry matter, for greatest efficiency and least waste.
1—2 – Stainless steel mesh
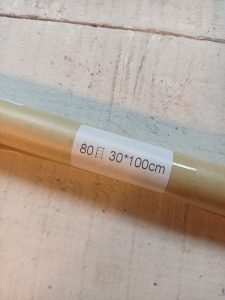
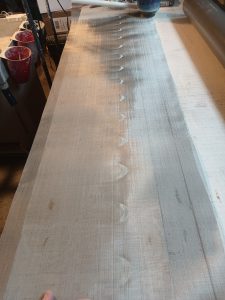
For the 80mm diameter sieve, we ordered stainless steel mesh (type 80), 1m long and 30cm wide which can be used to make several sieves.
 .
. 

1—3 — Fixing the mesh
Two options are available:
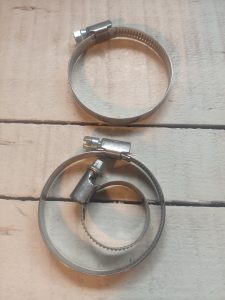
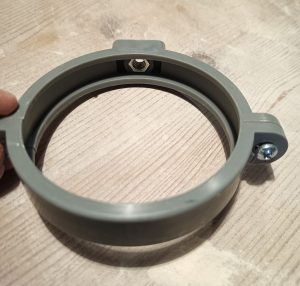
- A metal or PVC clamp to securely fasten the stainless steel mesh to the tube.
-
- A PVC sleeve that fits into the tube to hold the mesh in place without the need for clamping.
1—4 — Additional tools
-
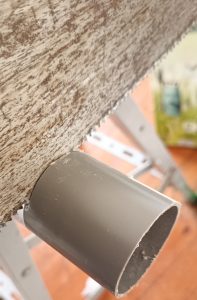
- Saw to cut PVC tube to desired length.
-
- Sandpaper to smooth edges.
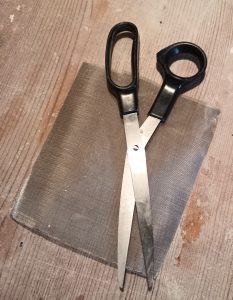
- Scissors for cutting stainless steel mesh.
-
-
- Lighter to lightly burn sharp edges and avoid injuring yourself with the stainless steel.
2 — Sieve manufacture for 100g tests
2— 1 Cutting the tube
-
- Using a saw, cut a 4cm piece from an 80mm diameter PVC tube.
- Carefully sand the edges to avoid any roughness.
2—2 Preparing and fitting stainless steel mesh
-
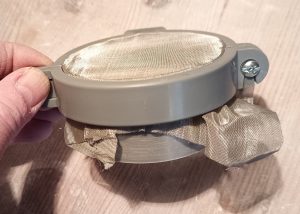
- Cut a square of stainless steel mesh larger than the diameter of the tube (allow plenty of mesh to make sure it fits well).
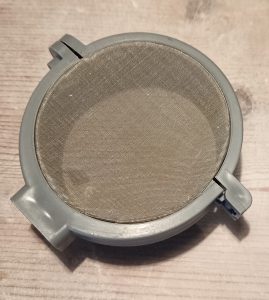
- Place the mesh over the opening and fasten a clamp around the tube, tightening gradually to keep the mesh taut.
 .
. 
2—3 Finishing
-
-
- Trim excess mesh from the collar.
- Pass a lighter over the edges to avoid sharp edges.
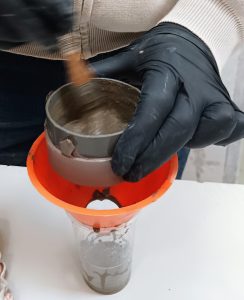
Once finished, this sieve can be placed over a funnel or directly above a container.
-
 .
.  .
. 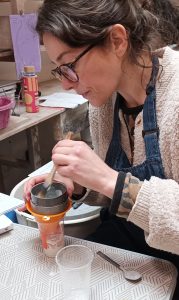
Here are the sieves from the Créamik school, made with a cut-down sleeve instead of a clamp
 .
.  .
. 
3 — Sieve manufacture for 10g tests
3—1 – Choice of container
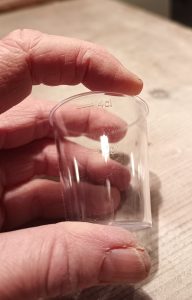
The sieve we suggest is perfectly adapted to a 40mL container.
3—2 – Cutting the tube
- Using a saw, cut a 6 to 7cm long piece of 50mm diameter PVC pipe.
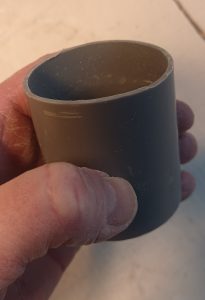
Sand the edges smooth.
3—3 – Attaching the nylon mesh
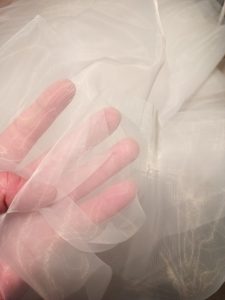
For this sieve, we bought 1m of nylon mesh size 80, on the Internet:
-
- Cut a piece from the nylon mesh
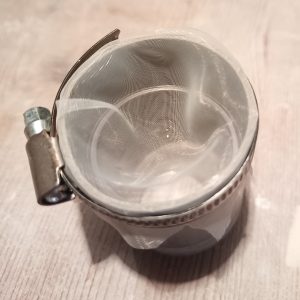
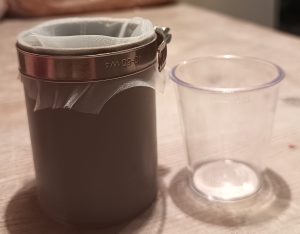
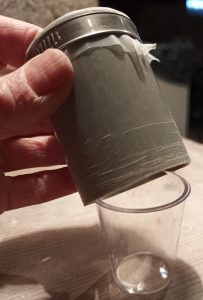
- Place the nylon mesh over the tube’s opening and fasten a small clamp, making sure that the mesh remains flexible and pushed into the tube.
3—4 – Finishing
Cut off the excess mesh and burn the edges with a lighter to prevent it from fraying.
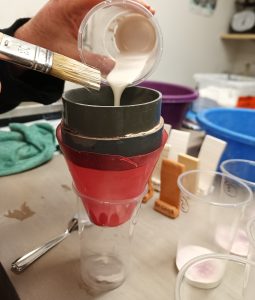
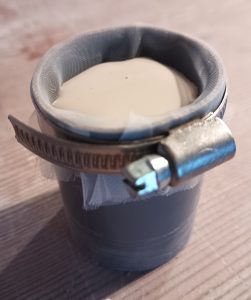
Here is the 10g of glaze diluted and poured into the sieve.
Use a brush to push the glaze through to avoid damaging the mesh :
Here’s a glaze progression, using our little sieve:
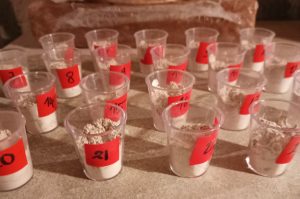
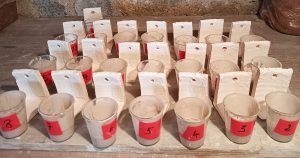
The glaze was first applied to porcelain test tiles and as there was enough left over we used it on another set of stoneware test tiles. In the end, everything is used up, so there’s virtually no waste.
All the containers are reusable.
Conclusion
When experimenting with small quantities of glaze, making your own sieve is a simple process. In just a few steps, you can create an efficient, inexpensive tool that optimizes your work, reduces waste and adapts to the materials and methods you are using. It’s up to you to experiment and perfect your own equipment, according to your practice.

Resource centre
animated by Matthieu Liévois,
potter-ceramist for over 40 years and founder of the Creamik School
Find all the courses
Keywords
Don’t miss any more news from the Créamik school!


